
- SPARK • Help Centre
- SPARK EPOS Terminal
- Printing / Printers
How to Setup a WiFi Printer
This page will show the full installation process for the WiFi Printer
If you have reset your router, please get in contact with SPARK Support so we can reconfigure your router.
Ethernet Connection
1. Connect your WiFi Printer to your Router using an ethernet cable and ensure you have power going to the Printer.
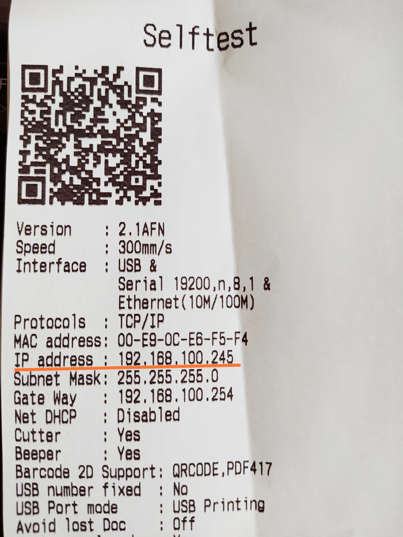
2. Whilst holding the feed button on the front of the printer, turn on the power switch. A red light will flash next to the feed button, followed shortly after by a second. After the second light, release the feed button to get the Selftest print out from the printer.
3. Towards the top of your Selftest receipt you should see your IP address
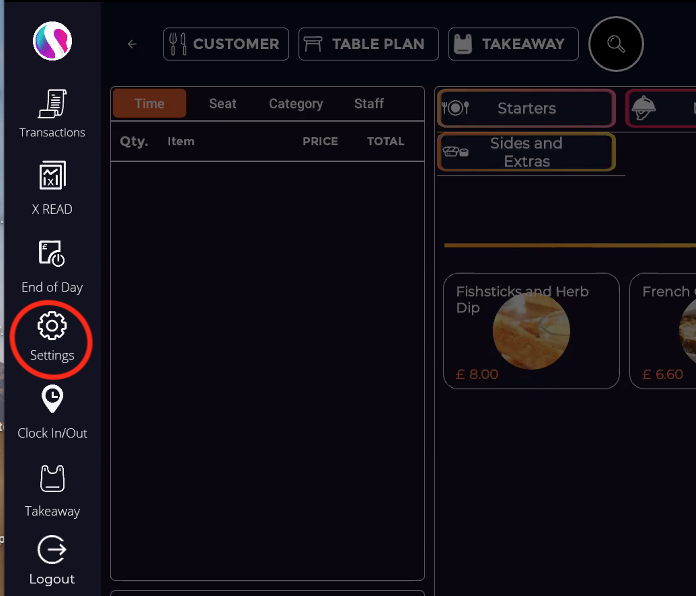
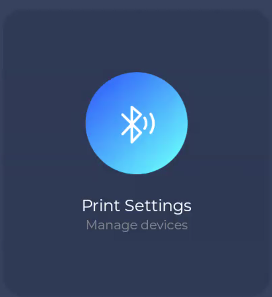
4. On your terminal open up the SPARK app and open the Settings and Print Settings
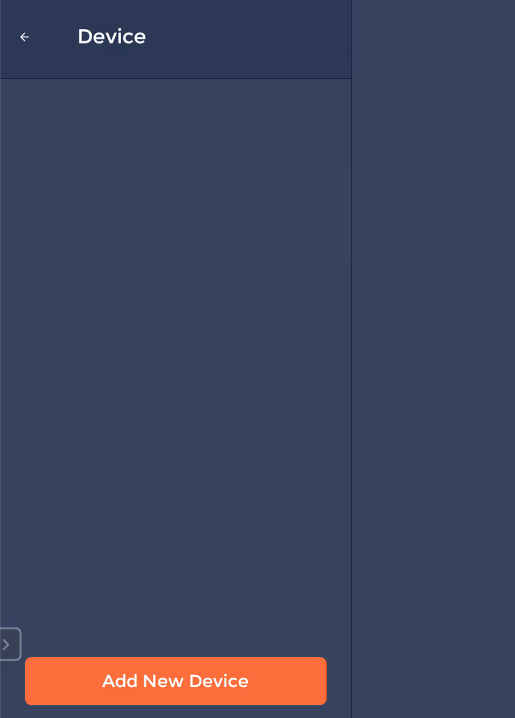
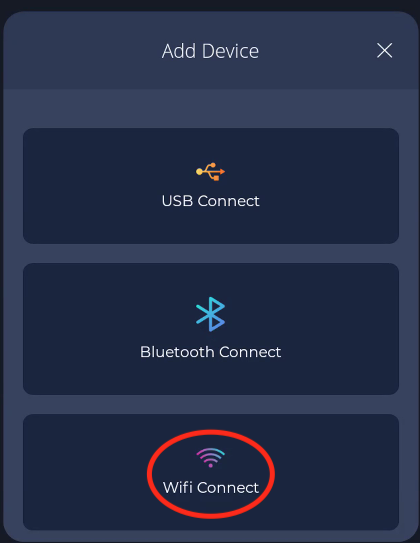
5. Select the Add New Device button and press WiFi Connect
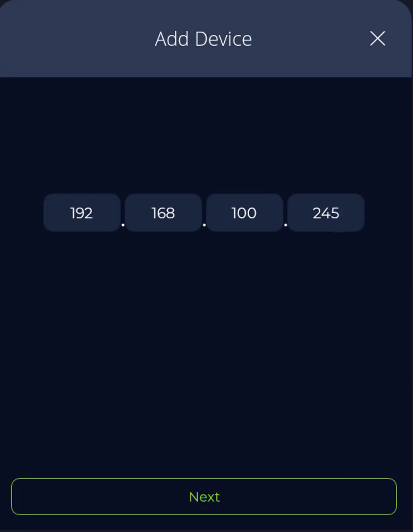
6. Enter in the IP address that you can see at the top of the Selftest receipt and press the Next Button
7. You should hear a chirp to confirm it is working, press the Yes button for confirmation and enter a name for your printer.
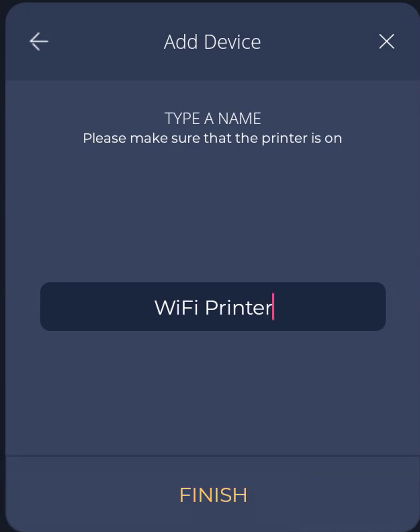
After pressing Finish you will need to set up which categories this printer needs to print. Click here to view our next guide
If you need any more support you can view our video guide below or reach out to us at support@sparkepos.com