
This page covers how to connect the QR scanner to the EPOS terminal using the USB port.
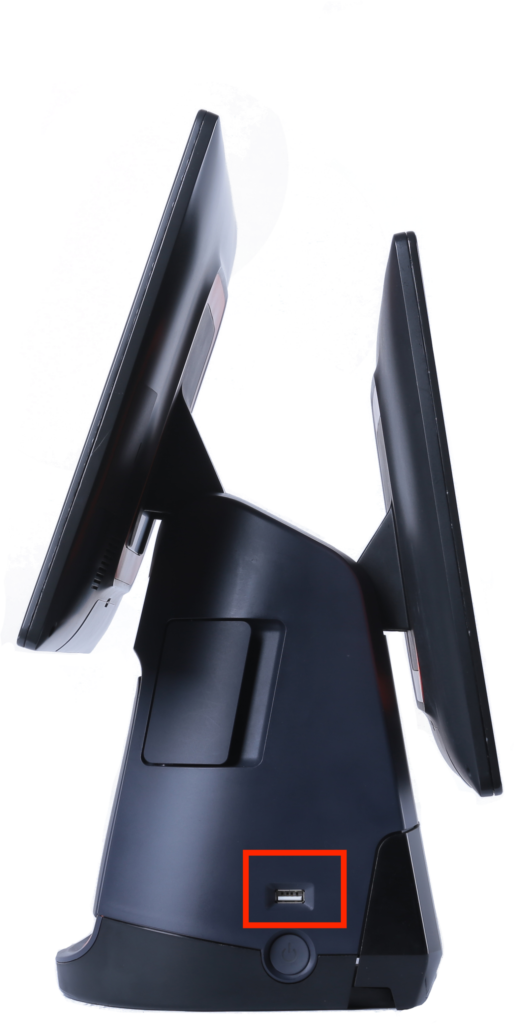
The cable from the QR scanner attaches to the USB port above the Power button on the terminal (shown below)
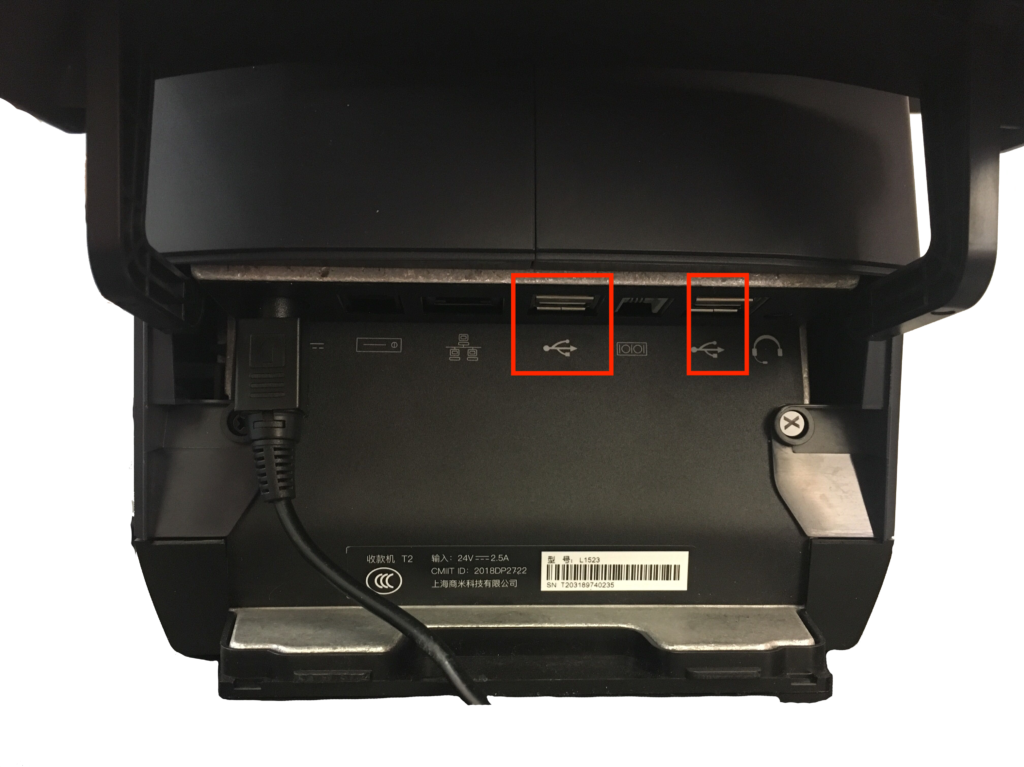
It can also be connected to the ports at the back of the terminal.
Ports Available:
External ports
USB Type A port×5, RJ11 serial port×1, RJ12 cash drawer port×1, RJ45 LAN port×1headphone jack×1, power port×1, Micro-USB debug port×1
Note:
Please ensure your machine is turned on before connecting the QR scanner. The button is found under the USB port shown below.
- Plug the USB into the port on the terminal.
- The QR scanner will beep and light up if connected successfully.
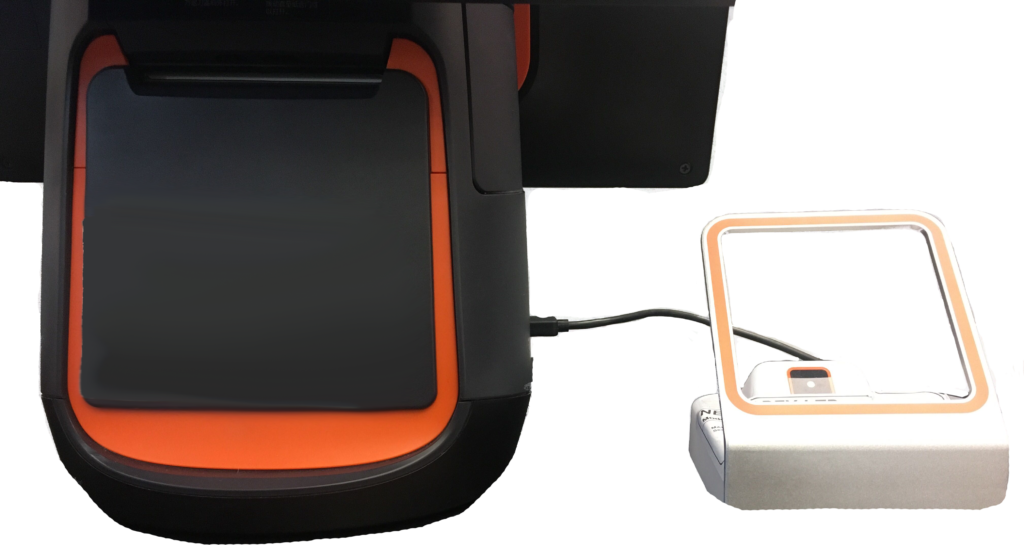
The QR scanner can be used for staff logins and voucher redemptions.
To view the ports at the back of the terminal, lift up the latch as shown below.

2. Connect the USB lead from the QR scanner into either USB port on the terminal, shown below.
3. The QR scanner will beep and light up if connected successfully.
Settings Configuration
After connecting, you will need to configure the settings on your terminal to ensure your device will work properly.
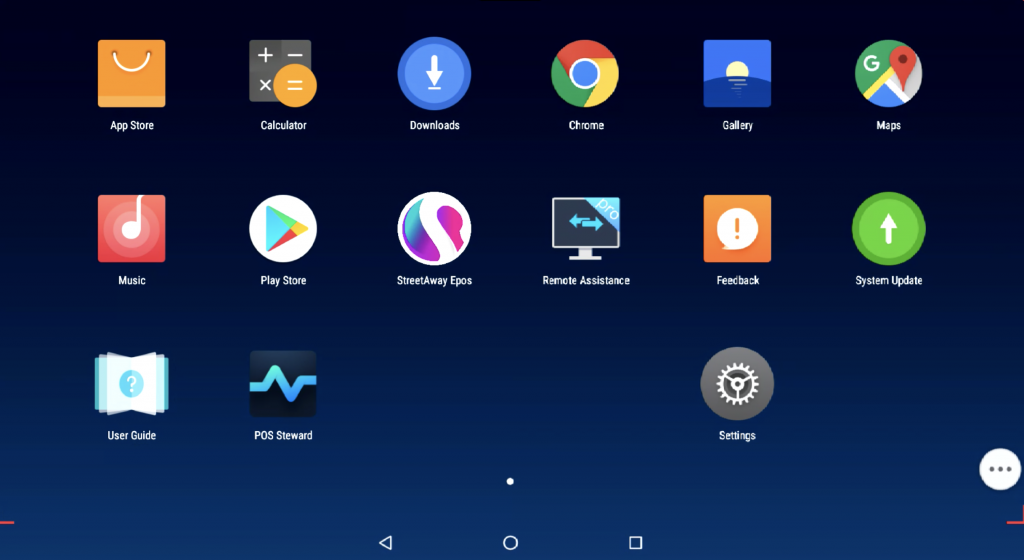
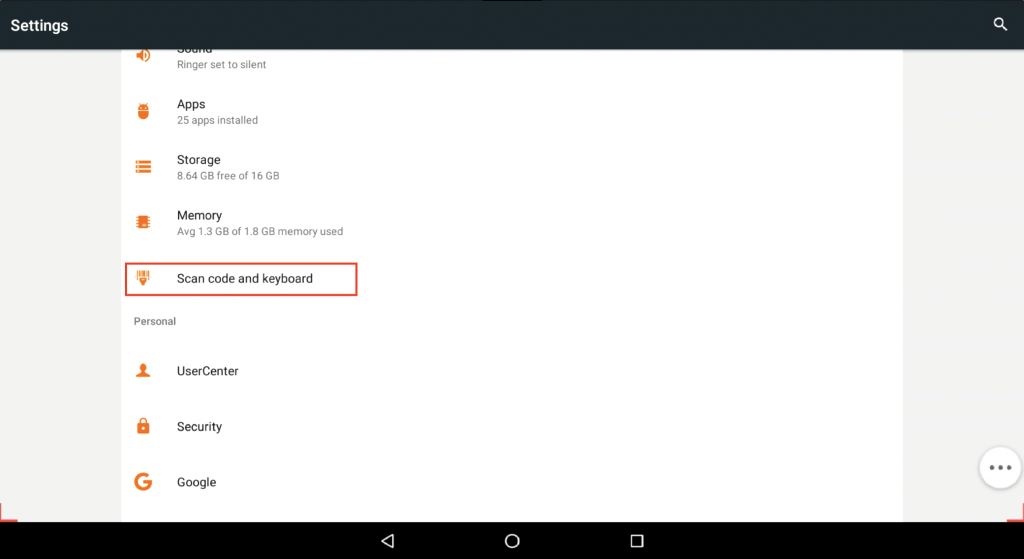
- From the home page on your terminal, select Settings.
2. Find and click 'System', then click 'Scan Code and Keyboard.'
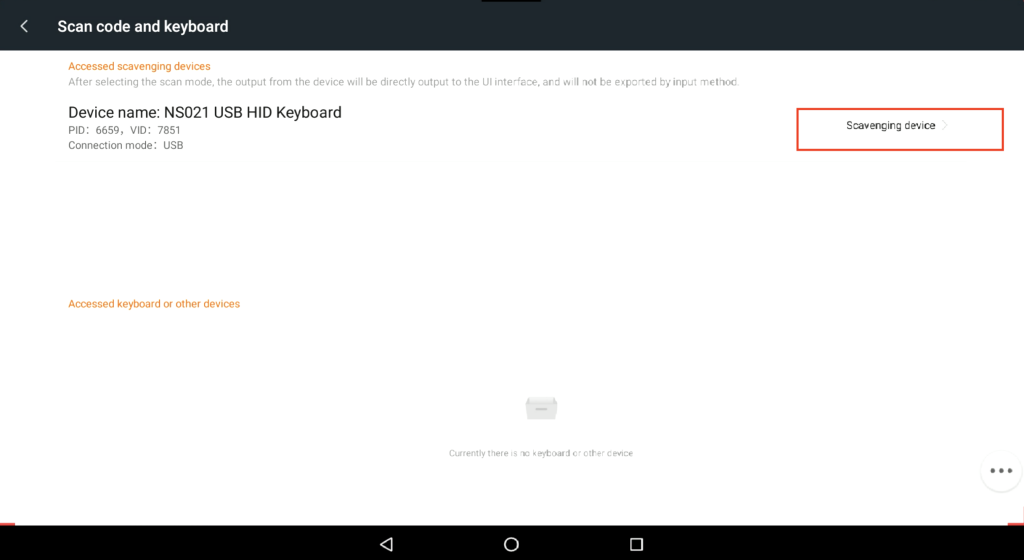
3. Select Scavenging Device.
4. Connect your QR scanner, a message should then appear on your screen, as shown below.
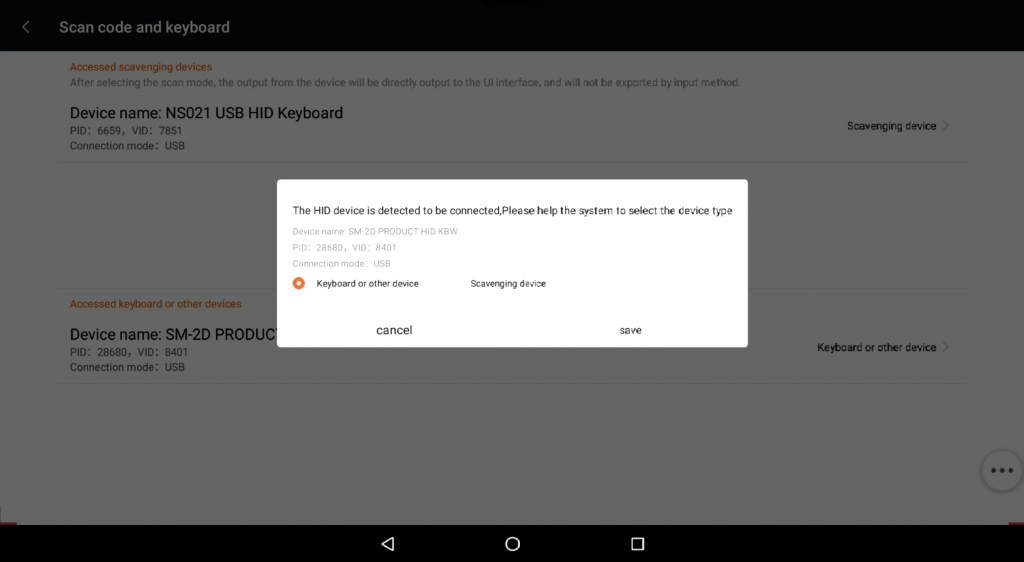
5. Select Save, the device name will now appear in the Accessed Keyboard or Other Devices List.
See Also: How Do I Login and Set-Up The Software?