- How to view your store information
- How to disable the receipt popup
- How to log out after each payment
- How to log out after each order has sent
- How to enable kitchen checks on handheld devices
- How to enable entering the number of customers when selecting a table
- How to enter customer allergens when selecting a table
- How to prompt kitchen bill printing
- How to autofill card payments
- How to customise your home page
- How to set up a printer
How to view your store information
This guide will show you how to view your store information.
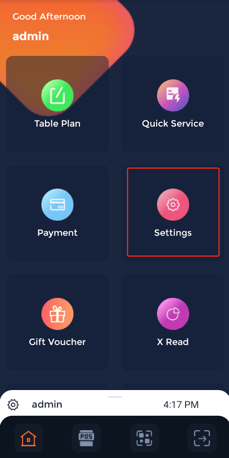
Firstly, click on the 'Settings' section on the home screen.

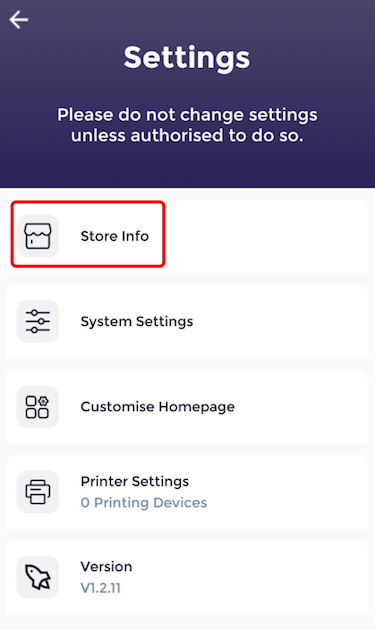
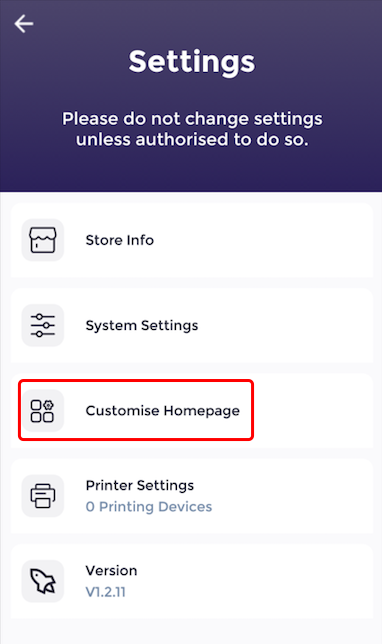
Now you can see your settings. From here, click 'Store Info' to see the stores information.
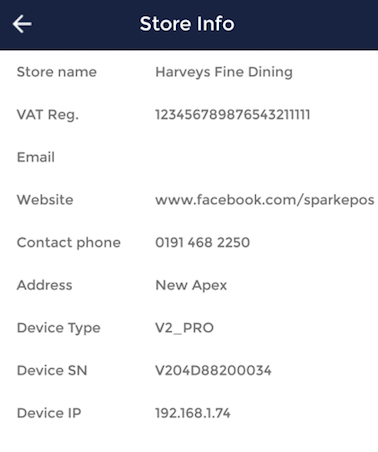
Now you will be able to see your stores information.
How to disable the receipt popup
This guide will show you how to disable the receipt popup.
Firstly, click on the 'Settings' section on the home screen.

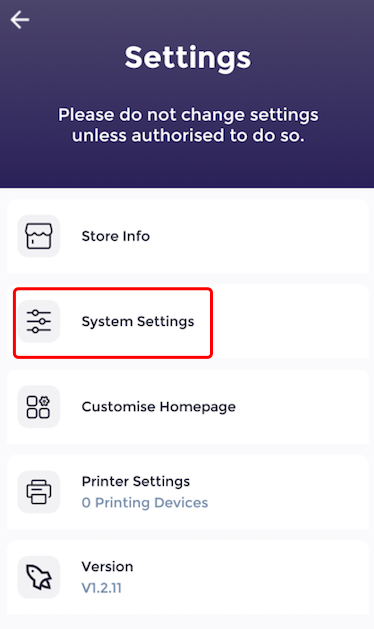
Now you can see your settings. From here, click 'System Settings'.
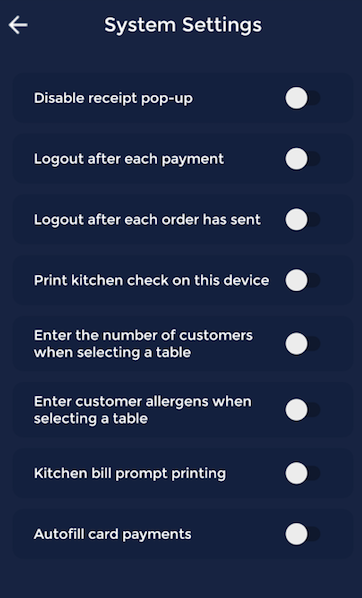
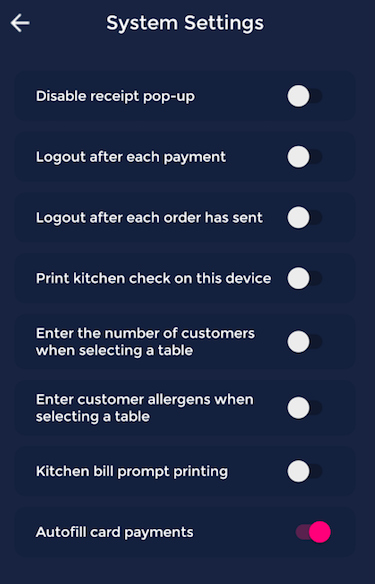
Now you can see your system settings.
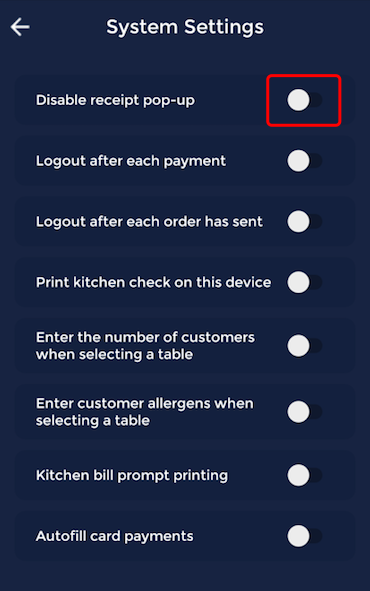
To disable the receipt pop-up, all you need to do is click on the toggle next to the 'Disable receipt pop-up' text, shown here.
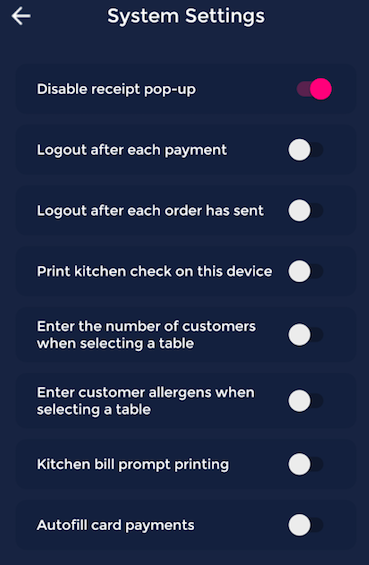
Now the toggle will appear red to show that the receipt pop-up has been disabled.
How to log out after each payment
This guide will show you how to log out after each payment.
Firstly, click on the 'Settings' section on the home screen.

Now you can see your settings. From here, click 'System Settings'.
Now you can see your system settings.
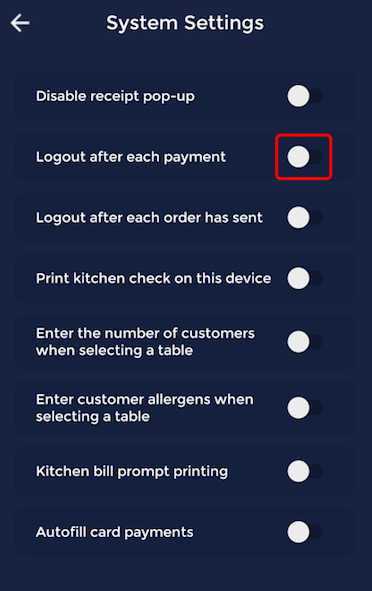
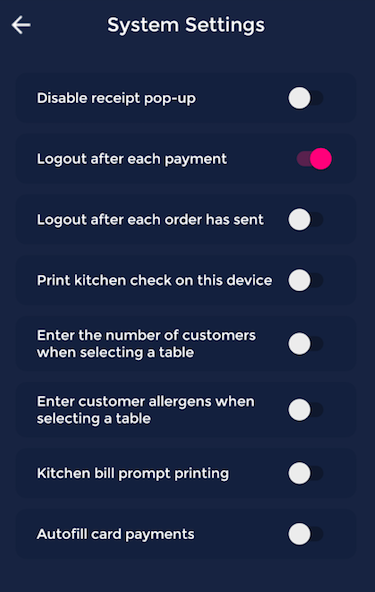
To log out of each payment, select the 'Logout after each payment' toggle, shown here.
Now the toggle will appear red to show that the logout after each payment has been enabled.
How to logout after each order has been sent
This guide will show you how to logout after each order has been sent.
Firstly, click on the 'Settings' section on the home screen.
Now you can see your settings. From here, click 'System Settings'.
Now you can see your system settings.
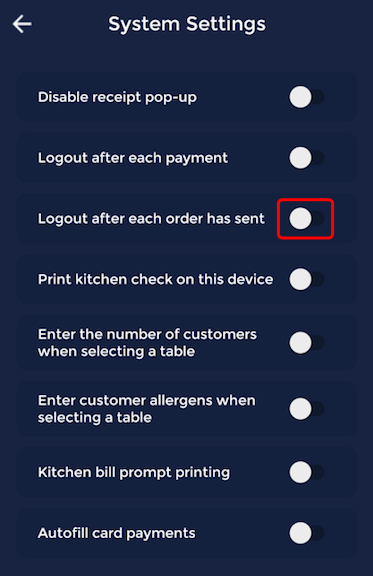
To log out after each order has been sent, select the 'Logout after each order has been sent' toggle, shown here.
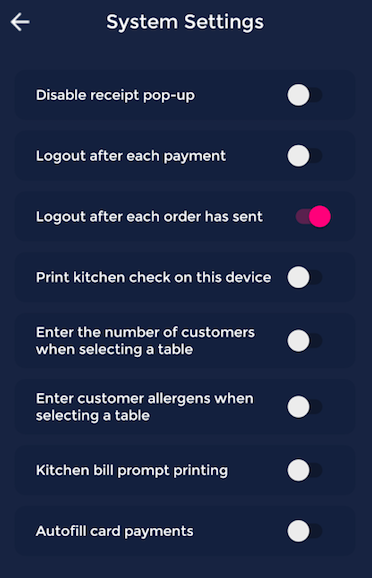
Now the toggle will appear red to show that the logout after each order has sent has been enabled.
How to enable kitchen check on your handheld device
This guide will show you how to enable kitchen print check on your handheld device.
Firstly, click on the 'Settings' section on the home screen.

Now you can see your settings. From here, click 'System Settings'.
Now you can see your system settings.
To enable print kitchen check on your handheld, click on the toggle for 'Enable kitchen check on this device'.
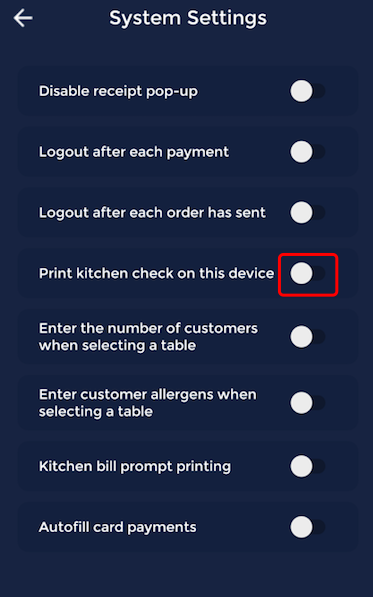
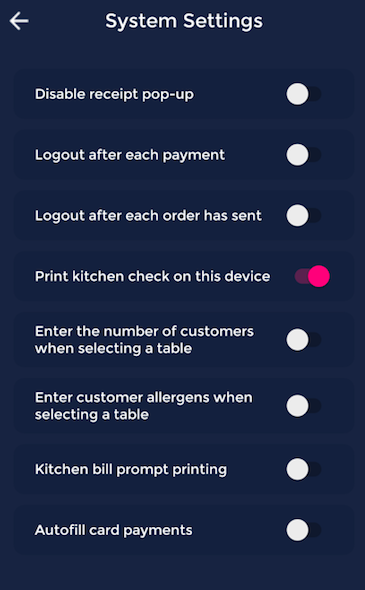
Now the toggle will appear red to show that the print kitchen check on this device has been enabled.
How to enabling entering the number of customers when selecting a table
This guide will show you how to enable entering the number of customers when selecting a table.
Firstly, click on the 'Settings' section on the home screen.

Now you can see your settings. From here, click 'System Settings'.
Now you can see your system settings.
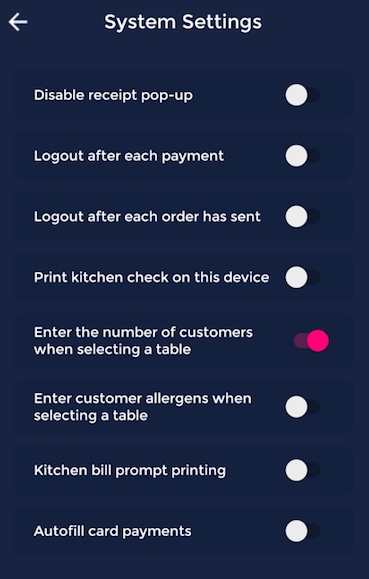
To enable entering the number of customers when selecting a table, select the toggle next to 'Enter the number of customers when selecting a table'.

Now the toggle will appear red to show that entering the number of customers when selecting a table has been enabled.
How to enable entering customer allergens when selecting a table
This guide will show you how to enable entering customer allergens when selecting a table.
Firstly, click on the 'Settings' section on the home screen.

Now you can see your settings. From here, click 'System Settings'.
Now you can see your system settings.
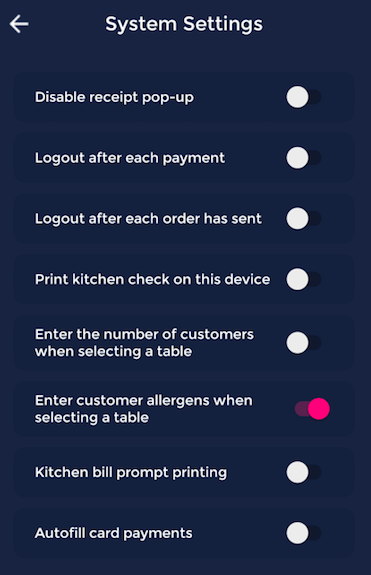
To enable entering customer allergens when selecting a table, you can click on the toggle next to 'Enter customer allergens when selecting a table'.
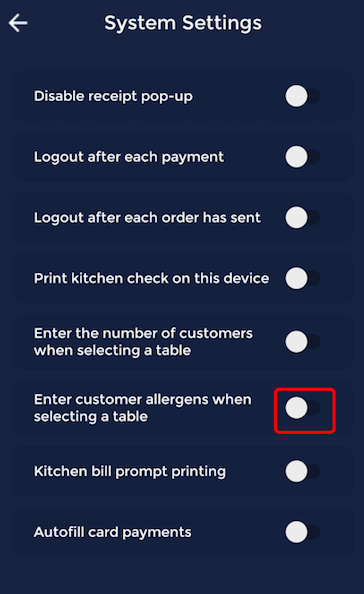
Now the toggle will appear red to show that entering customer allergens when selecting a table has been enabled.
How to enable prompt kitchen bill printing
This guide will show you how to enable prompt kitchen bill printing.
Firstly, click on the 'Settings' section on the home screen.

Now you can see your settings. From here, click 'System Settings'.
Now you can see your system settings.
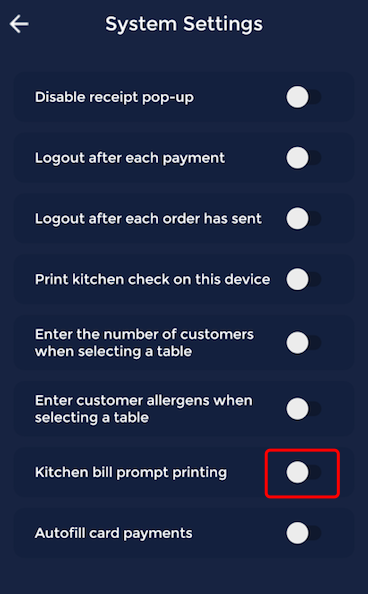
To enable kitchen bill prompt printing, select the toggle next to the 'Enable kitchen bill prompt printing', shown here.
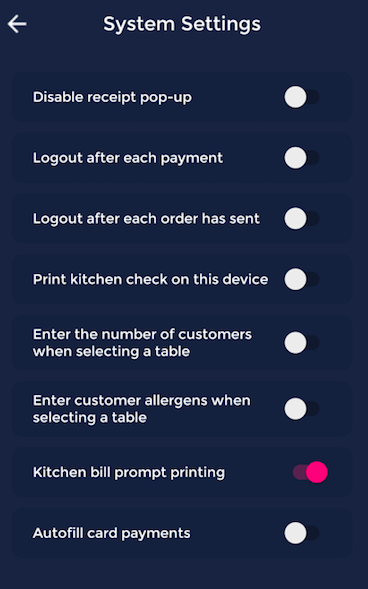
Now the toggle will appear red to show that kitchen bill prompt printing has been enabled.
How to enable autofill card payments
This guide will show you how to enable autofill card payments.
Firstly, click on the 'Settings' section on the home screen.

Now you can see your settings. From here, click 'System Settings'.
Now you can see your system settings.
To enable autofill card payments, select the toggle next to the 'Autofill card payments', shown here.
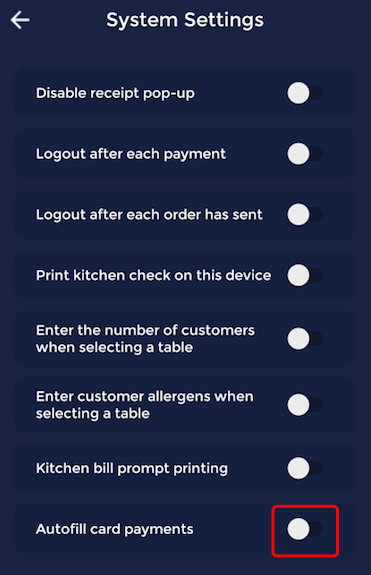
Now the toggle will appear red to show that auto-fill card payments have been enabled.
How to customise your home page
This guide will show you how to customise your home page.
Firstly, click on the 'Settings' section, shown here.

Now you will see your settings. To customise the home page, select 'Customise Homepage'.
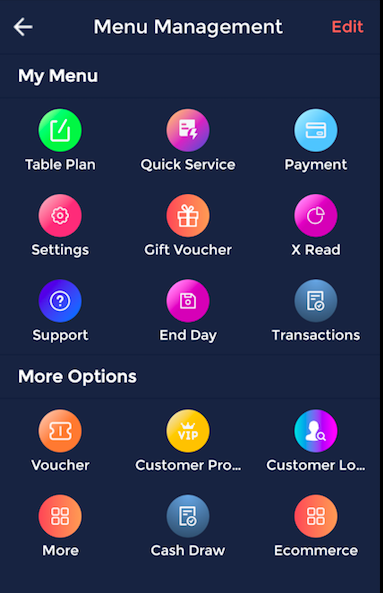
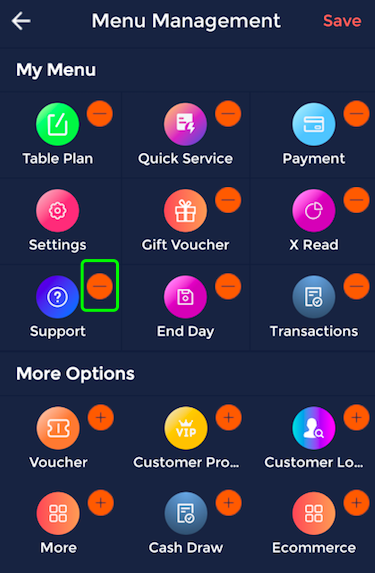
You are now able to see your menu management, where you can see what icons and options show in your menu, and what are in the 'More options' section.
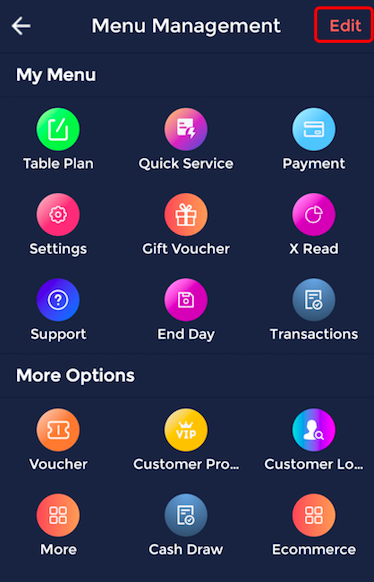
Select the 'Edit' option to edit the display of your menu.
You are now able to remove options from your menu, and add options to your menu. As you can see here, you can click the minus button next to the icon, shown here.
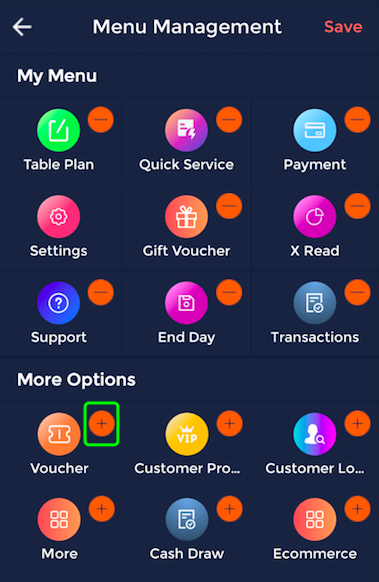
You can also add options from the 'More options' section by clicking on the plus button next to the icon, shown here.
Once you have made the changes you would like to make, click on the 'Save' button located on the top right corner.
How to enable a printer
This guide will show you how to enable a printer on the handheld.
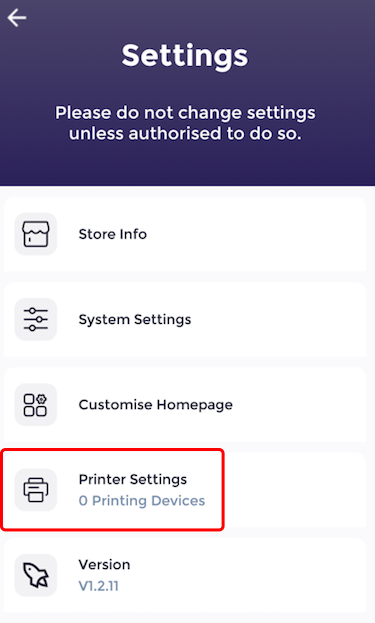
Firstly, click on the 'Settings' section, shown here.

Now you can see your settings. Select 'Printer Settings' to view your printer settings.
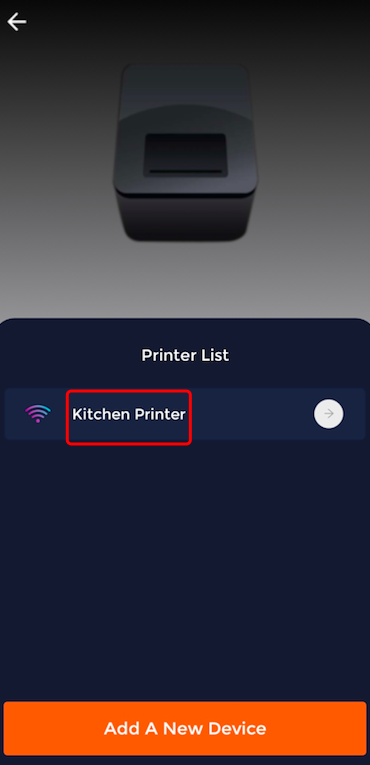
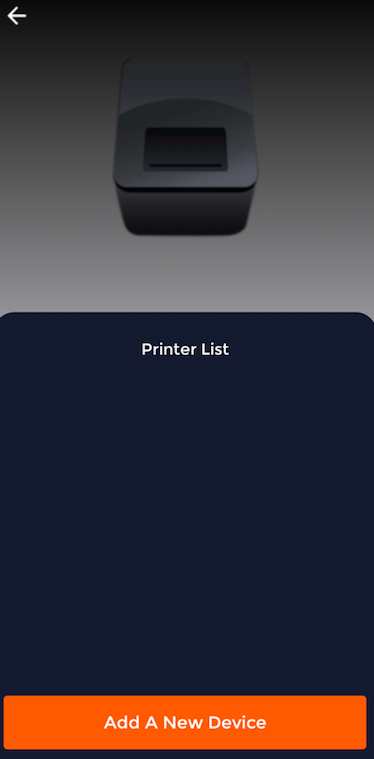
Now you can see your printer list. To add a new printer, select 'Add a New Device'.
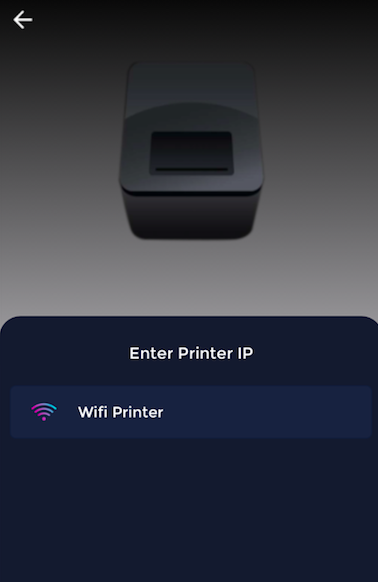
You can then click on the Wi-Fi Printer option.
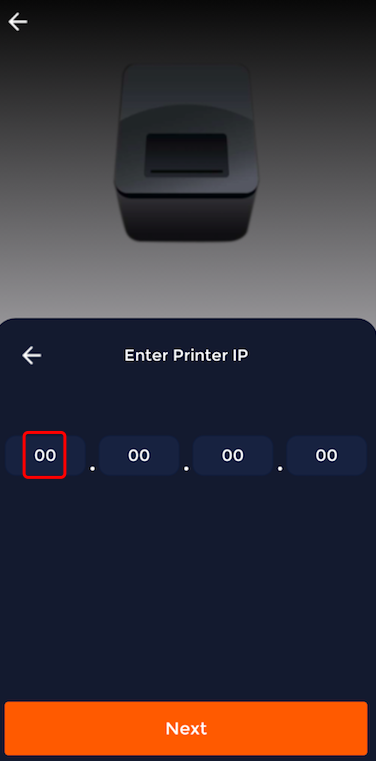
Now you are able to enter the printers IP address. To do this, click on the boxes with the 00's shown, and enter in the address.
Once you have finished this, you can click 'Next'.
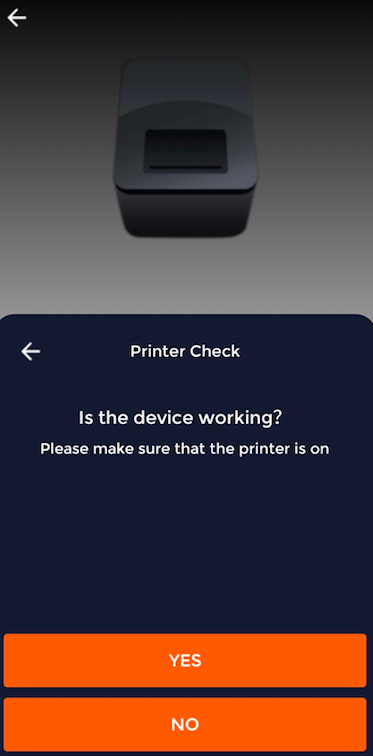
Is your device working? Please make sure your printer is on. If you know the printer is working, click 'Yes'.
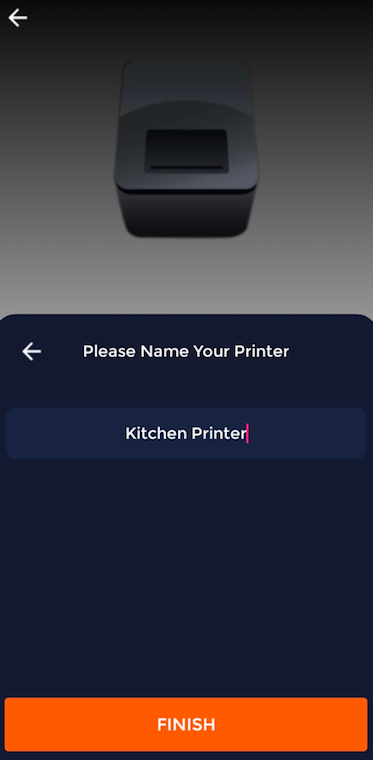
Now you are able to enter the name for your printer, by typing it in the box provided.

Once you have done this, you can click 'Finish'.
Now your printer will be shown in the printer list, shown here.