To begin, make sure you've logged into your Cloud HQ account.
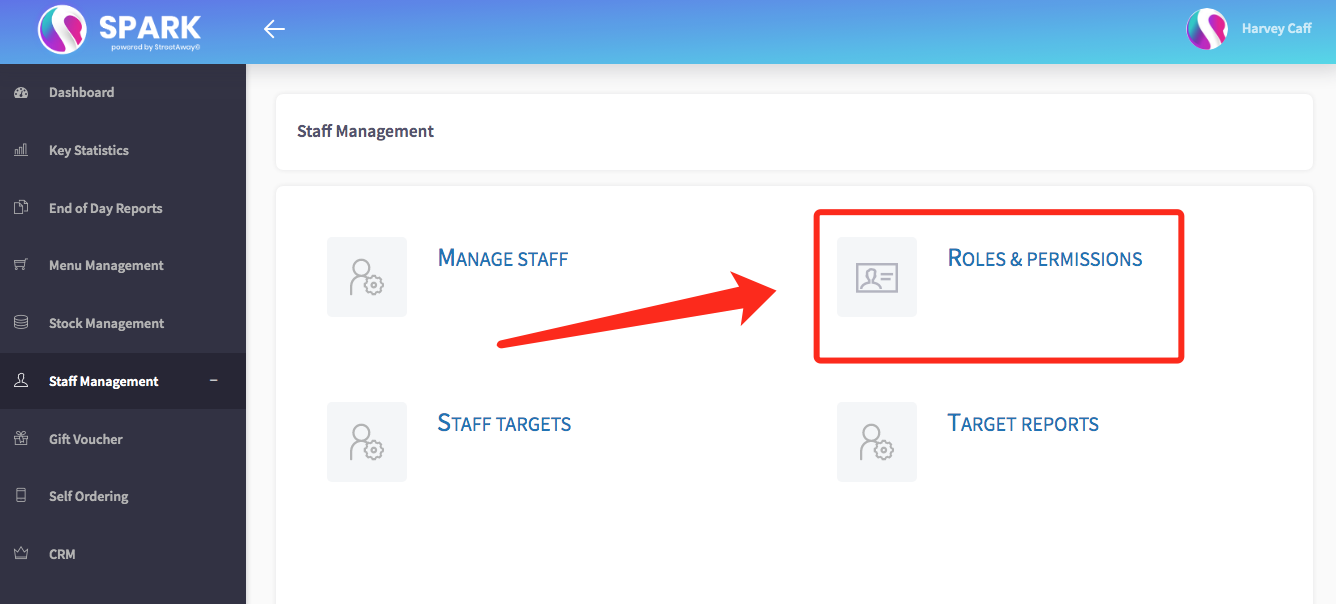
Start by finding Staff Management on the left-hand toolbar.

On the following screen, select Roles & Permissions to bring up the Role List.
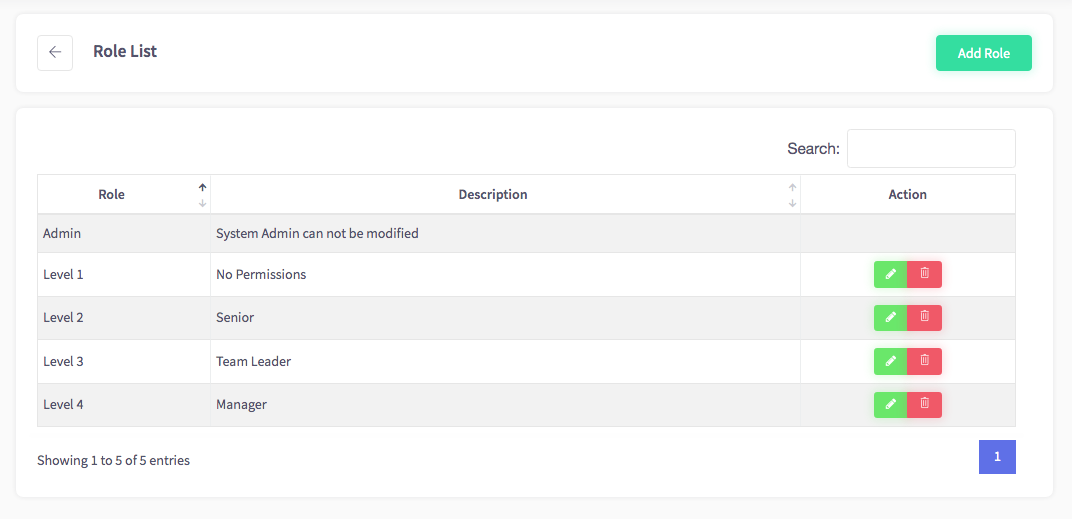
On this screen, you can review each of the roles currently on your system. You can name them whatever you like - we've used Levels 1-4 to illustrate in the screenshot above. Note that the Admin role cannot be edited or deleted.
From here, you can either create a new role by clicking the green Add Role [1] icon or edit an already existing one by clicking the green Edit [2] icon.
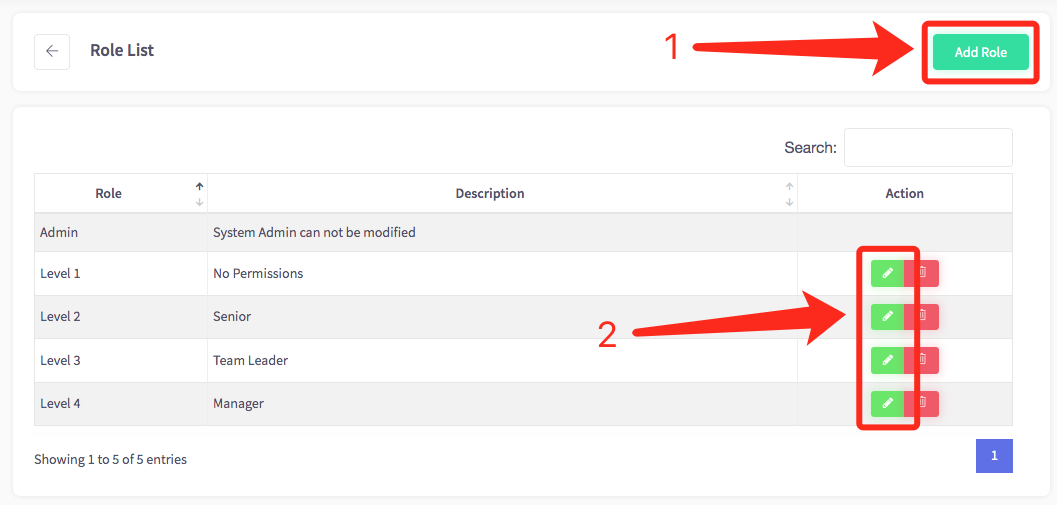
Whichever you choose, you'll be faced with the following screen:

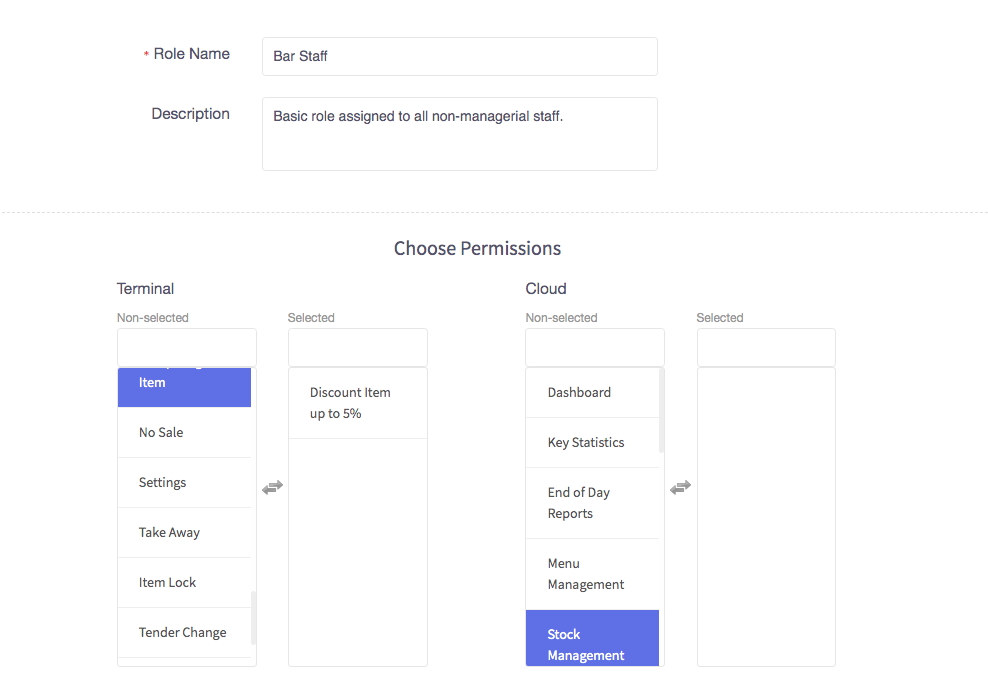
We recommend using a unique name for each role you create to distinguish between them. We also recommend that you write a brief description of each role to summarise the rights and permissions assigned to it.
You'll see that there are two columns: Terminal on the left, and Cloud on the right. You can select specific operations that users with this role are allowed to perform. For example, when creating a standard staff member role, you might not wish to let them provide discounts greater than 5% to customers when using the terminal. In this case, you would only select Discount Item up to 5% in the left-hand column. Similarly, you likely don't want your general staff to access Cloud HQ, so you wouldn't assign any Cloud permissions to them at all. Permissions are unassigned by default and must be manually assigned. See the below screenshot for a visual example:
Once you're happy with the assigned permissions, click the green Save All button in the top-right corner to finalise your changes.