Before you do anything, make sure you login into your store account SparkEpos
How to edit a reason
This guide will show you how to edit a reason on your Cloud HQ.
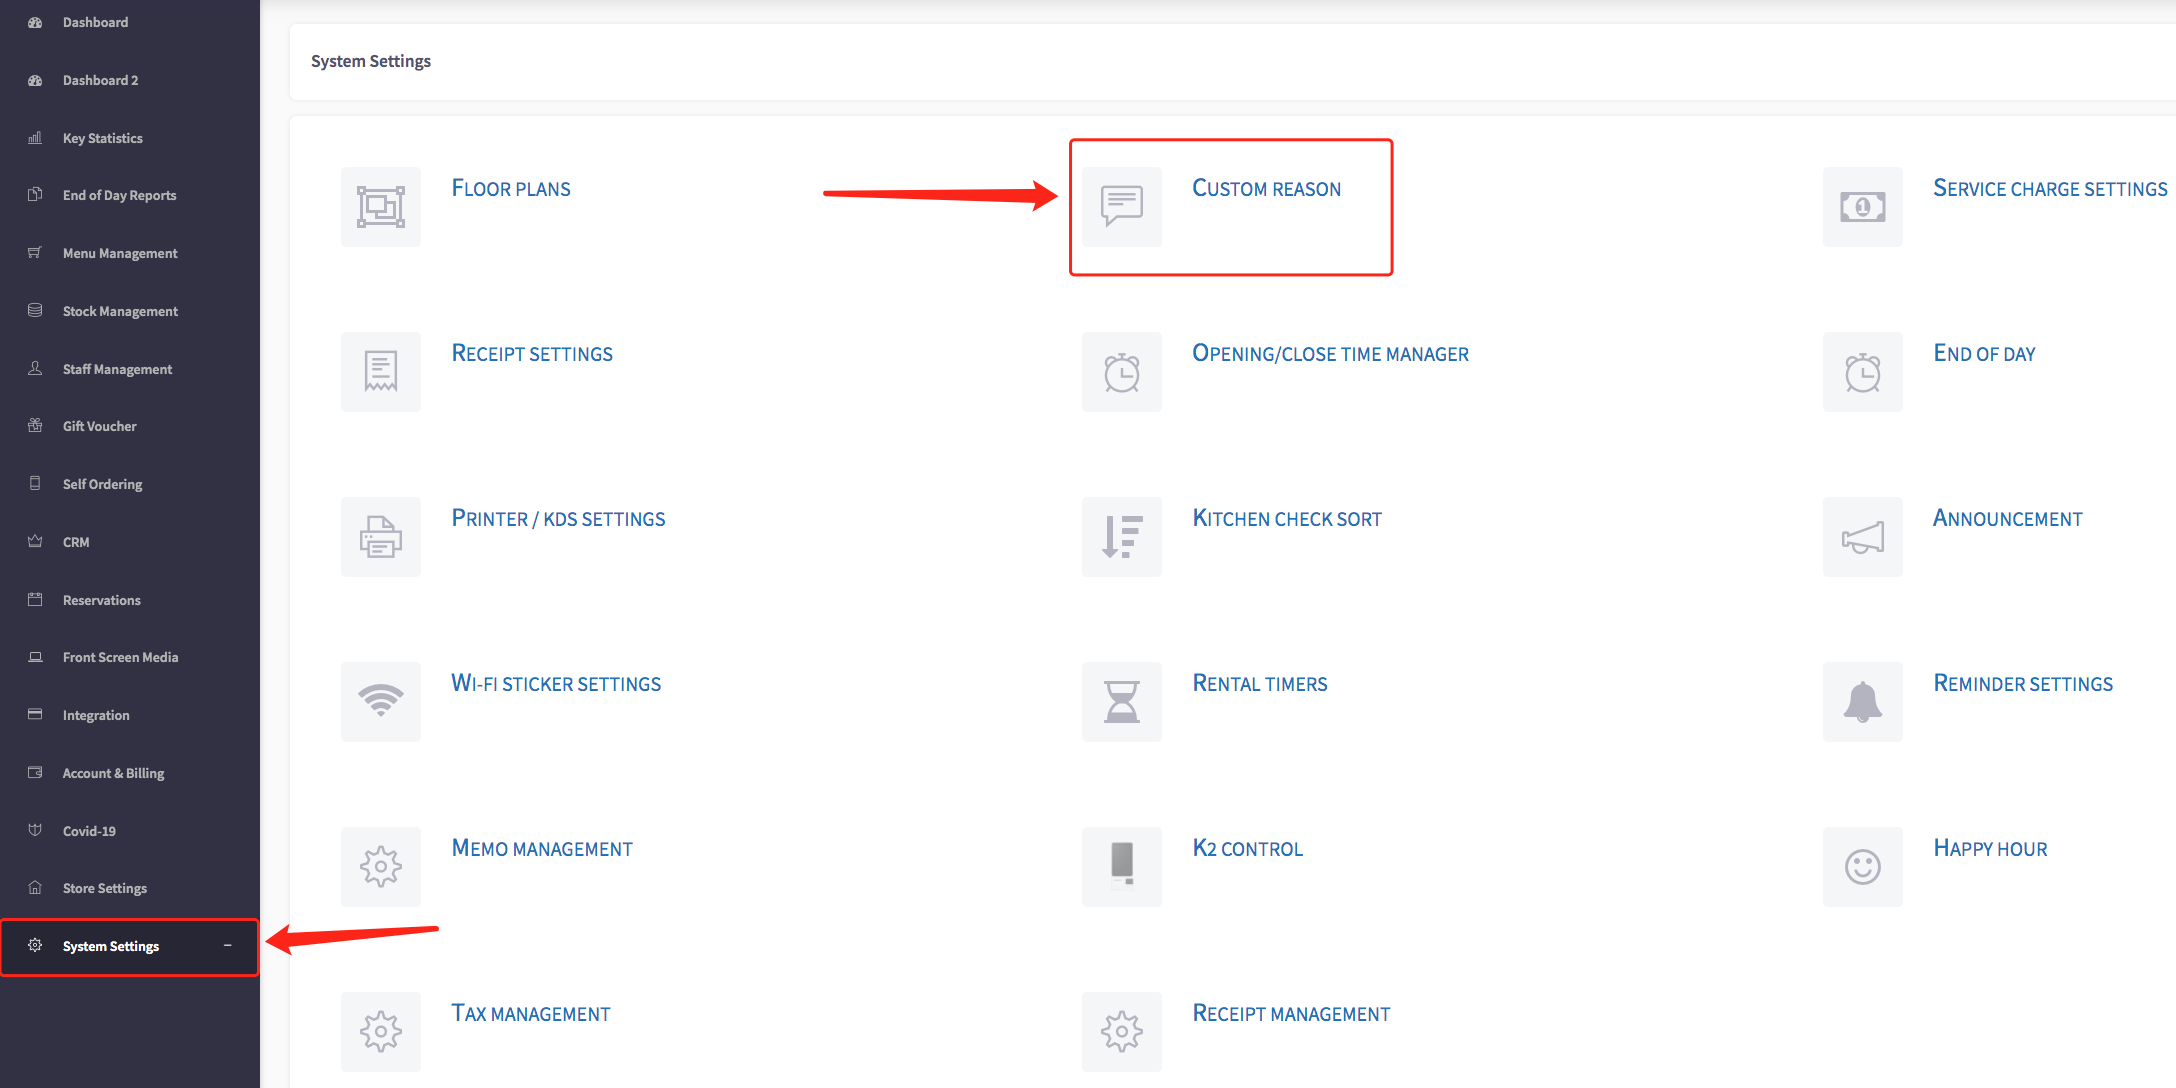
Firstly, scroll down to click on the 'System Settings' on the left-hand side, then the 'Custom Reason' option in the menu.
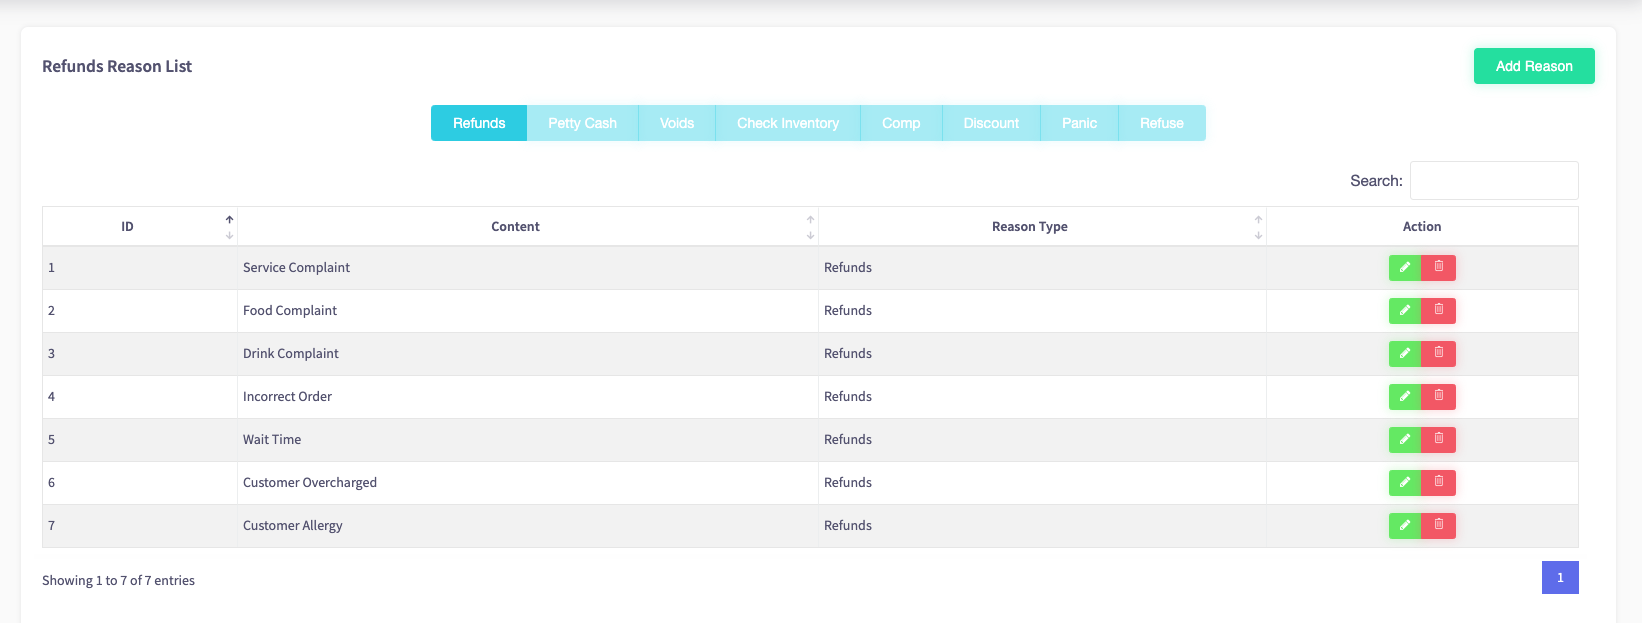
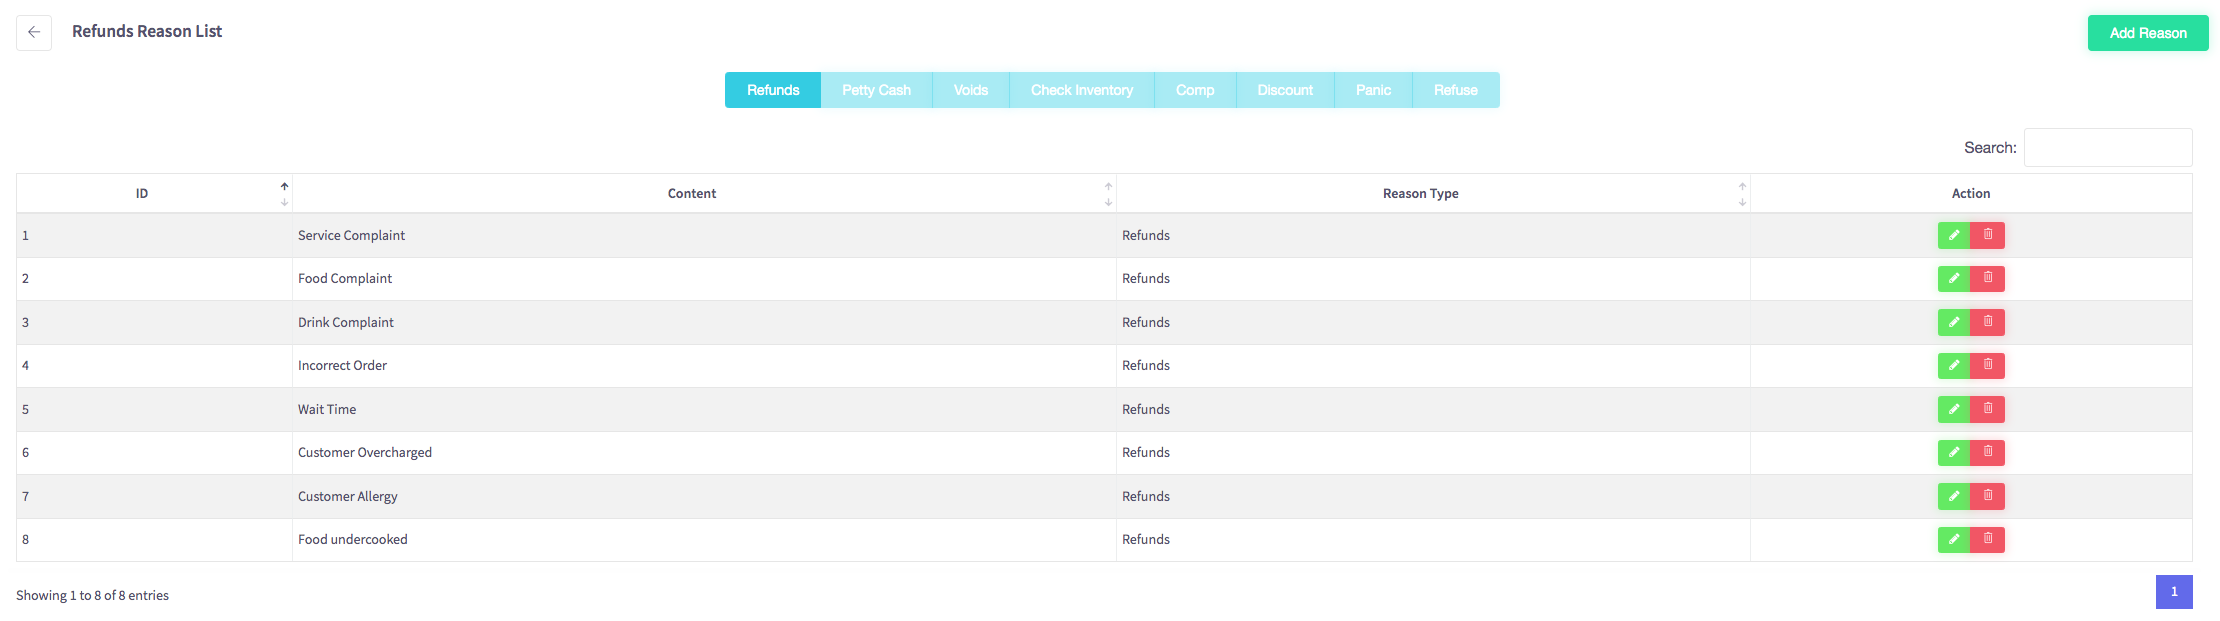
This will display the reason list, shown below.

To edit a reason, simply click on the green pencil icon on the action column on the right-hand side of the menu.
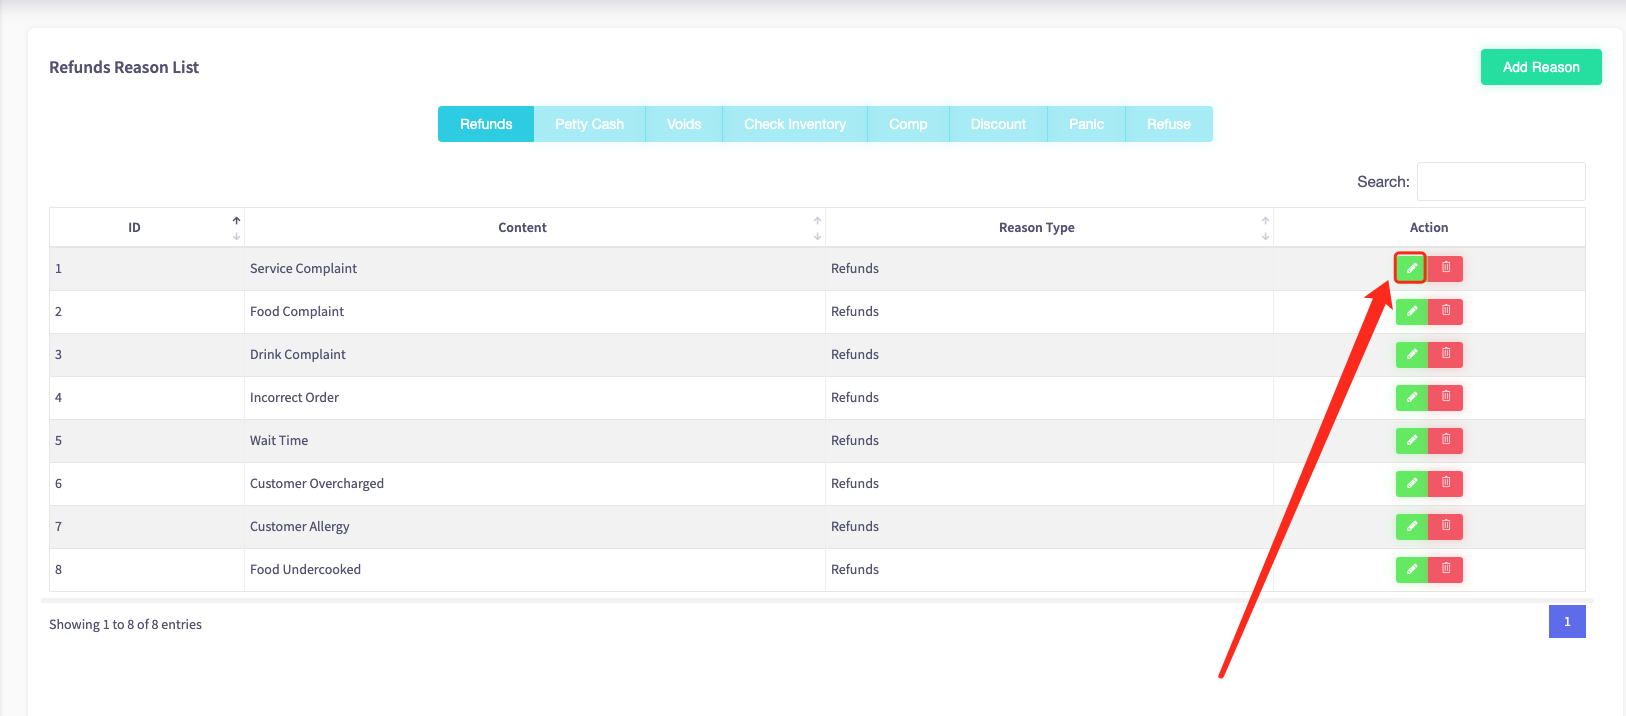
The edit refunds reason will appear, here it gives you the option to edit your reason. Once you have edited your reason, press the "Save" button.

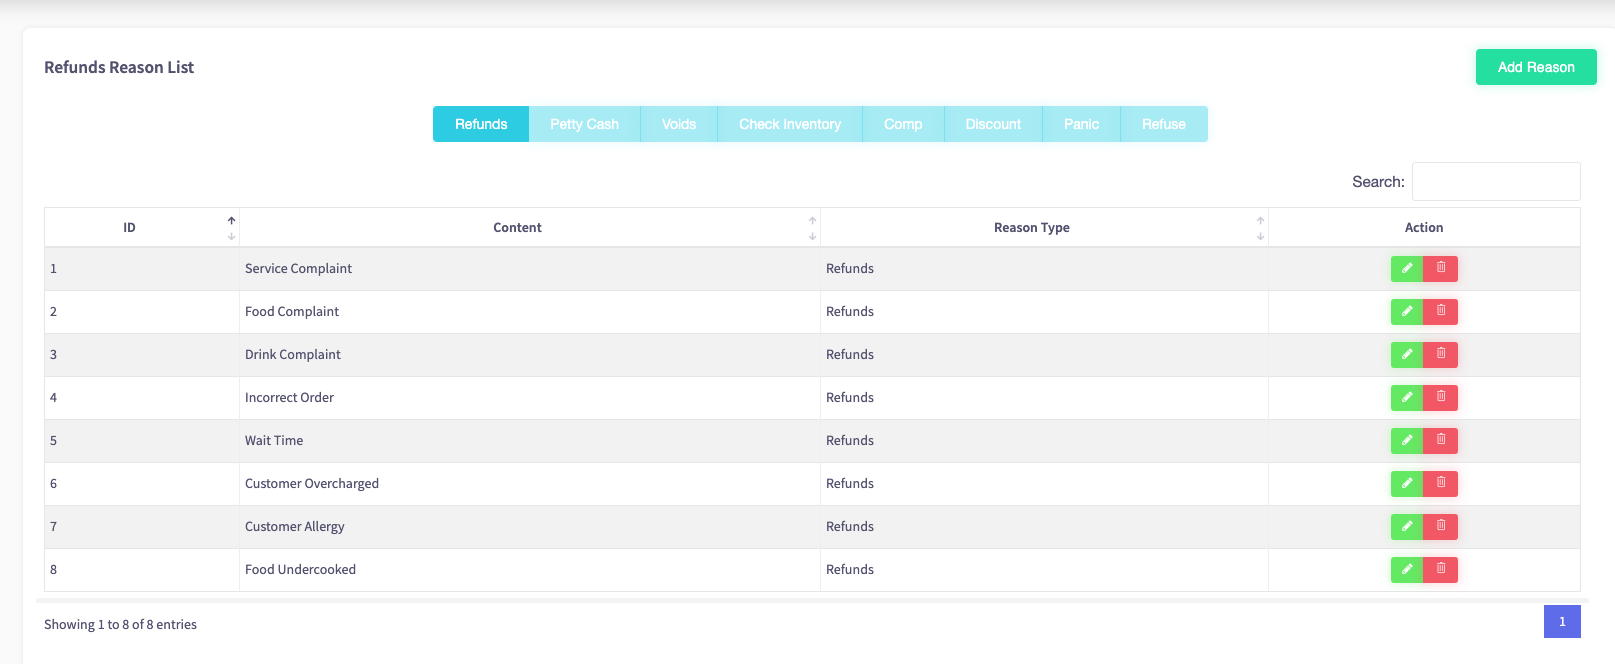
Your reason changes will be updated.
How to delete a reason
This guide will show you how to delete a reason on your Cloud HQ.
Firstly, scroll down to click on the 'System Settings' on the left-hand side, then the 'Custom Reason' option in the menu.
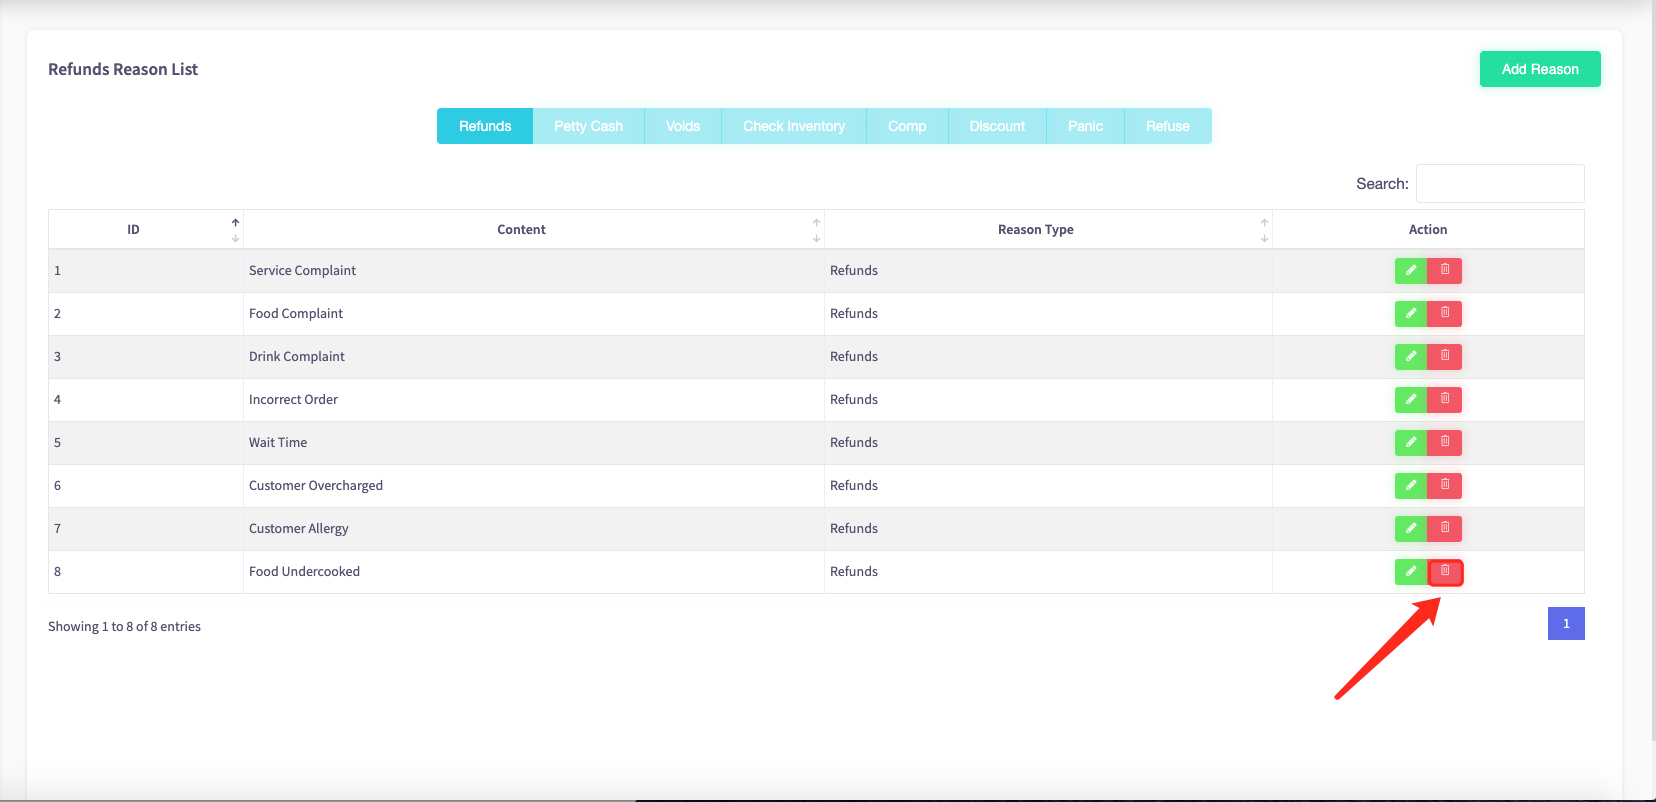
This will display the reason list, shown below.
To delete a reason, click on the red bin icon located on the action column of the reason list.
When the icon is clicked, a warning message asks you "Are you sure you want to delete this reason" if you are sure to click the blue yes button.
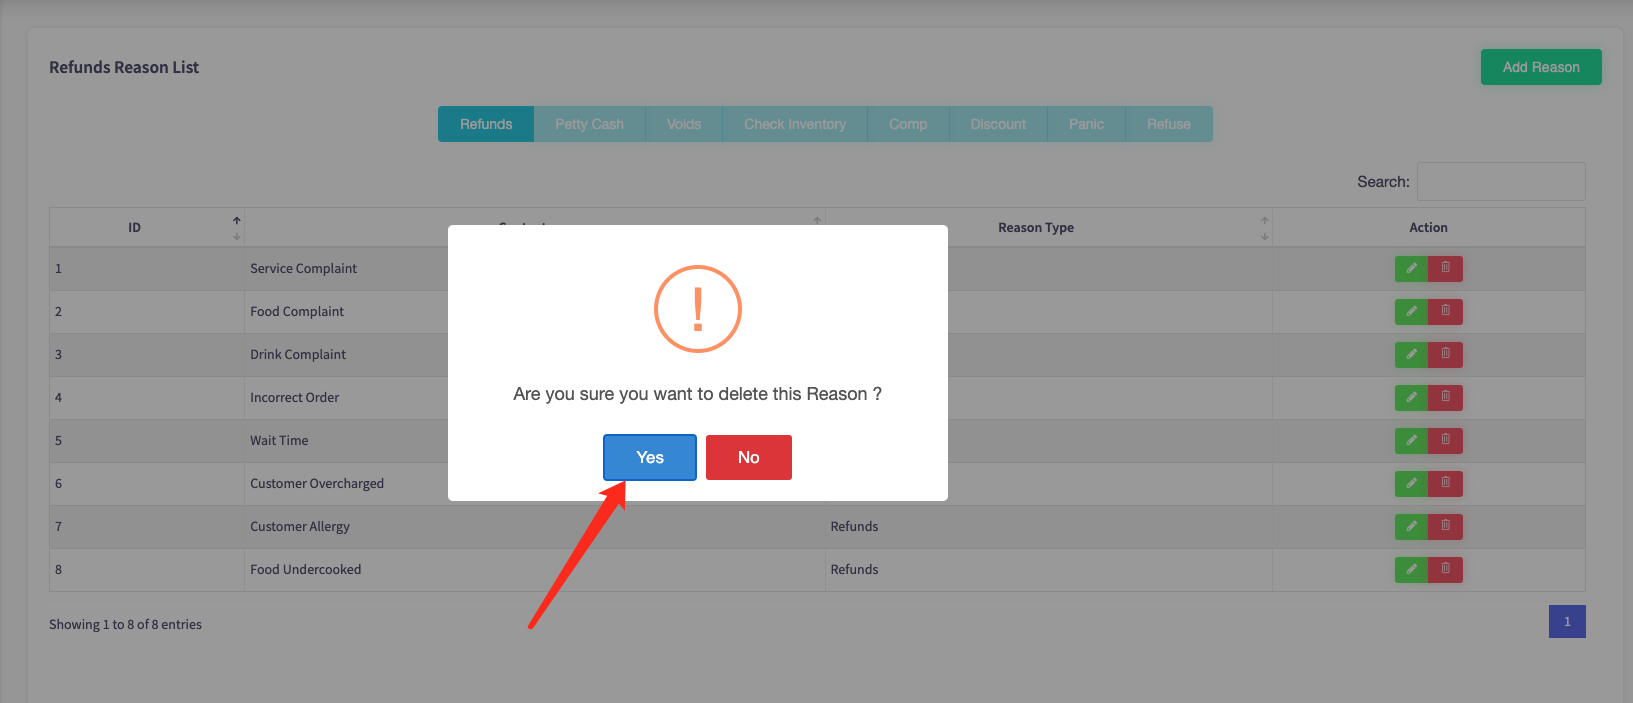
Your reason will be deleted from your reason list.