How to Turn On Your Robot?
To activate your robot, please hold the power button for 3 seconds, ensuring you start it at the designated starting point. The same procedure applies if you wish to power off your robot.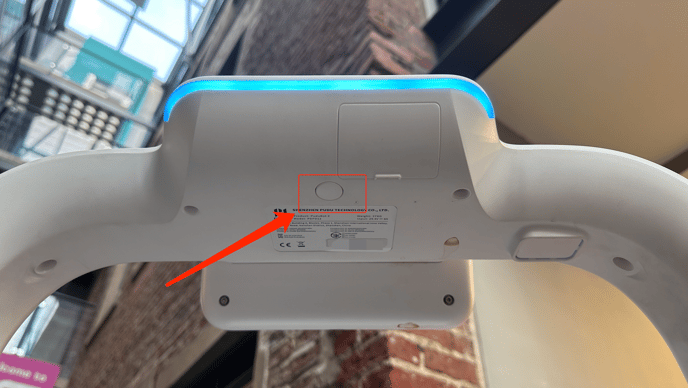
Please refer back to the email you received after the installation of the designated starting point if you are unsure of the correct location.
How To Charge Your Robot.
To charge your robot, locate the charging port at the back of your robot. Plug the charger directly into a mains plug socket, and avoid using a socket extension. There is also the option to charge PuduBot 2 with the charging dock. 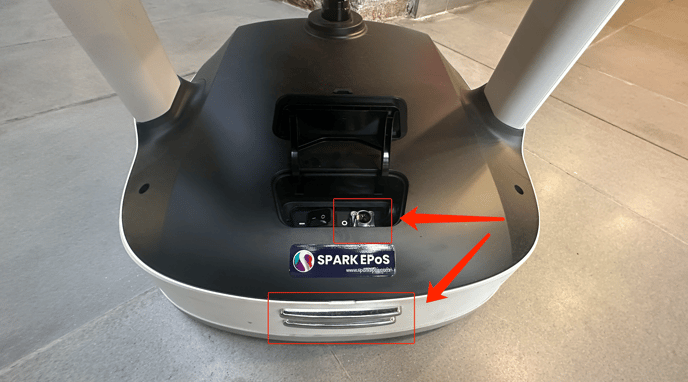
Important note: If you have a charging dock, Ketty will automatically place itself on charge when the battery is starting to run low.
What Are The Robot Delivery Modes?
There is a wide range of different modes to choose from. We recommend that you take some time to explore and discover what PuduBot2 has to offer. Here are the different modes PuduBot2 has to offer:
- Food delivery mode
- Delivery mode
- Cruise mode
- Birthday mode
- Direct mode
- Collection mode
Other Features.
- Calling function: You can install the "Pudu Beeper" application on your mobile device. This will enable you to send the robot to specific locations directly from your smartphone. Click here for more information.
How To Cancel A Task?
To cancel the operation of your robot, tap on the screen. You will find an option called "cancel all." Tap on it, and the system will prompt you to confirm your selection.
Robot Settings.
To access the Robot settings, click on the "more" option, and then select "settings." Here, you can adjust settings such as the music played during delivery, speed settings, and language preferences. We recommend taking some time to customise the robot to suit your needs.
Emergency Stop.
In case of an emergency requiring an immediate halt of all robot functions and movements, use the emergency stop button located on the top of the robot. Simply press down to disable the motors. To resume operation, twist the toggle to release.
Note: Using an emergency stop on an incline may cause the robot to roll down as the motors have been disabled. Exercise caution when performing an emergency stop.
User manual.
Please contact support@sparkepos.com to receive the manual.
Frequent maintenance.
To ensure the long lifespan of your new robot, we advise you to consult our maintenance guide. Additionally, we recommend assigning one of your staff members to take responsibility for the robot's care and maintenance.
Click here to view the robotic maintenance guide.
If you require any support don't hesitate to reach out to support@sparkepos.com