- How to add a 'Spend £X, get Y% discount' promotion
- How to add a 'Buy X, get Y free' promotion
- How to edit promotions
- How to hide promotions
- How to delete promotions
How to add a 'Spend £X, get Y% discount' promotion
This guide will show you how to add a 'Spend £X, get Y% discount' promotion.
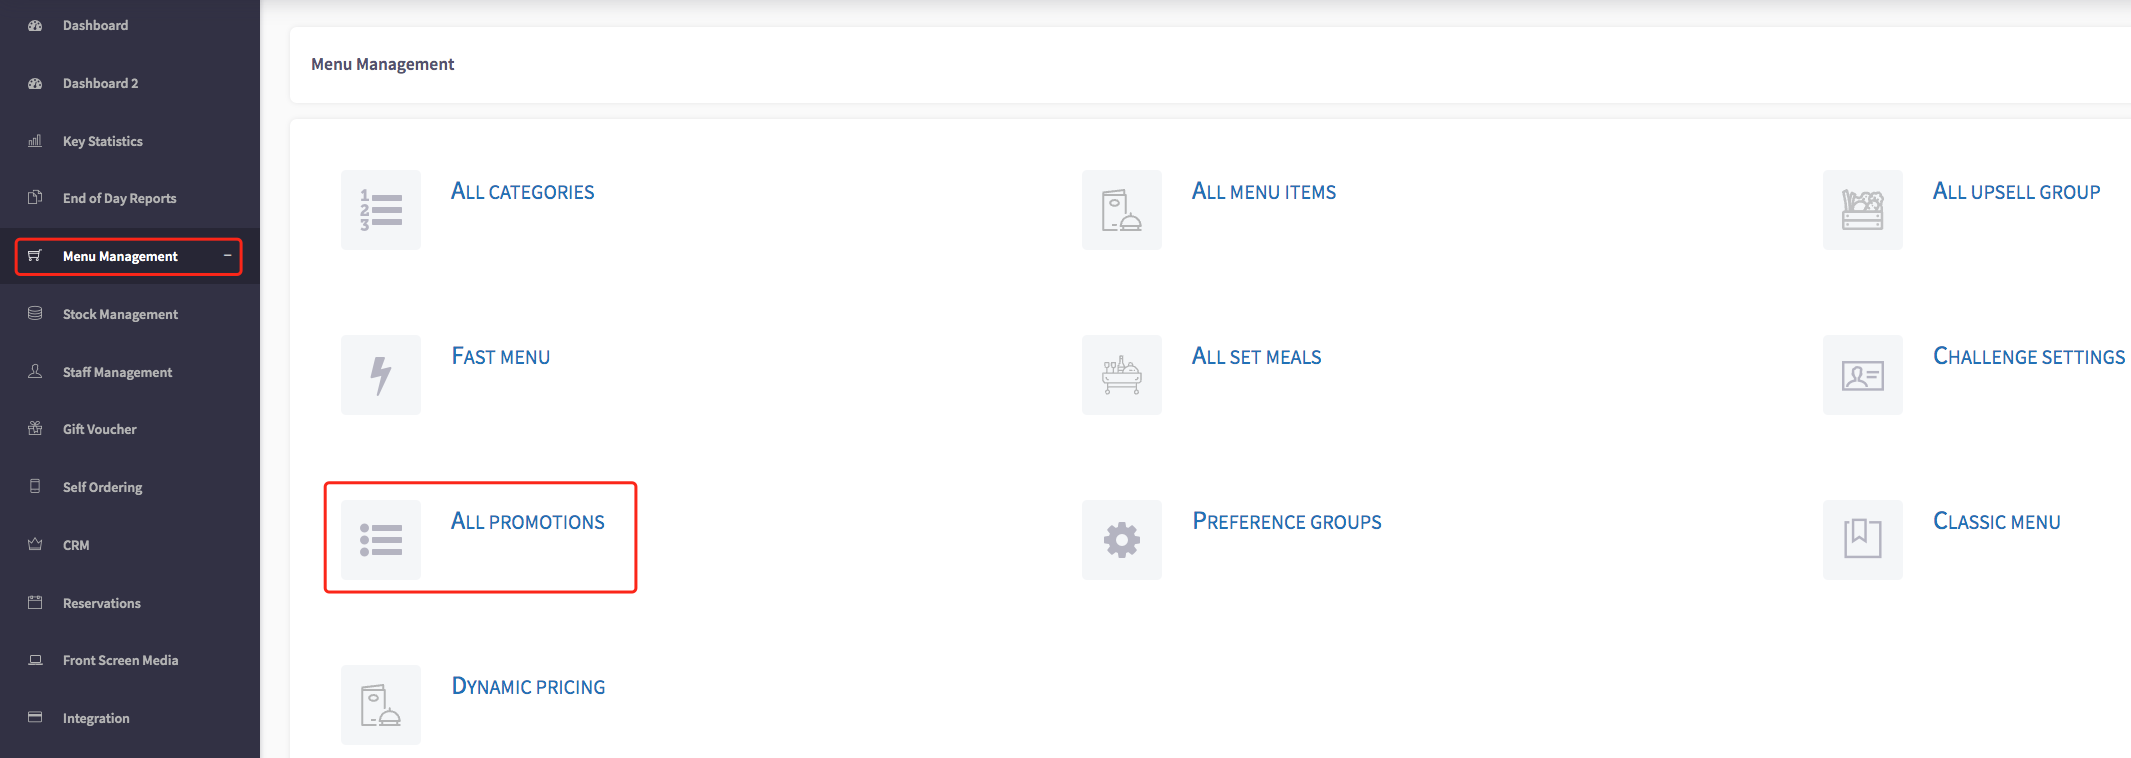
Firstly, select 'Menu management', then the 'All promotions' section.

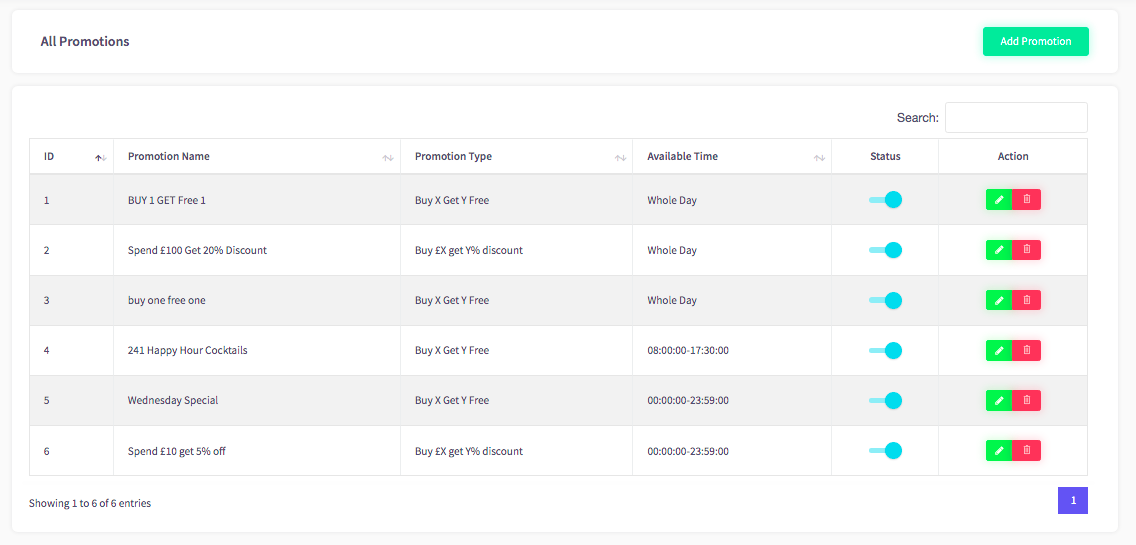
This will then take you to the all promotions page, shown here.
To add a promotion, select the 'Add promotion' green button, shown here.

This will then allow you to add a promotion. You can create a name for the promotion, and the type of promotion.
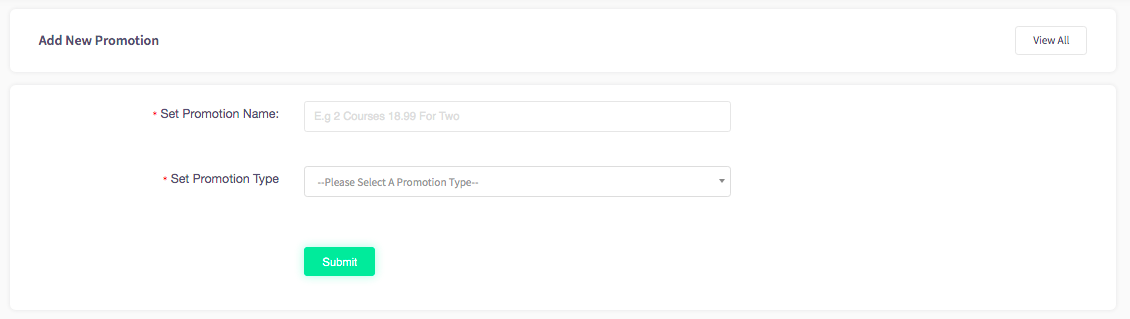
To create a name, you can type in the box, shown here.

To select the type of promotion, you can click on the drop down bar, shown here.

Here you can select the 'Buy £X, Get Y% Discount' option by clicking on it.

When selecting this option, it has created some options for you to choose.
For example, this setting is, if you spend a certain amount of money, you can get a discount/percentage off.
Here I have added £10 to the 'Buy' section, and 20% to the discount section, this shows that if a customer spends £10, they can get 20% off.
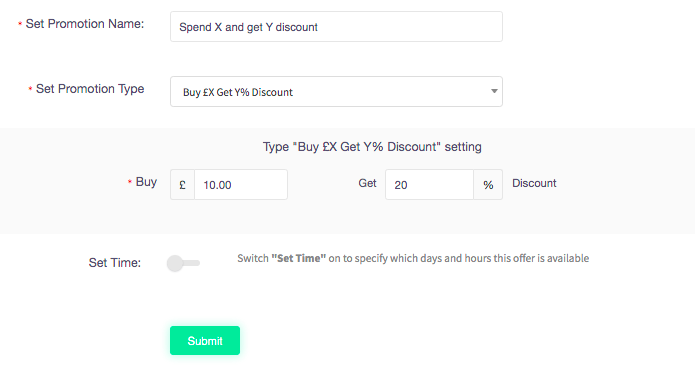
If you want to set a specific time for this offer, you can follow the steps below.
You can also set a time if you want to be more specific and have this promotion on at particular times of the day. To do this, you can click on this toggle, shown here.

Once you have clicked on the toggle, you are able to set your start time, and end time.

For more advanced options you can use the custom set time toggle, to use this function, you can click on this toggle, shown here.
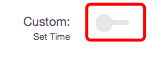
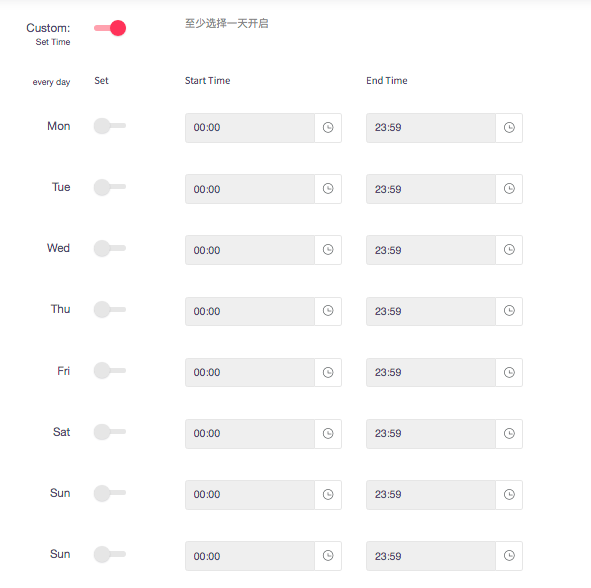
When clicking on the toggle, this will appear.
This custom set time function allows you to set specific times for each day.
For example, you may want the starting time to be 2pm on Monday, and the end time to be 10pm.
But on Tuesday, you would like the start time to be 3pm and the end time to be 7pm. This allows you to enter any times you like in these sections.

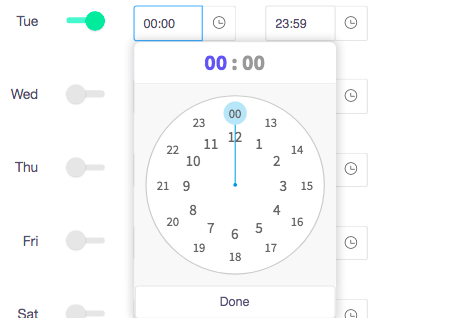
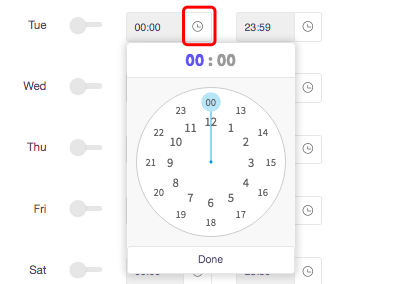
To change the time, you can click on the clock icon, shown here. This will then show you a larger version of a clock where you can alter the time. All you need to do is click the 'Done' button once you have changed the time.

You can set this timer by clicking on the toggle, shown here. Once you click this, it will apply that setting for that day.

Once you have clicked this, the toggle will show as green, and be activated.

If you need to change the time again for any reason, you can click on the box shown here.

This will also give you the view of the clock where you can change it on there or type it in manually.
Once you have finished with adding this promotion, you can click the submit button below.

How to add a 'Buy X, get Y free' promotion
This guide will show you how to add a 'Buy X, get Y free' promotion.
Firstly, select 'Menu management', then the 'All promotions' section.
This will then take you to the all promotions page, shown here.
To add a promotion, select the 'Add promotion' green button, shown here.
This will then allow you to add a promotion. You can create a name for the promotion, and the type of promotion.
To create a name, you can type in the box, shown here.
To select the type of promotion, you can click on the drop down bar, shown here.
Here you can select the 'Buy X, get Y free' option by clicking on it.

When selecting this option, it has created some options for you to choose.
For example, this setting is, if you buy a certain item, you can get another item for free.
Here I have added if you buy a peppered classic steak with the medium preference, you can get a pint of fanta for free.
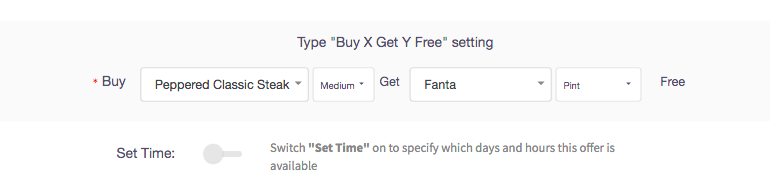
If you want to set a specific time for this offer, you can follow the steps below.
You can also set a time if you want to be more specific and have this promotion on at particular times of the day. To do this, you can click on this toggle, shown here.

Once you have clicked on the toggle, you are able to set your start time, and end time.
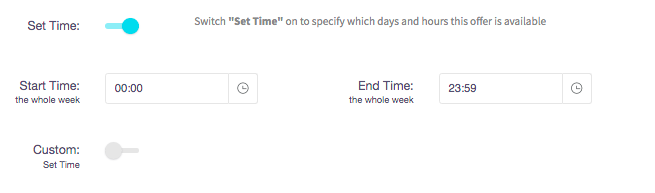
For more advanced options you can use the custom set time toggle, to use this function, you can click on this toggle, shown here.

When clicking on the toggle, this will appear.
This custom set time function allows you to set specific times for each day.
For example, you may want the starting time to be 2pm on Monday, and the end time to be 10pm.
But on Tuesday, you would like the start time to be 3pm and the end time to be 7pm. This allows you to enter any times you like in these sections.
To change the time, you can click on the clock icon, shown here. This will then show you a larger version of a clock where you can alter the time. All you need to do is click the 'Done' button once you have changed the time.
You can set this timer by clicking on the toggle, shown here. Once you click this, it will apply that setting for that day.

Once you have clicked this, the toggle will show as green, and be activated.

If you need to change the time again for any reason, you can click on the box shown here.

This will also give you the view of the clock where you can change it on there or type it in manually.

Once you have finished with adding this promotion, you can click the submit button below.
How to edit promotions
This page will show you how to edit promotions.
Firstly, click on the 'Menu Management', then the 'All Promotions' option on the left-hand menu.

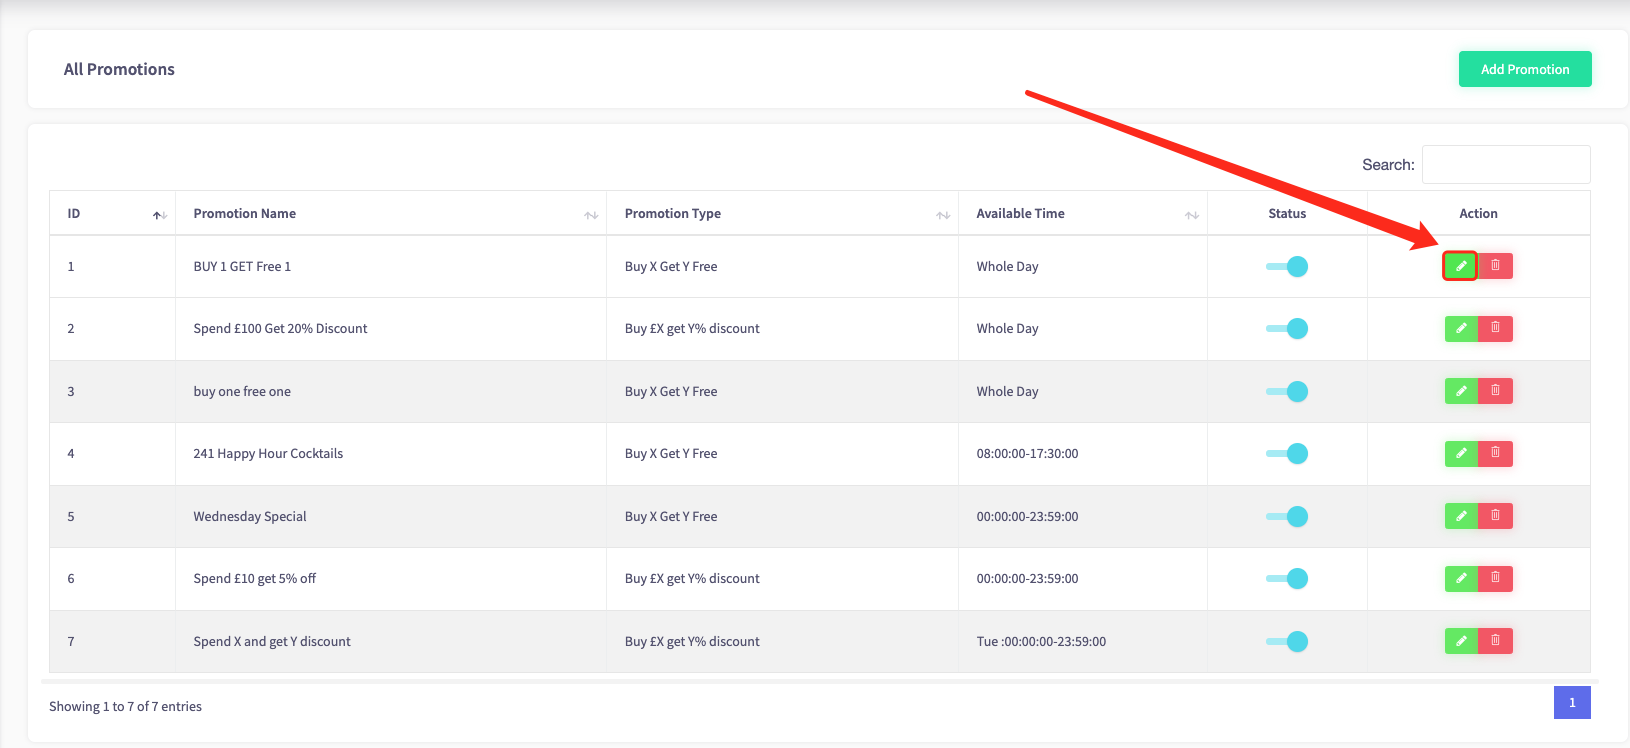
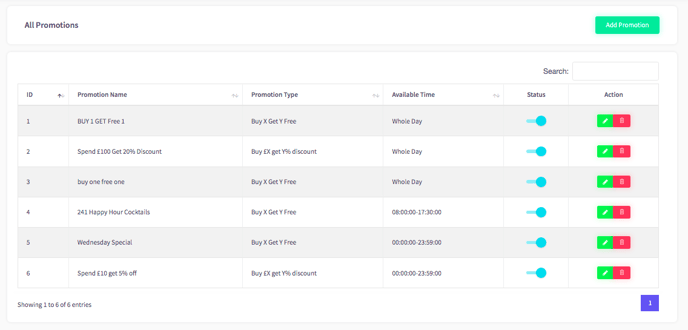
All promotions page will be displayed, shown below.
To edit a promotion, select the promotion you would like to edit and click on the green pencil icon on the right-side of the menu item.
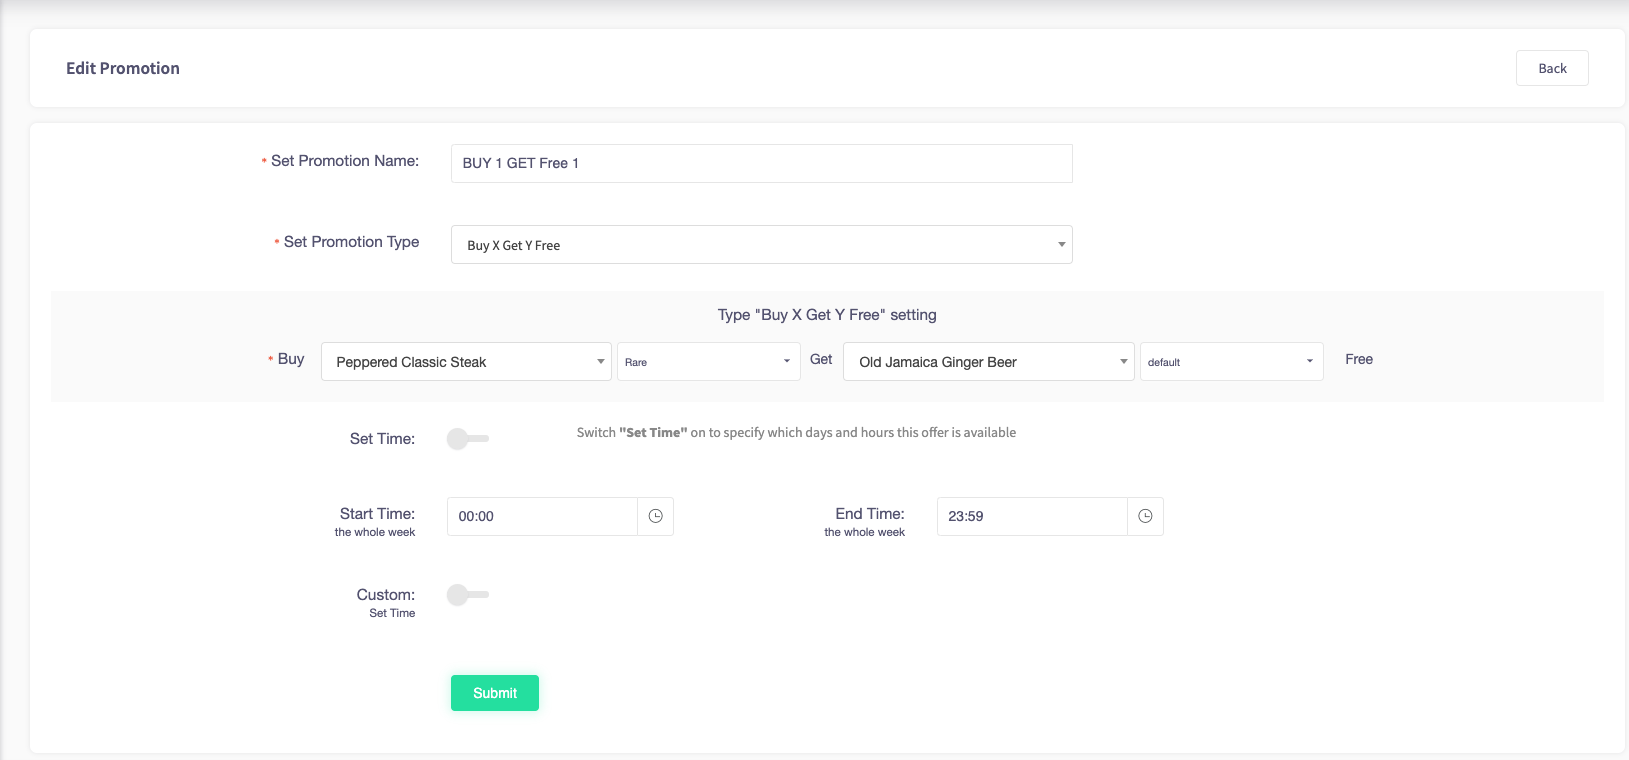
Here you can edit the set promotion name, set promotion type, buy (offer), set time (if the offer is only available for a certain amount of time) and custom time.
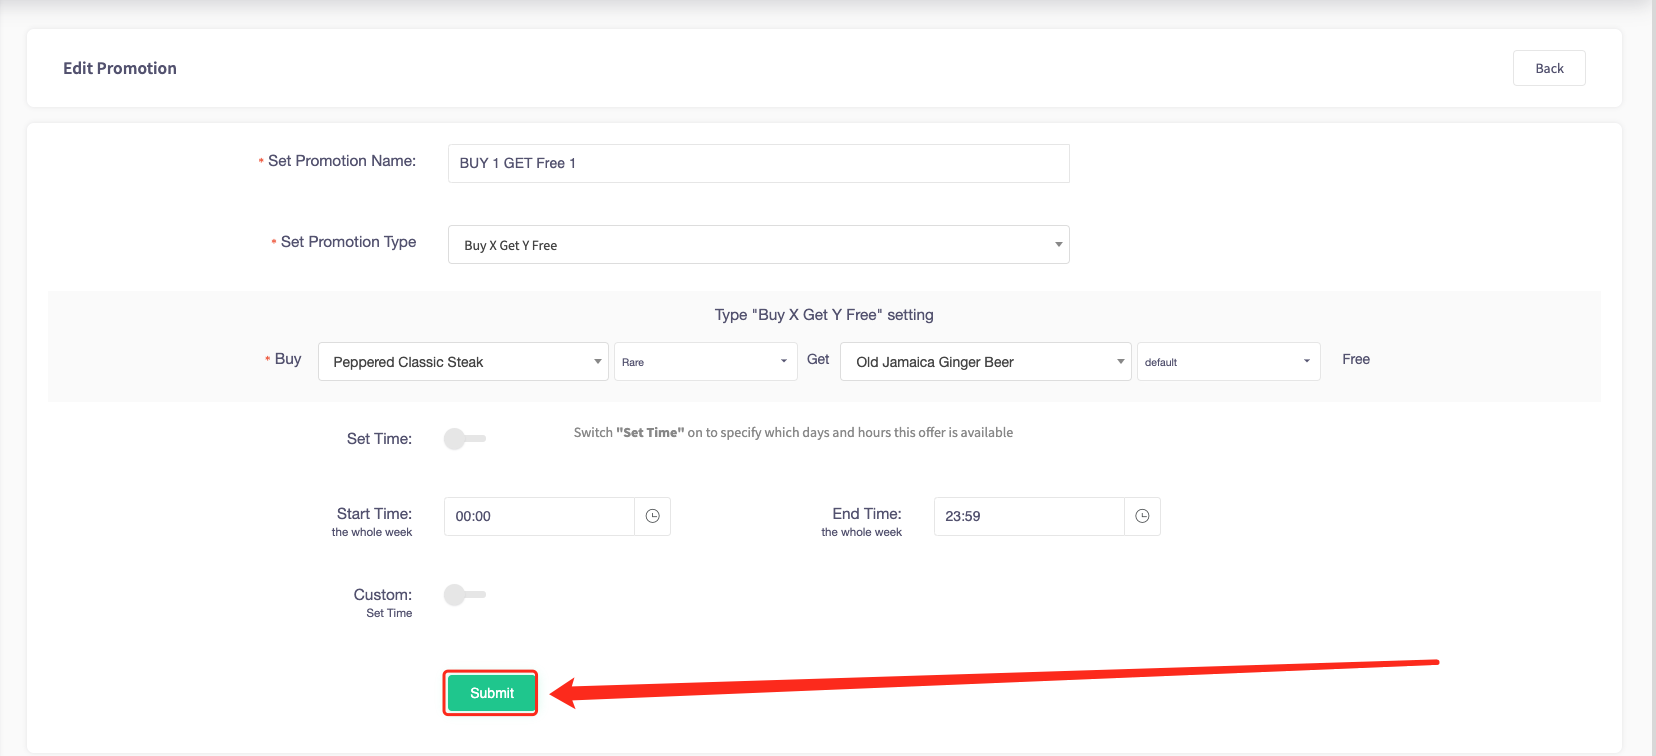
When completed editing your promotion, press the green "Submit" button at the bottom of the page.
A pop up message will appear saying that it has been "Saved Successfully".
How to hide promotions
This page will show you how to hide promotions.
Firstly, click on the 'Menu Management', then the 'All Promotions' option on the left-hand menu.

All promotions page will be displayed, shown below.
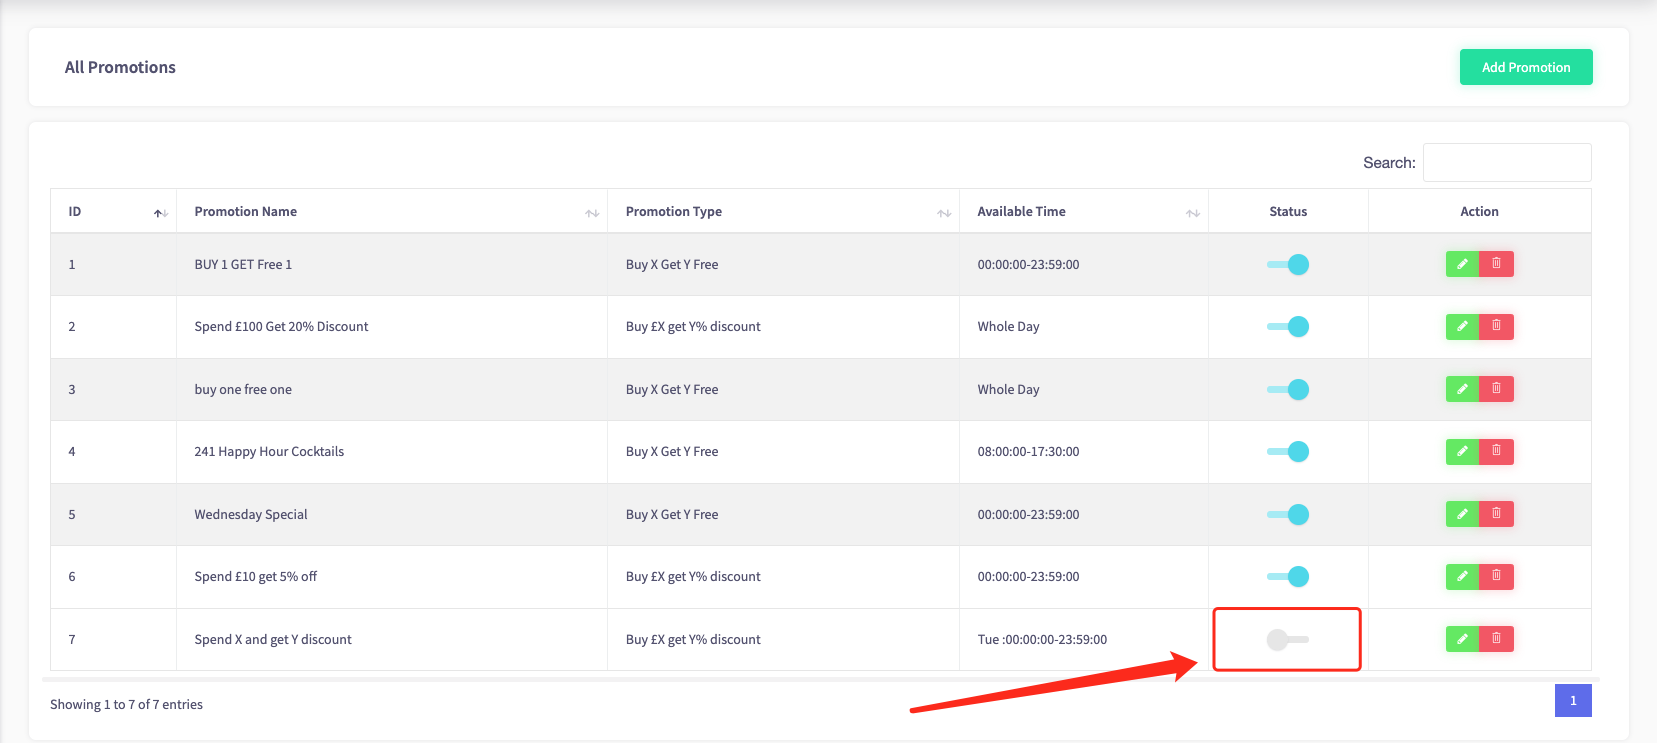
To hide a promotion, go to the status column of your all promotions.

To hide a set menu, click on one of the toggles and it will turn grey, this means that the item is hidden.
How to delete promotions
This page will show you how to delete promotions.
Firstly, click on the 'Menu Management', then the 'All Promotions' option on the left-hand menu.

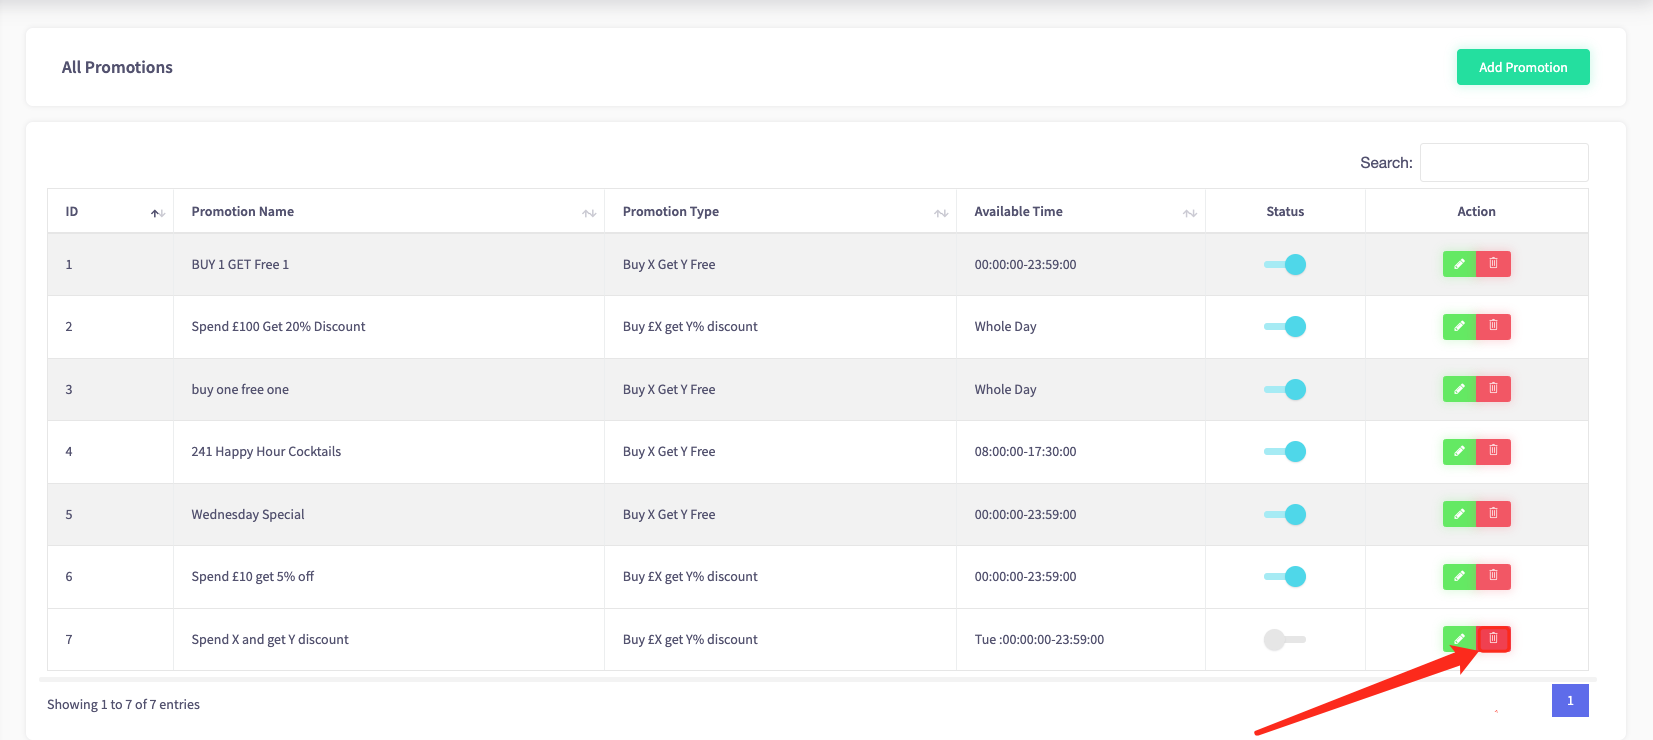
All promotions page will be displayed, shown below.
To delete a promotion, select the promotion you would like to delete and click on the red bin icon on the right-side of the menu item.
A warning message will appear making sure you want to delete this item. If you do press the blue "Yes" button and your menu item will be deleted.
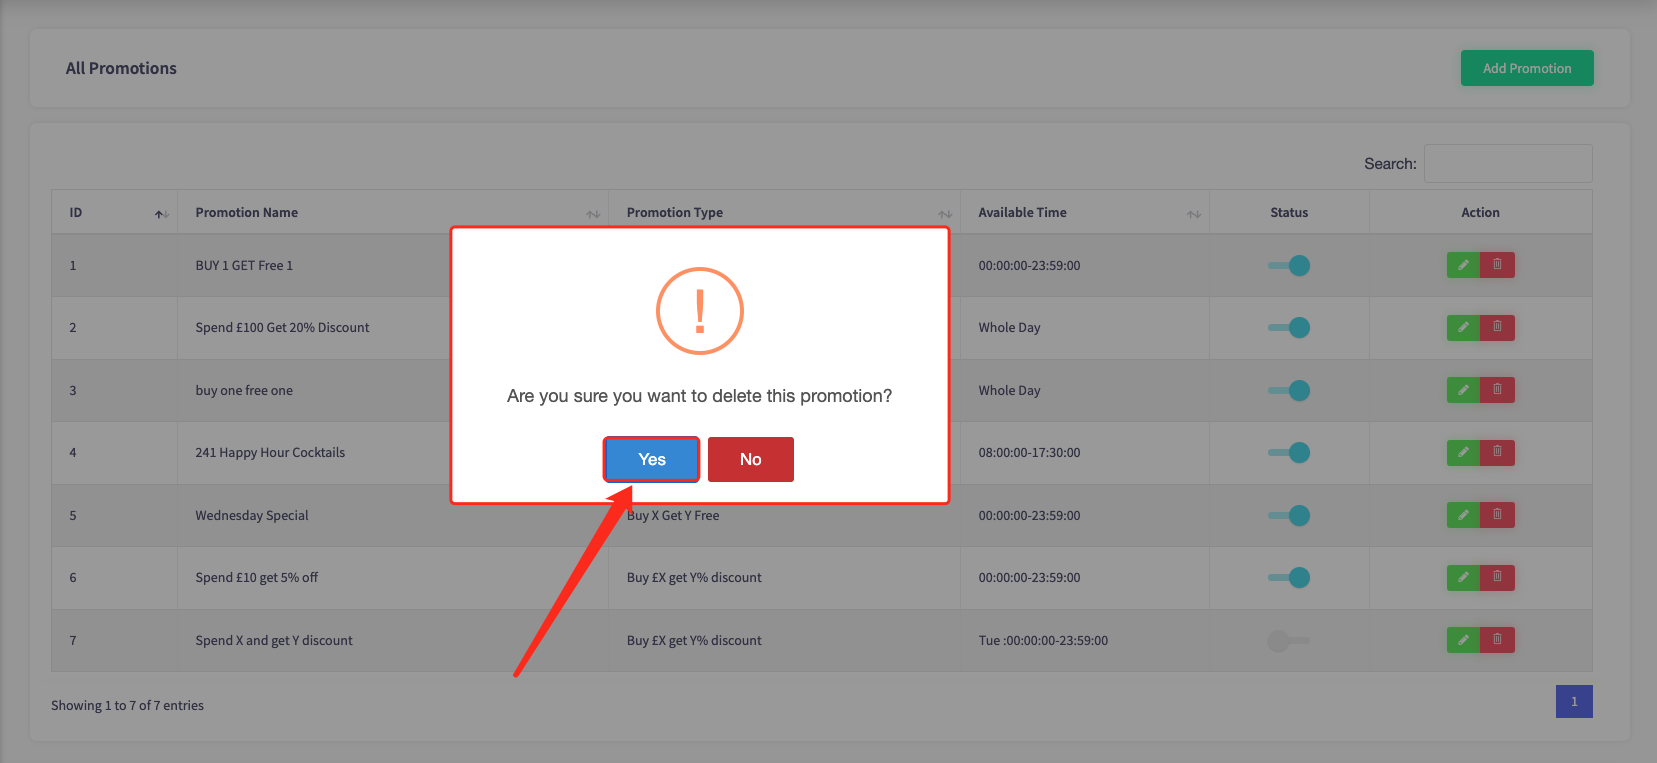
This promotion will now be deleted.