- How to edit preference groups
- How to remove preference groups
How to create a preference
This guide will show you how to create a preference.
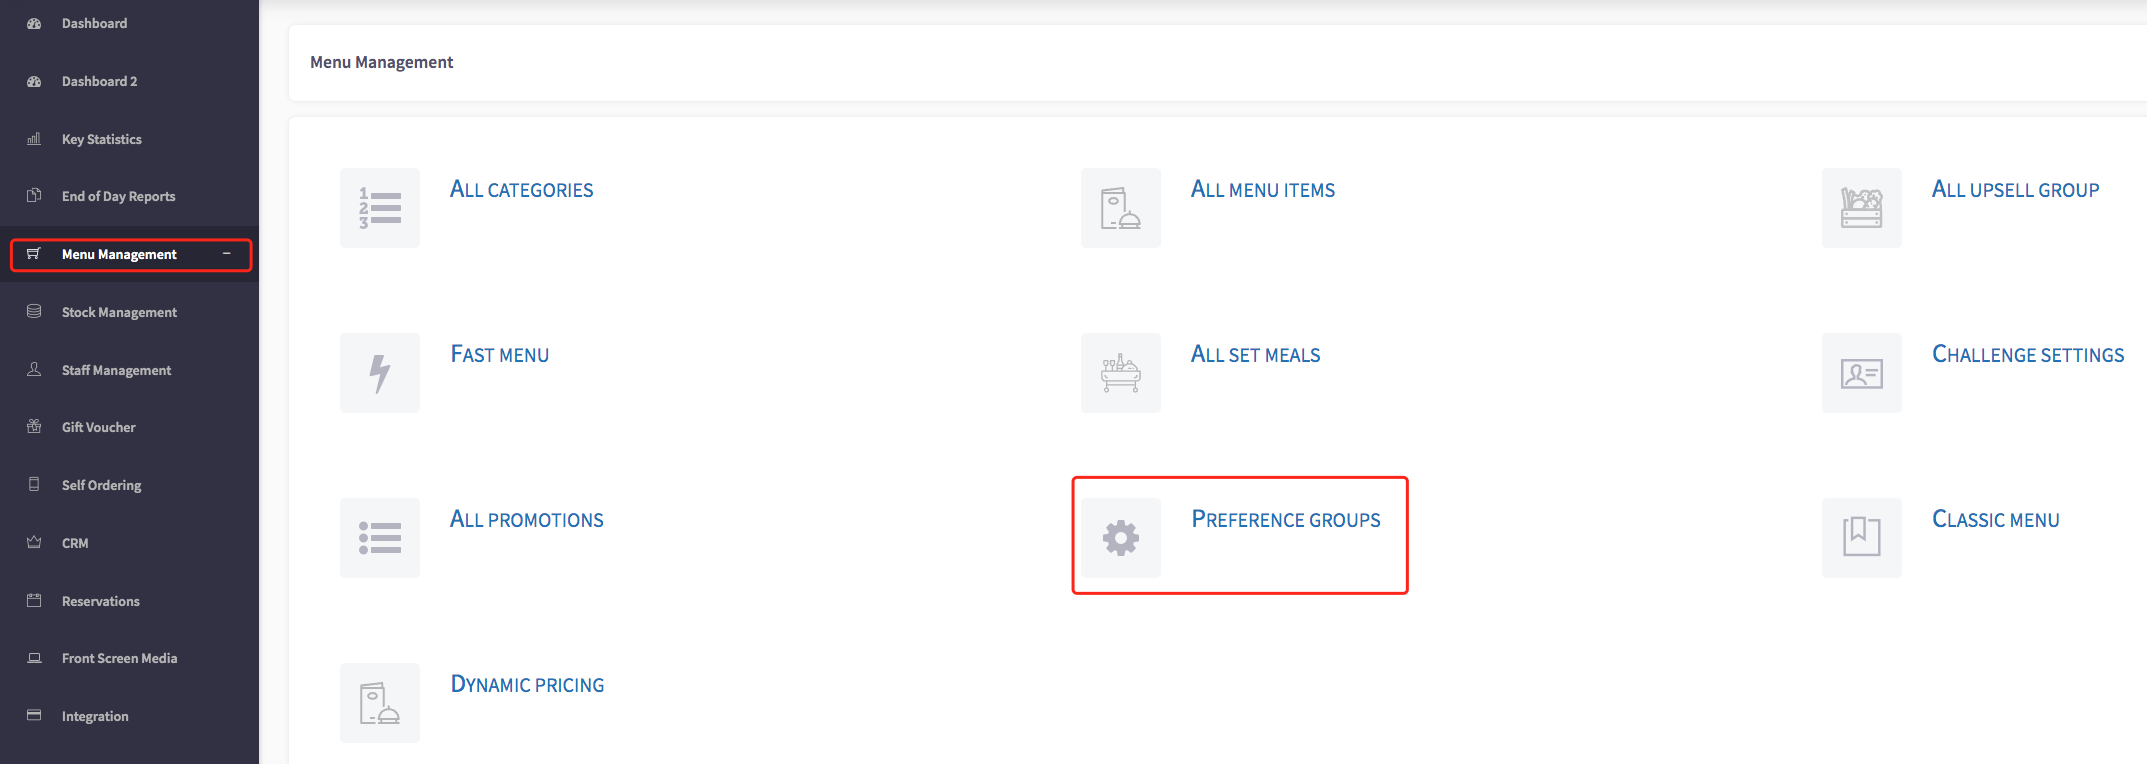
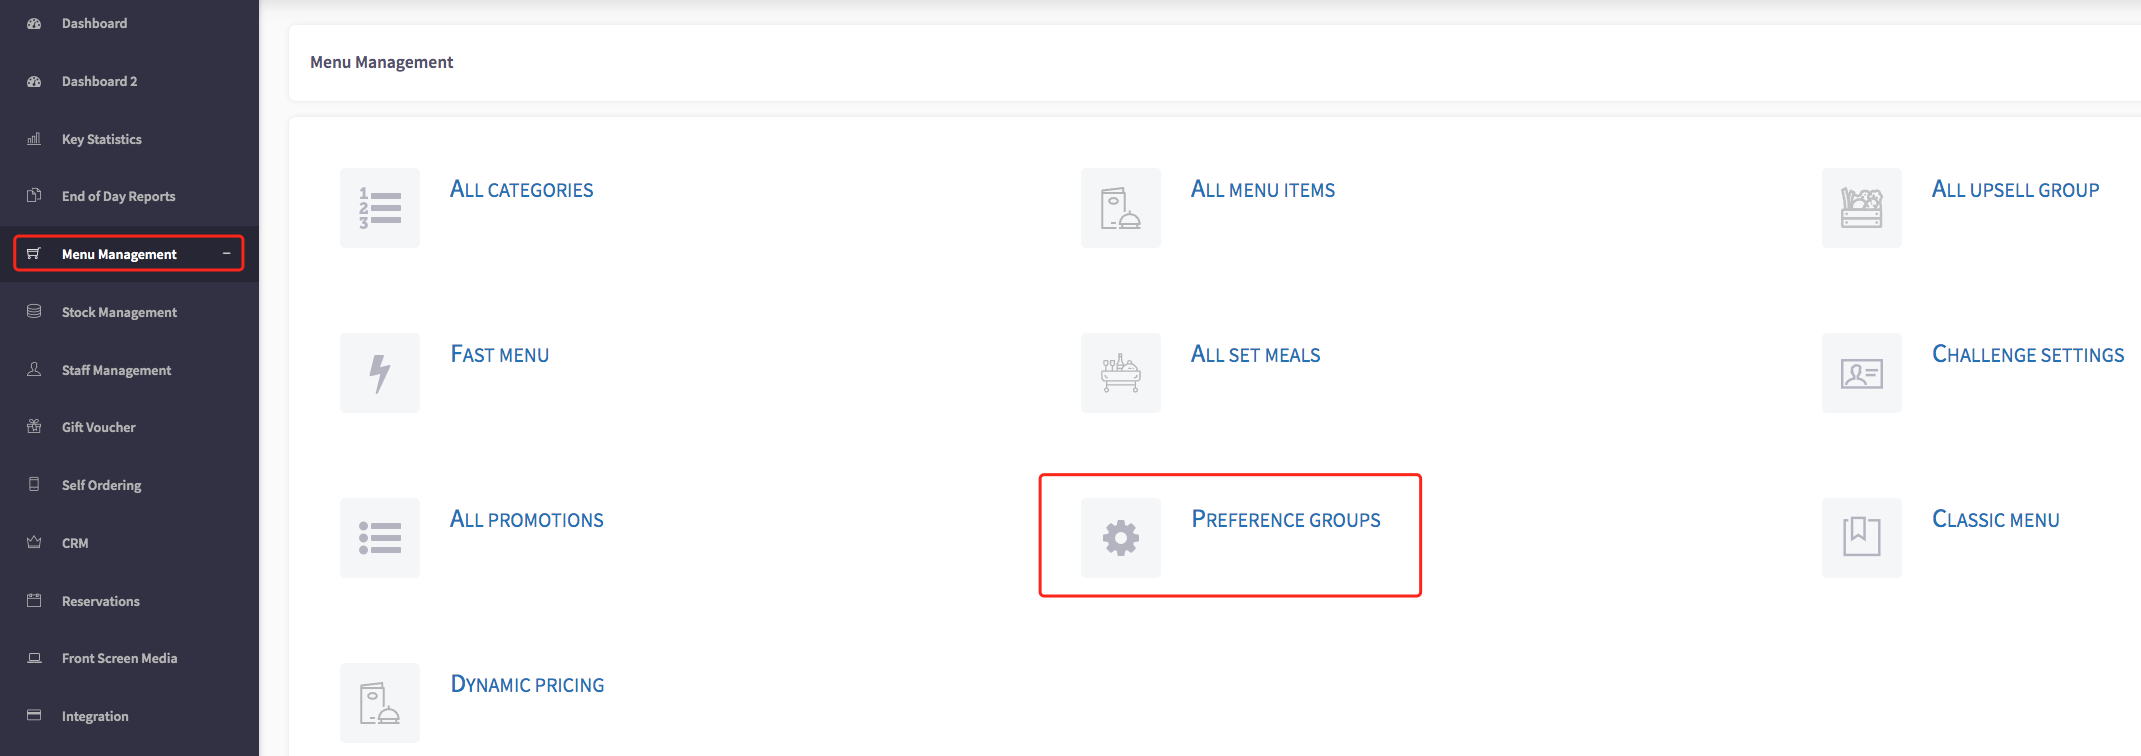
Firstly, click on the 'Menu Management', then the 'Preference Groups' option in the menu.
Then you scroll to the bottom of the page and press the "Add Group" button.
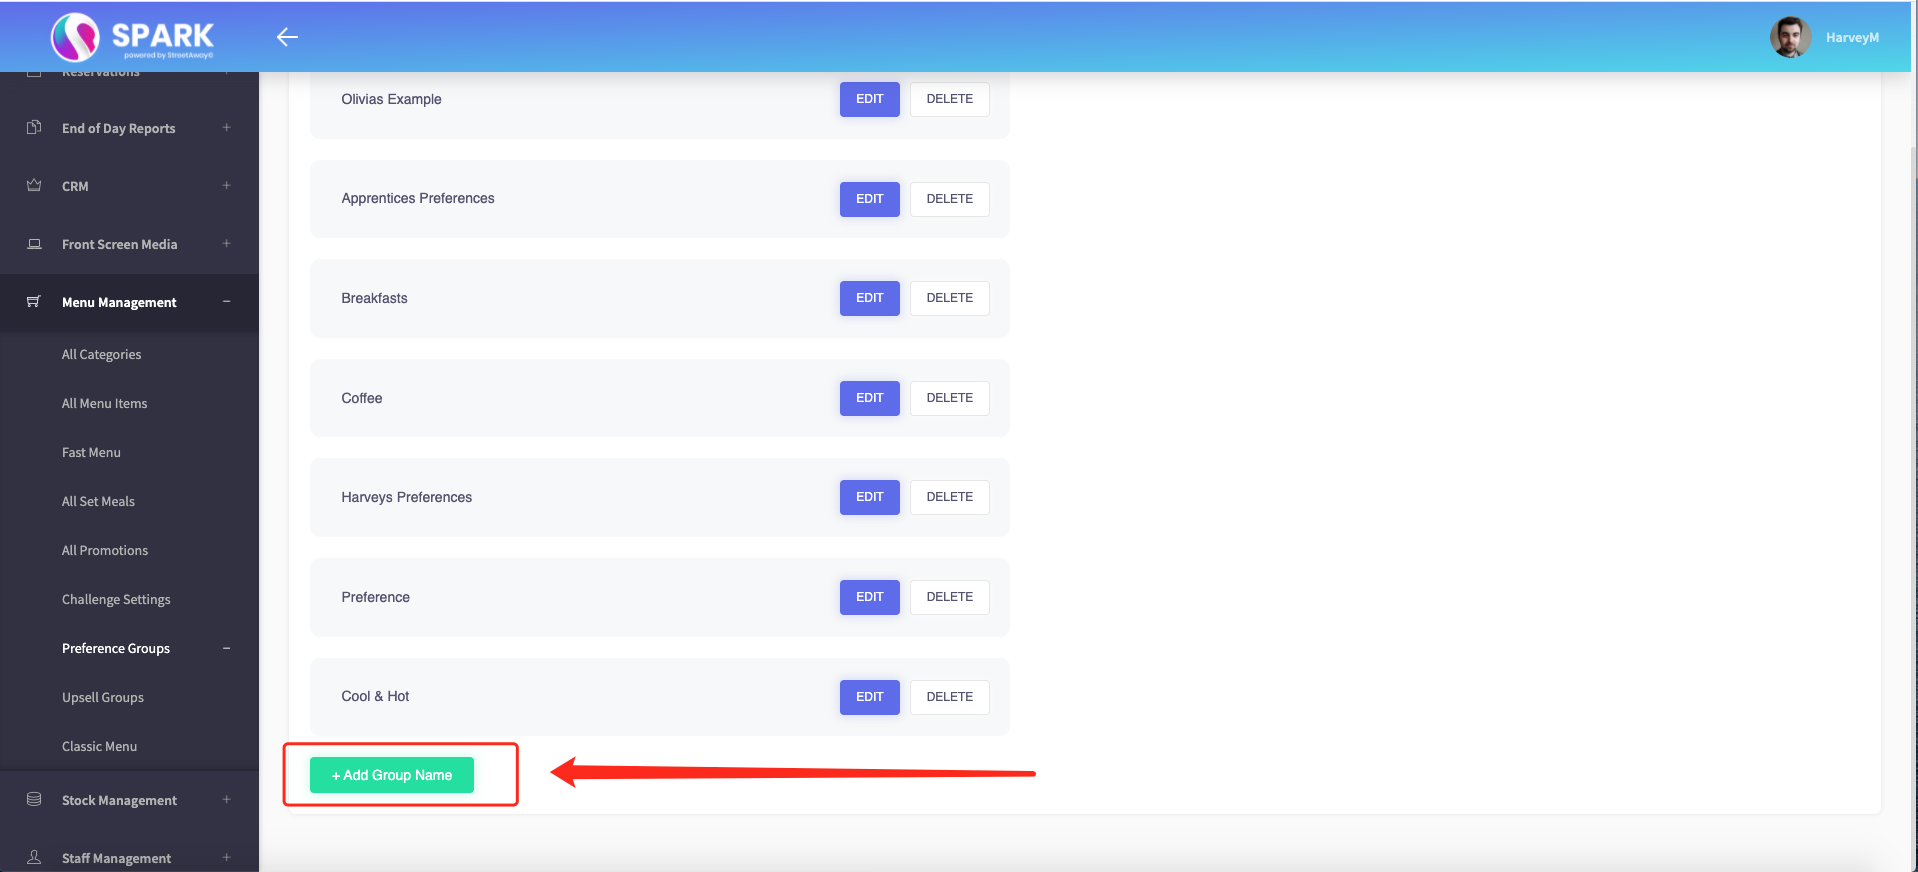
Then you name your Preference Group.
Then you press "Edit".

Then you press the "Add New Preference" button.
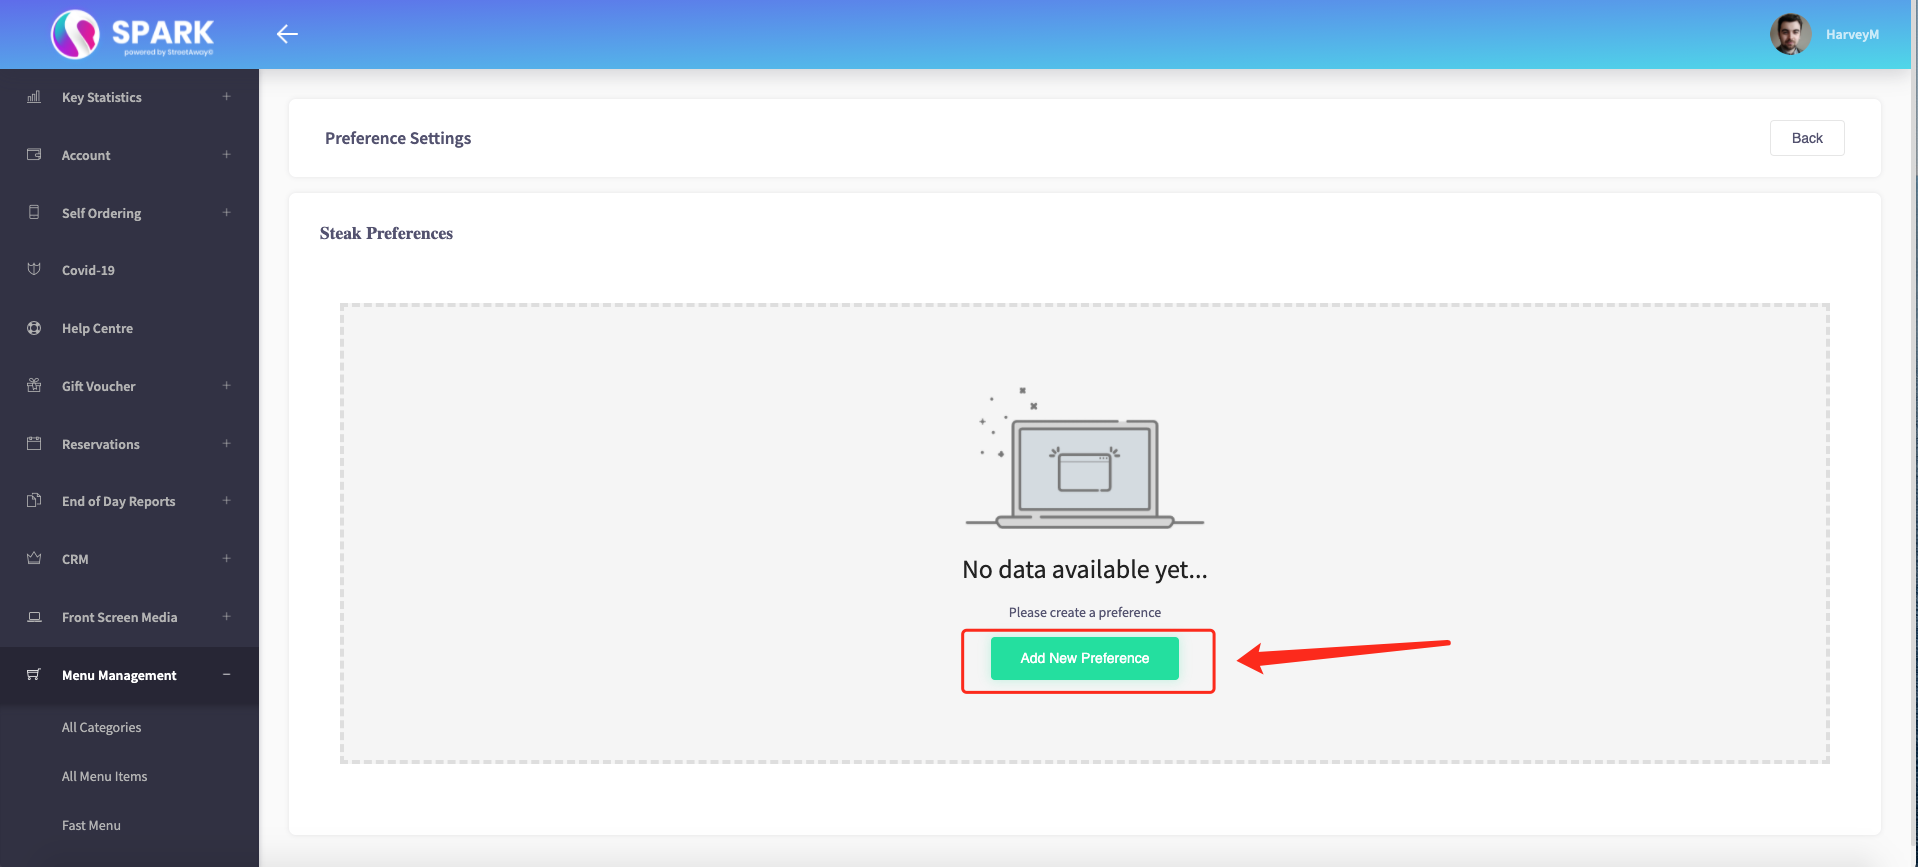
Then begin to make your preferences by pressing the "Add Preference" button for every one you add.
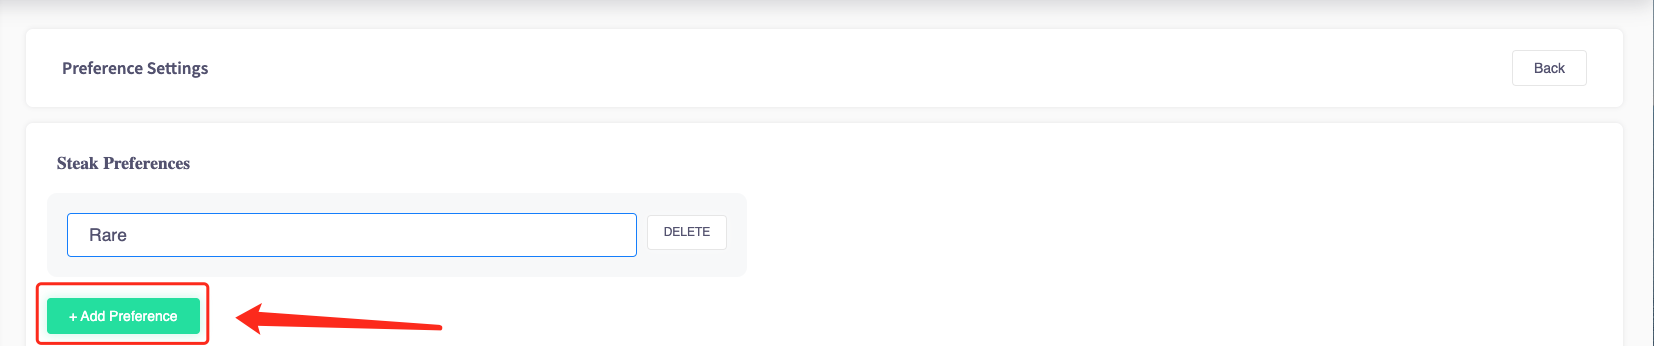
Once you have added all your preferences press "Back" in the top right-hand corner of the screen and these preferences will automatically save so you can add them to "All Menu Items".
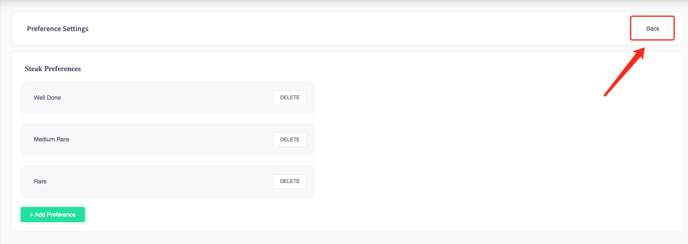
These preferences will automatically save so you can add them to "All Menu Items".
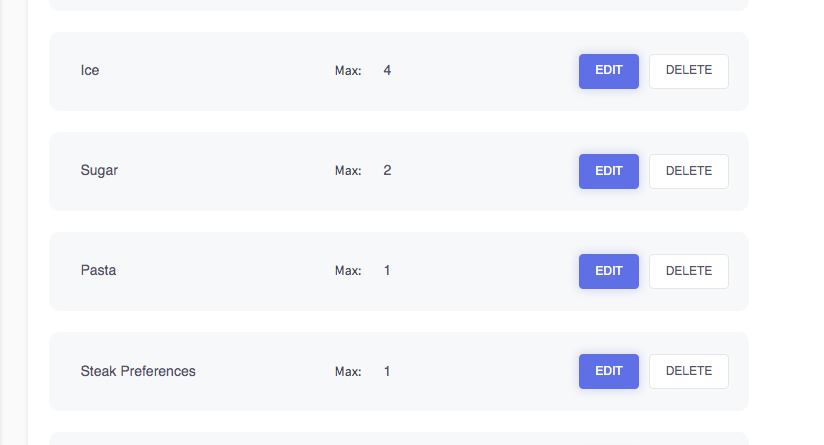
You can now set preference limits too.

This will limit the amount the customer is able to select.
How to edit a preference group
This guide will show you how to edit a preference group.
Firstly click on 'Menu management', then 'Preference groups'.

This will then take you to the preference groups, shown here.
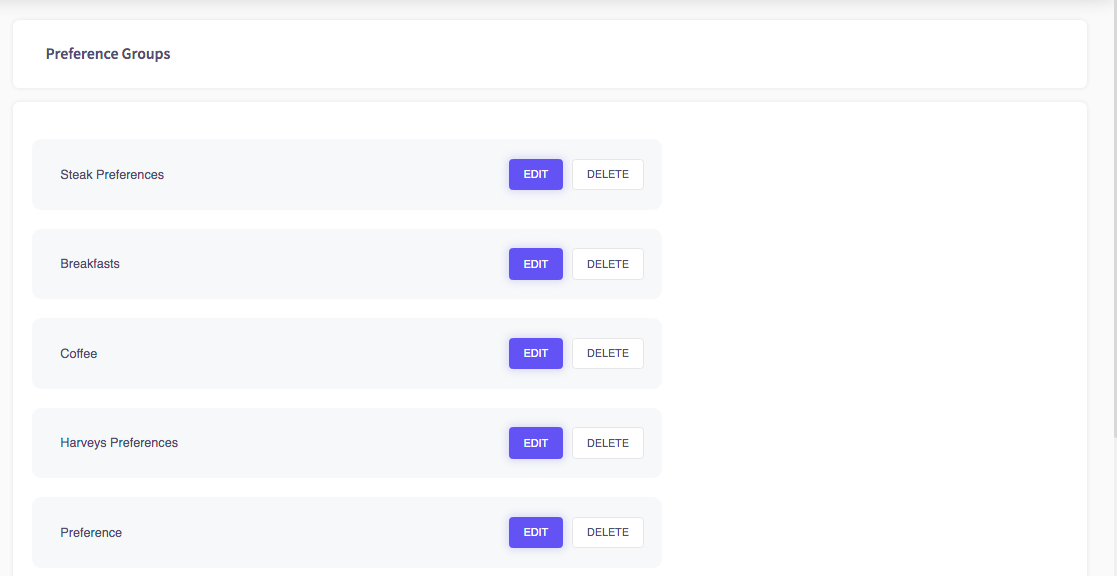
To edit a preference group, you can click on the 'edit' button, shown here.

This will then take you to the preference settings, where you can add a preference or delete a preference.

How to delete a preference group
This guide will show you how to delete a preference group.
Firstly click on 'Menu management', then 'Preference groups'.
This will then take you to your preference groups, shown here.

To delete a preference group, you can click the 'delete' button, shown here.

This will then appear with a warning, if you are sure you would like to delete this, you can click the 'Yes' option.
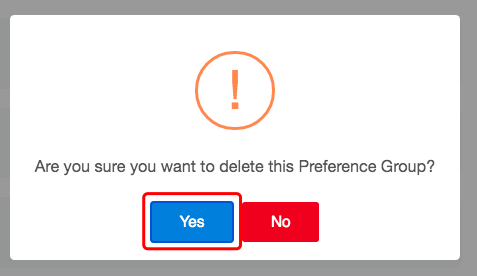
This preference group will now be deleted.