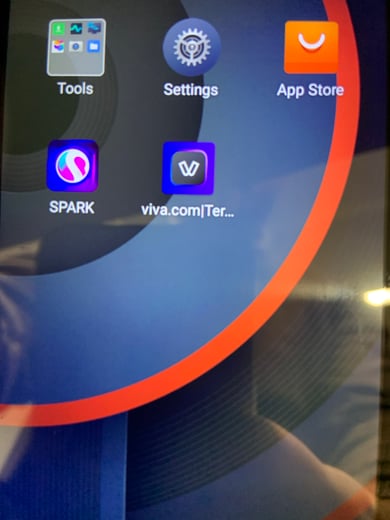
Find the app on the screen that looks like a shopping cart or a cash register. It will have the name "Viva Terminal" written underneath it. Tap on that icon to open it.
Look at the bottom right corner of the screen. You will see a button that says NA. Tap this button now.
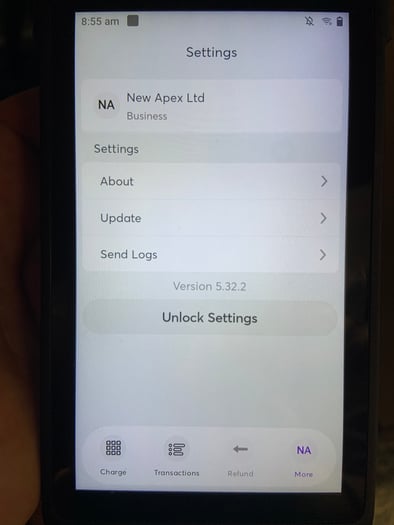
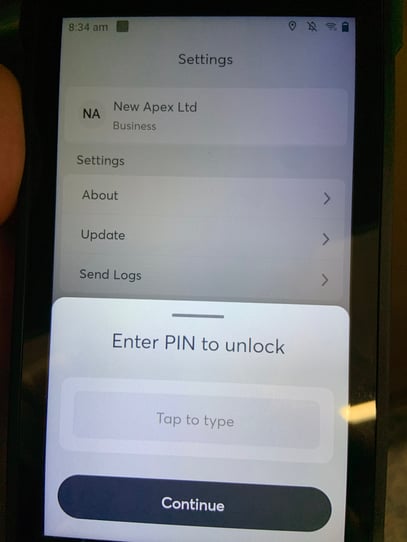
A box will appear asking for a PIN. Type in your four-digit secret PIN number using the keypad that pops up. Then, press the Enter (or Confirm) button to unlock the receipt screen.
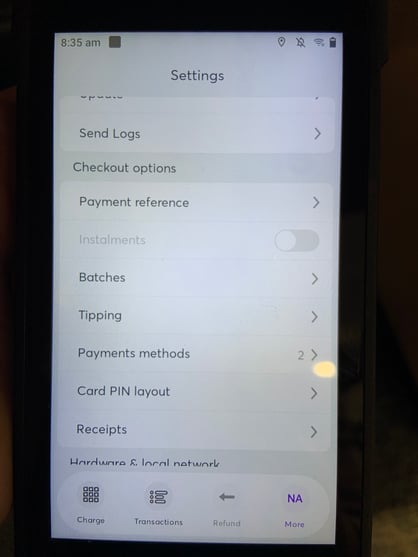
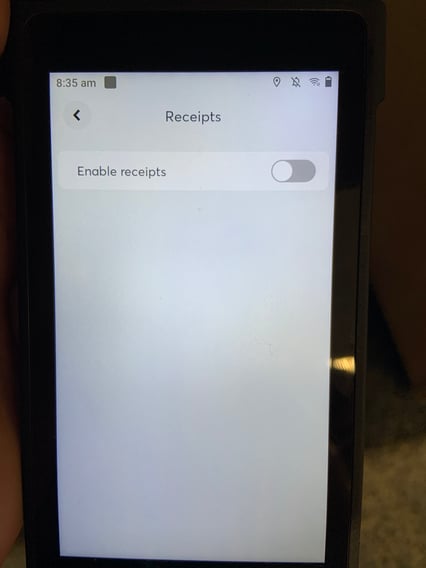
On the screen that appears next, look for the button that clearly says Receipts. Tap on this button.
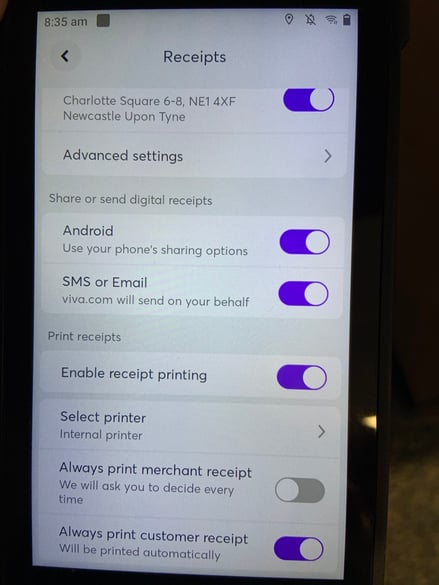
Look for the switch or slider (it often looks like a little pill shape). This is the Receipt Toggle. Tap on this switch so that it moves from OFF to ON. (It will turn blue when it is ON)
Just below the main receipt switch, you will see a separate option for Email Receipts. If you want to offer customers the choice to get their receipt by email, tap this switch to turn it ON too. The next time you take a payment, the machine will automatically ask if the customer wants an email receipt.
You are now ready to offer customers the option for email receipts at checkout.
How it Works During a Sale:
When you successfully take a card or cash payment:
-
The machine will now automatically ask you: "Do you want to send an email receipt?"
-
If the customer says Yes: Tap the Yes button on the screen, and a new box will appear for you to Type in their email address.
-
If the customer says No: Tap the No button, and the transaction will finish normally (usually printing a paper receipt).