Please make sure the printer is plugged in and powered on, as shown by the blue light on the front of the printer.
If you are using a BT device, please ensure that you have connected your printer in the device's BT settings before connecting it to our application.
Home screen > settings > devices > "add new devices"
- Firstly, on the terminal, click the small arrow at the top-left of the screen.

- Then, scroll down and click 'Settings'.
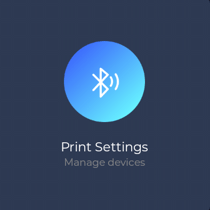
- From here, click 'Print Settings'.
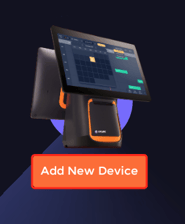
- Press add new device.
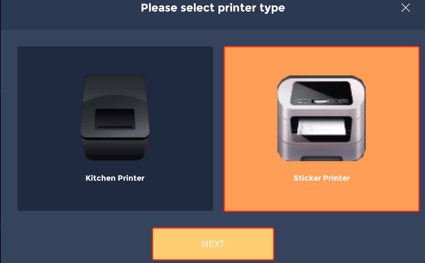
- Select the 'Sticker Printer' option and click next.
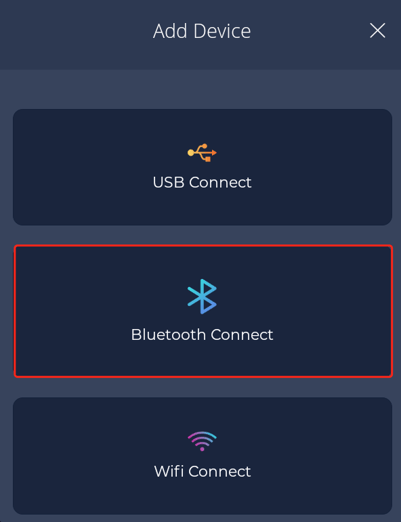
- Now, you will see: USB Connect, Bluetooth Connect and WiFi Connect. To add a sticker printer, you must choose (out of the three options) which option your device is. For example a bluetooth printer.
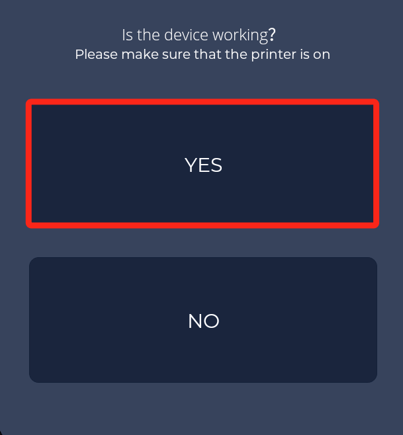
- Finally choose your printer, from the list of bluetooth devices, and it should complete a print test. If the print test is successful, click 'Yes'.
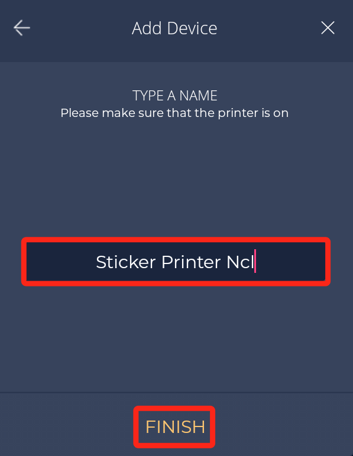
- Type the device name. For example 'Sticker Printer Ncl' and click 'Finish'.
- Your device should then be connected.
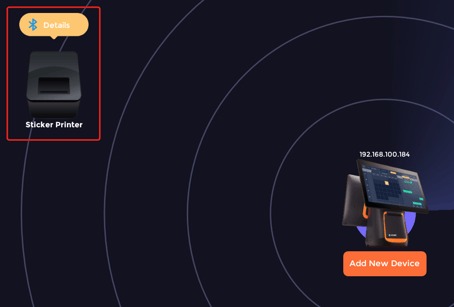
Now that we have the device connected please click on the printing device.
Here you will be able to see a range of settings, including modifying the size of your sticker role as well as deciding what is actually printed and how. It is key to look over these settings to ensure your device is set up correctly for your business.