Firstly, you're going to want to make sure that the printer is plugged in to power, and directly into the network via an ethernet cable. You'll also want to make a note of your printers new Static IP, written on a sticker on the back. After powering up your device, it should look like this;
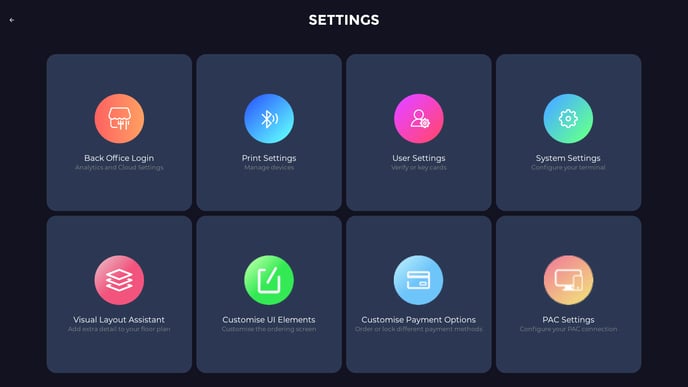
Then head to the left side panel when logged in to your terminal. Half way down the list you will see Settings.
Once there, you'll need to click Print Settings
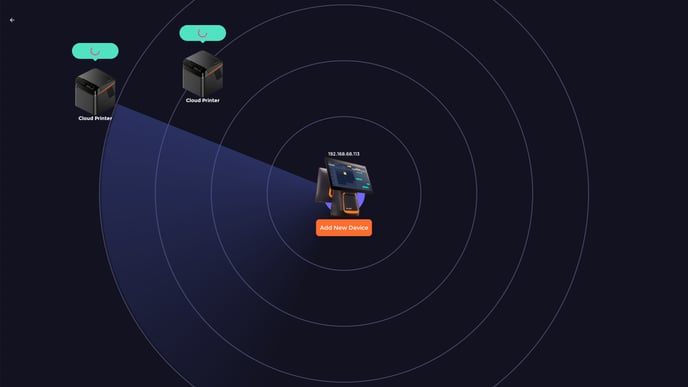
This screen is where you will see all current external printers set up with your account, and how you add more. In the middle, simply press Add New Device.
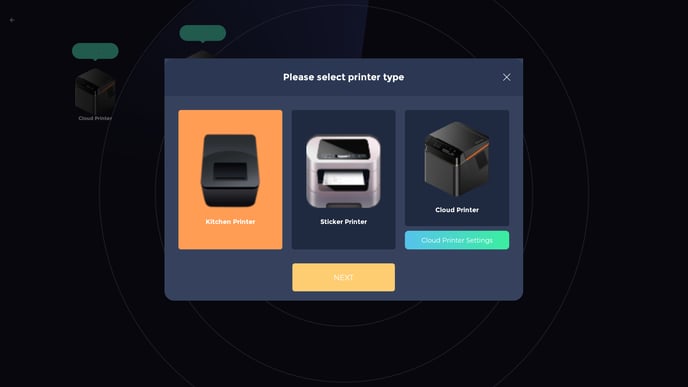
You'll then want to press Kitchen Printer. Then hit next.
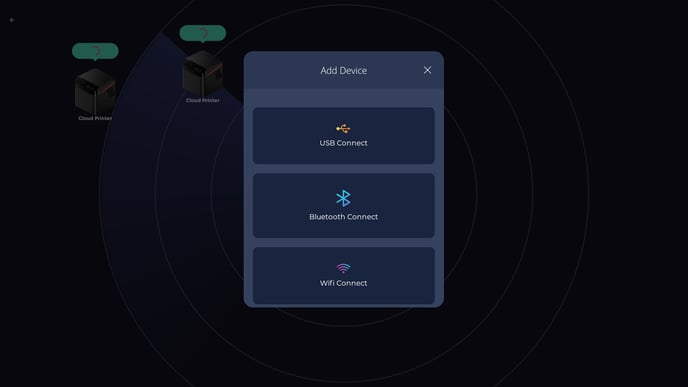
Then press WiFi Connect.
It's important to note here, that although the ethernet printer works over WiFi to connect to the terminal, it still requires to be wired in with an ethernet cable.
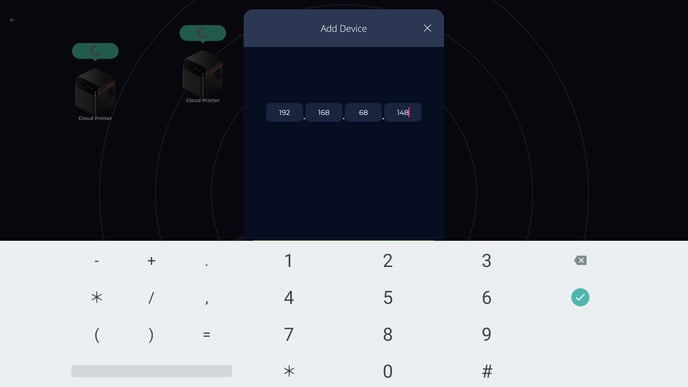
After that you'll be asked to input the IP address. This will be shown on a sticker on the back of the printer.
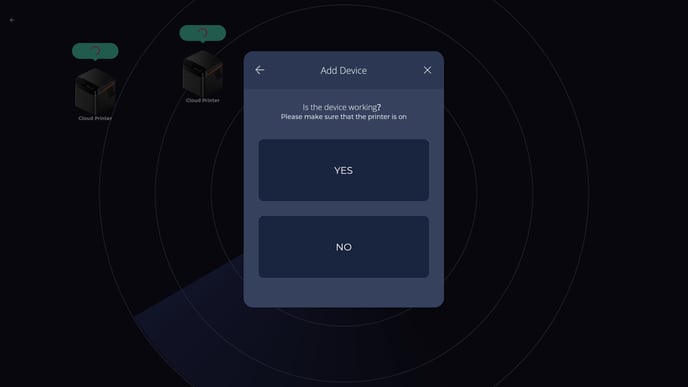
If input correctly, the printer will perform a test print, and you'll be asked as to whether it did or not.
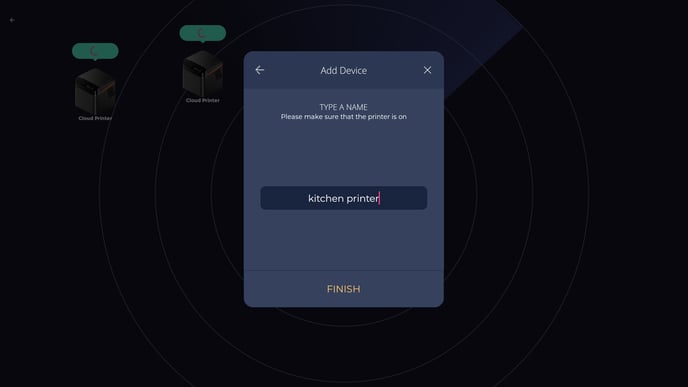
The last step is to name your new printer. Keep it something simple and descriptive as to not cause confusion if multiple printers are setup.
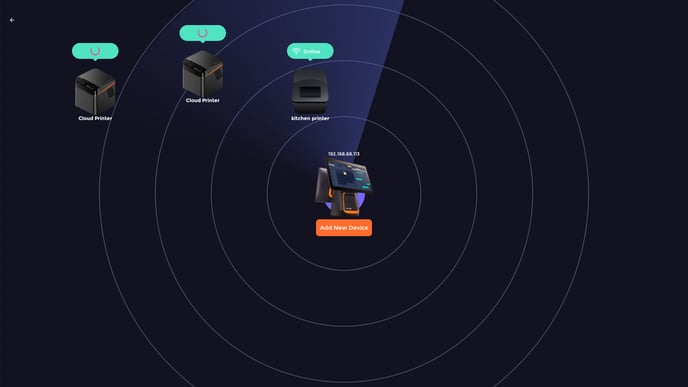
Here you'll be able to see that the printer is online and connected.