This guide will show you how to do an initial stock take to your Cloud HQ.
We recommend performing an initial stock take only once you have added your items, suppliers, measurement units and stock categories to Cloud HQ. The above guides will walk you through the process of doing so.
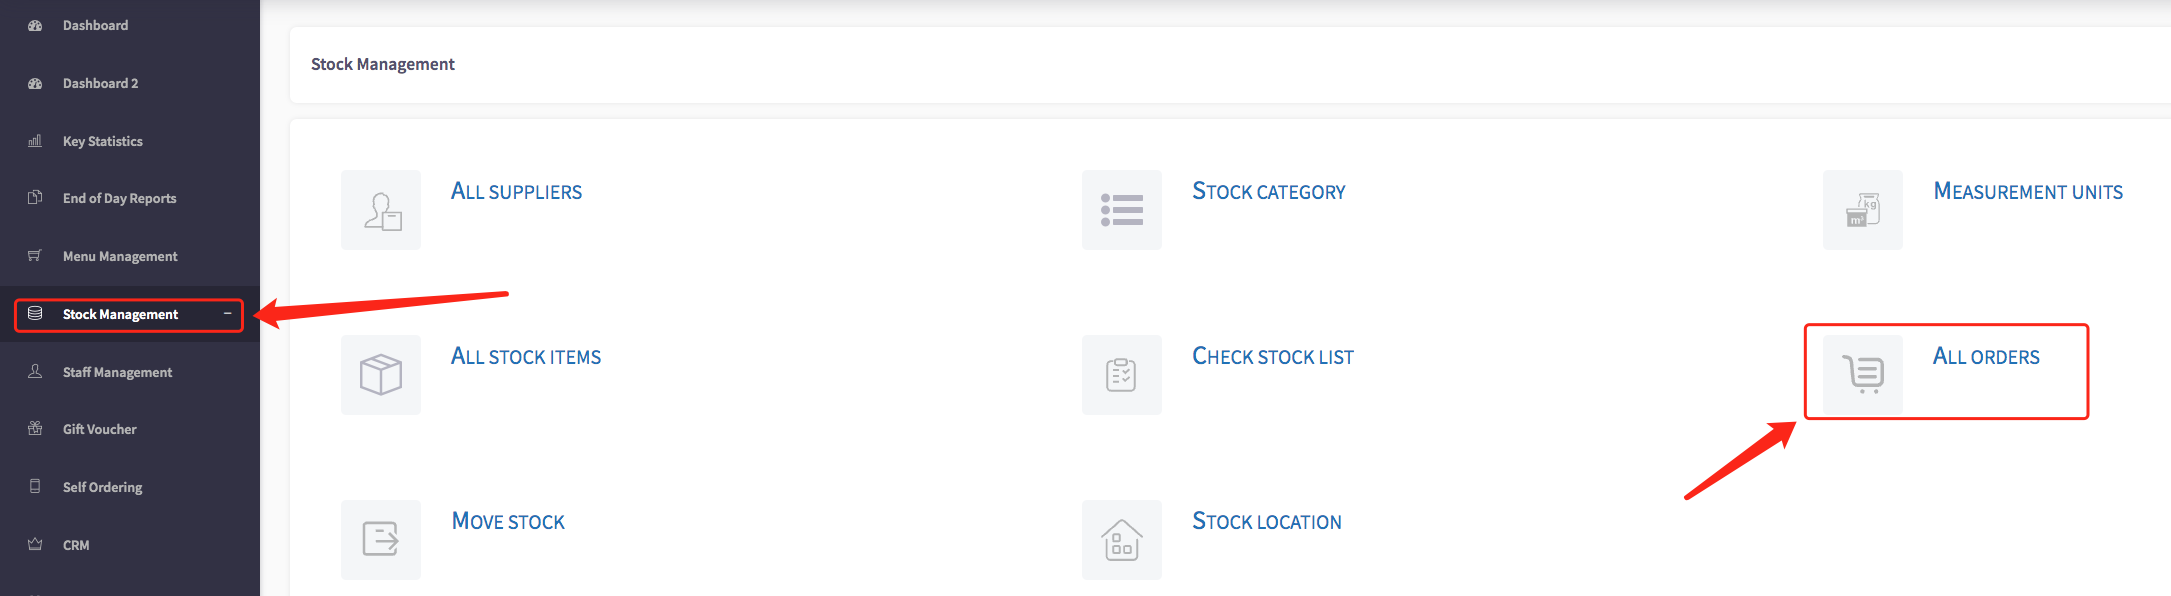
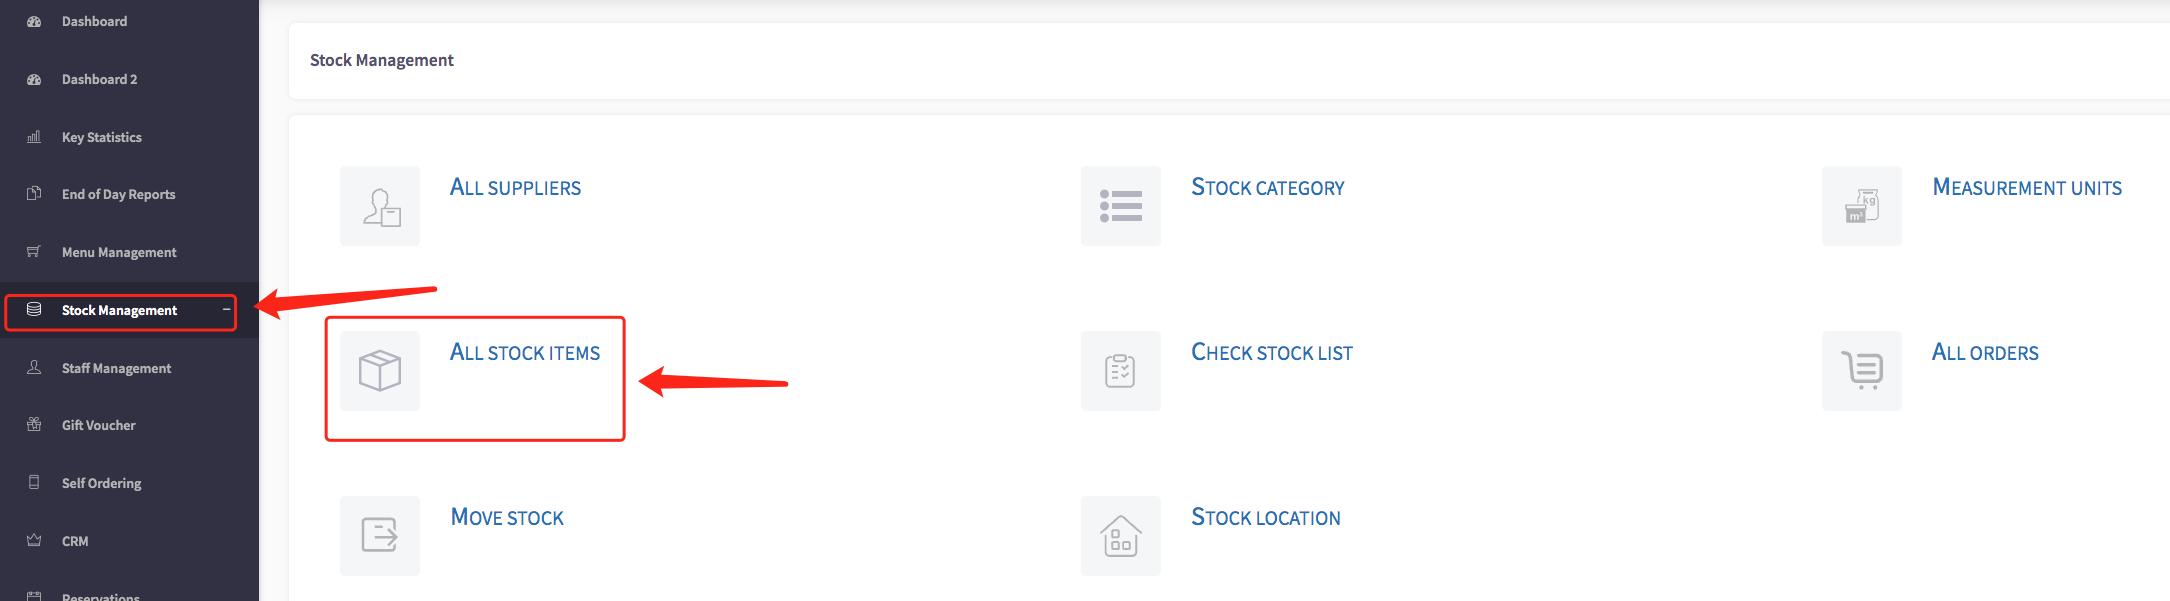
Find 'Stock Management' on the left-hand toolbar. Click 'All Orders'.
You will see a list of all previous orders made in the table that appears on the next screen.
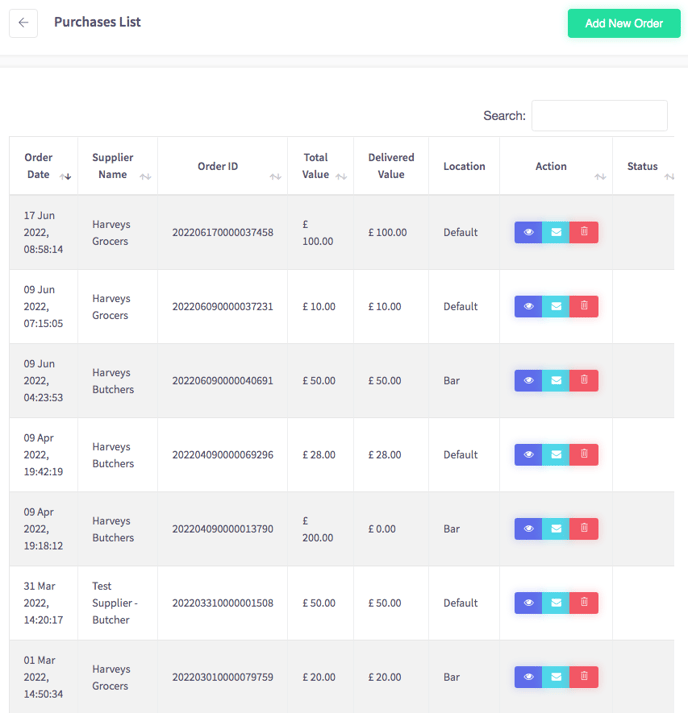
Click 'Add New Order' in the top-right.
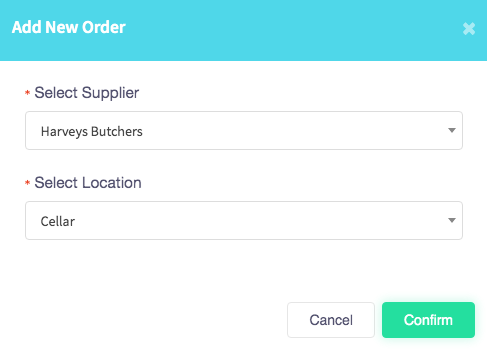
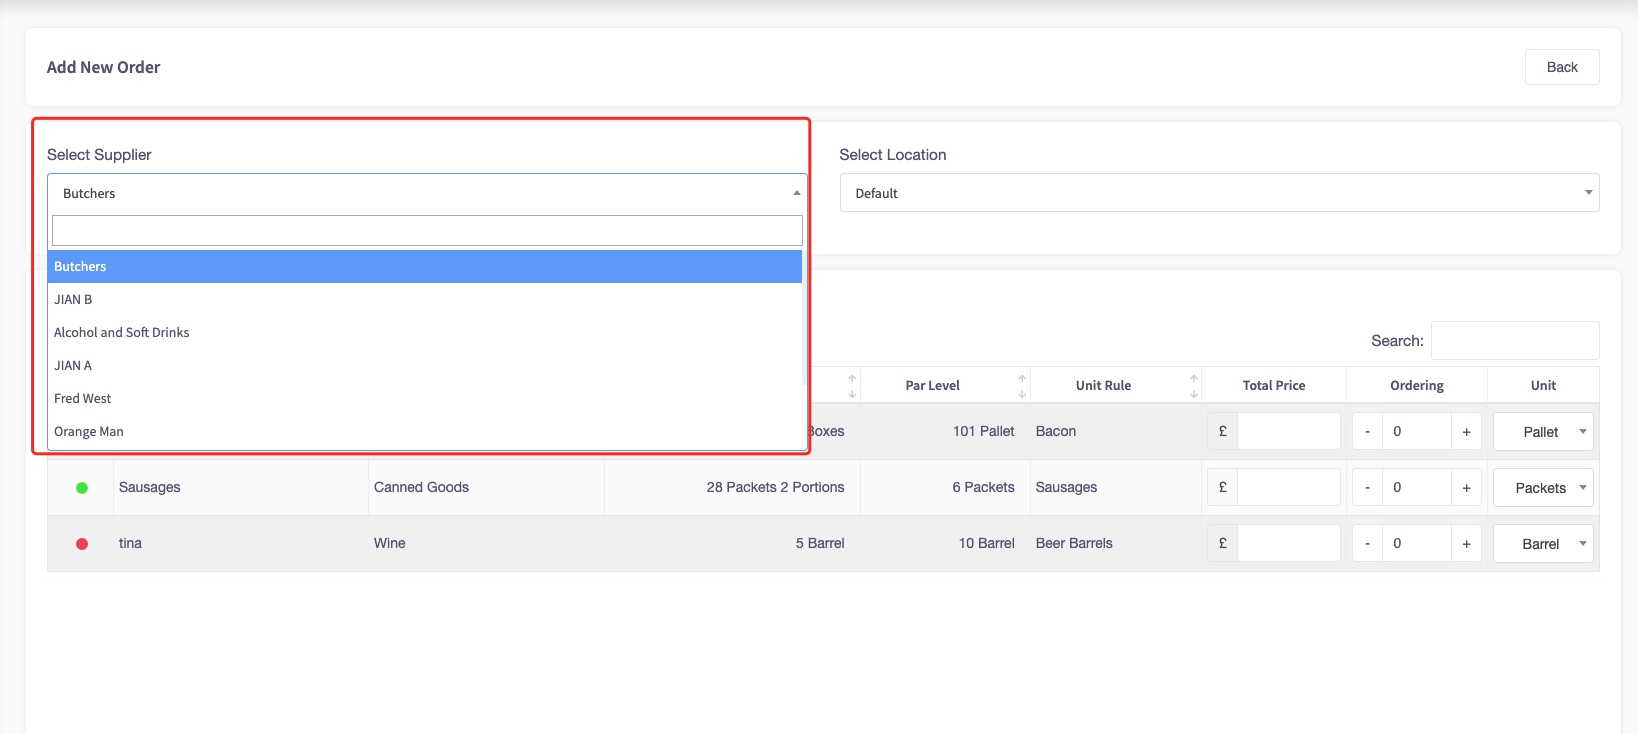
Select the supplier you wish to order from, and where you intend to store these items once they have been delivered.
A full list of items purchasable from this supplier will show up on the next screen.
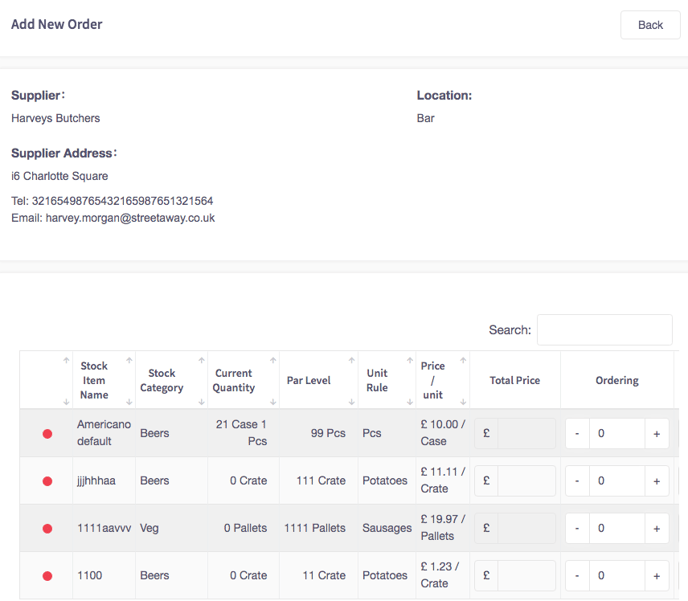
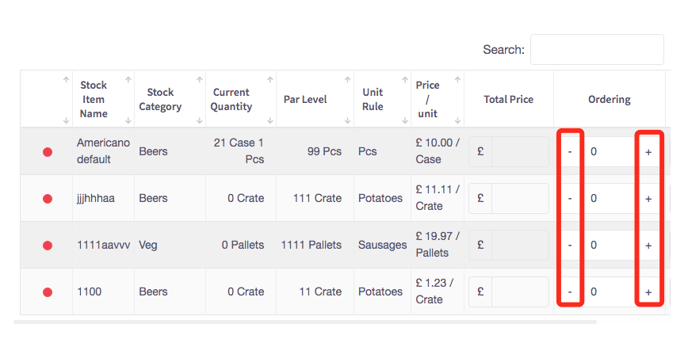
Using the + and - buttons, adjust the number of each item you would like to add to your order. You can also click into the text box between the buttons and type a specific value manually.
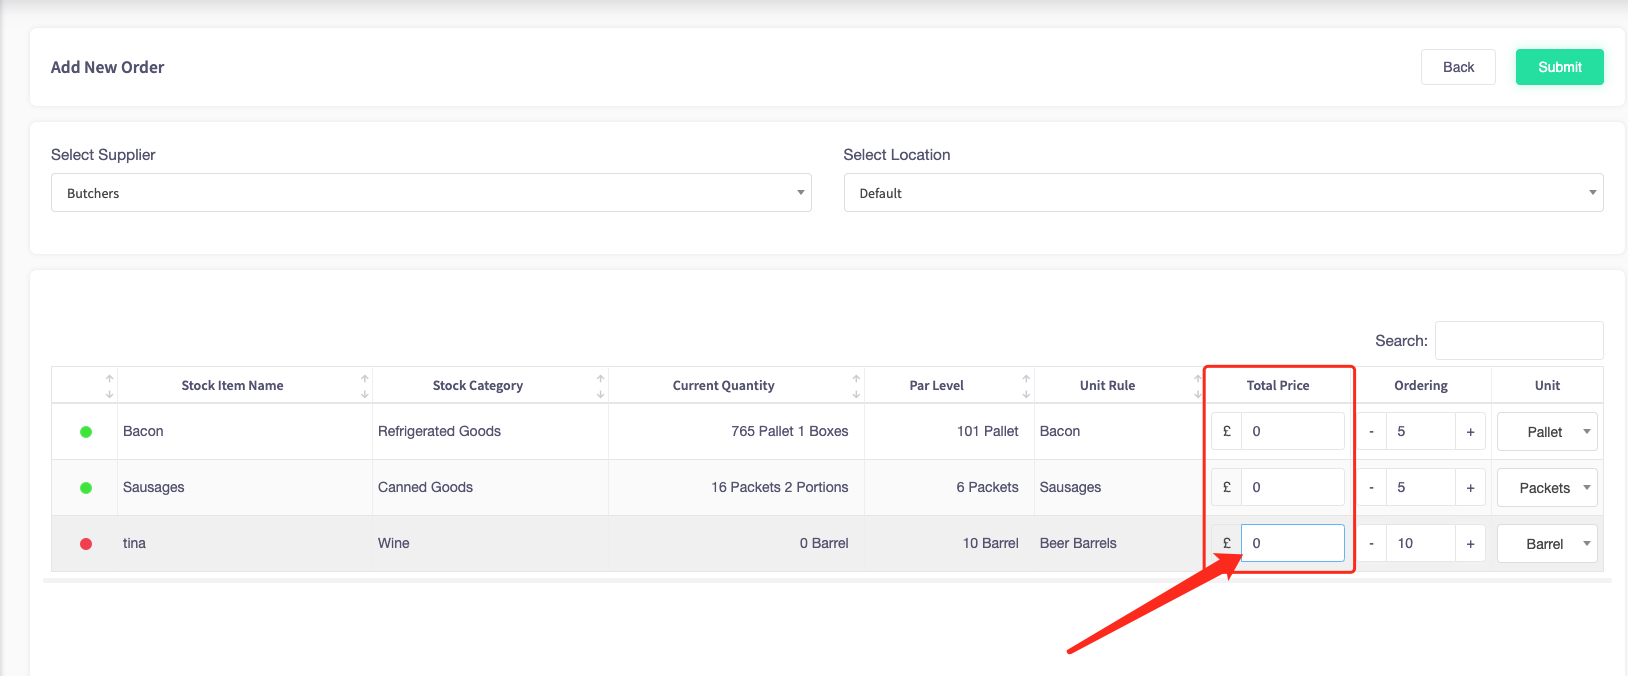
To do an initial stock check set the price as zero (£0) as you already own the stock, to get the stock onto the system.
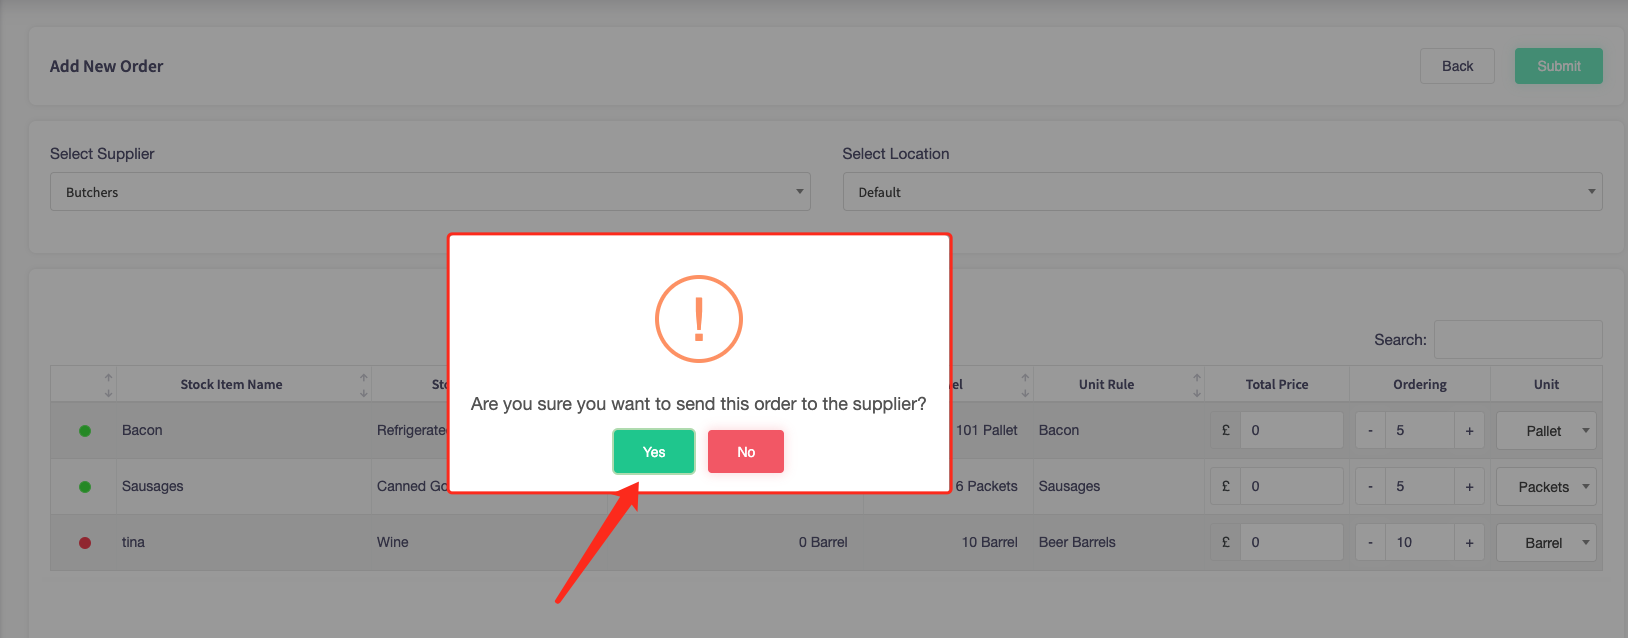
Click 'Submit'.
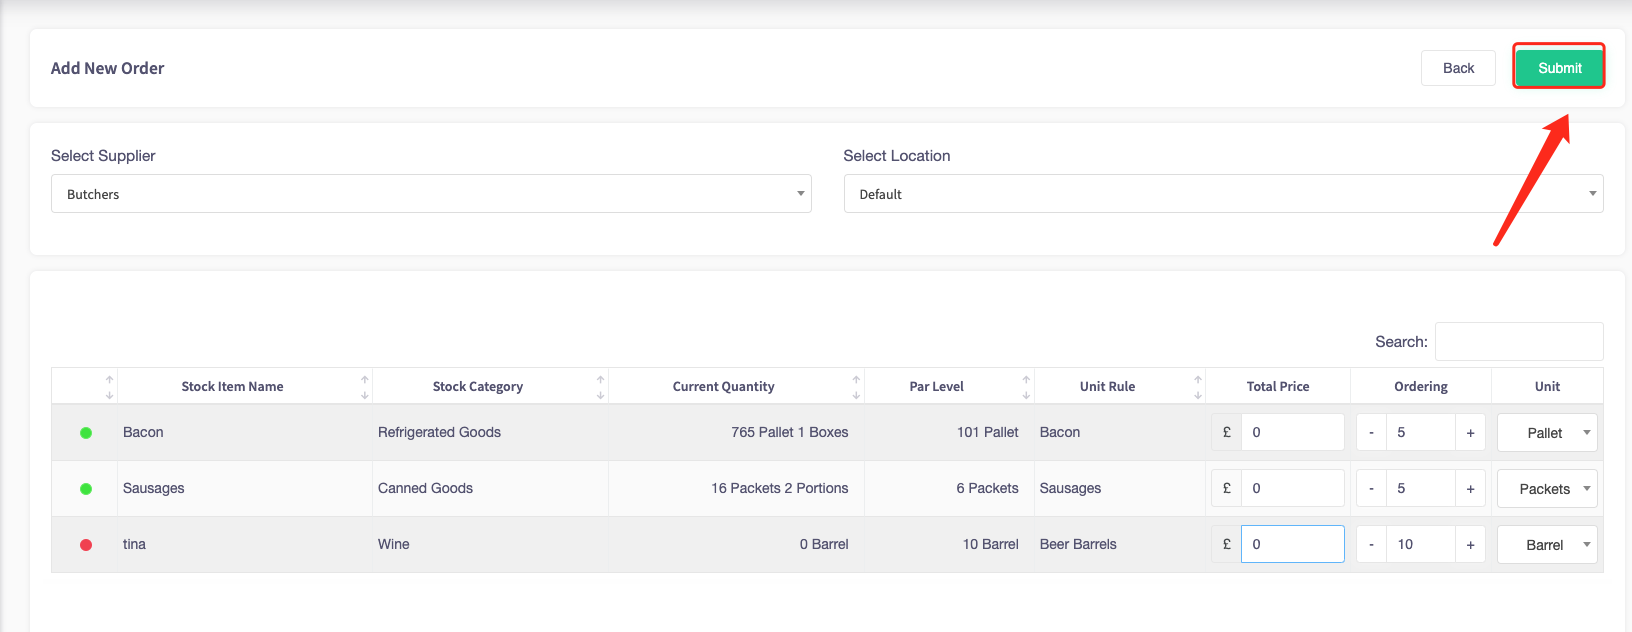
A warning message will appear. Click 'Yes' to confirm and send the order to your suppliers.
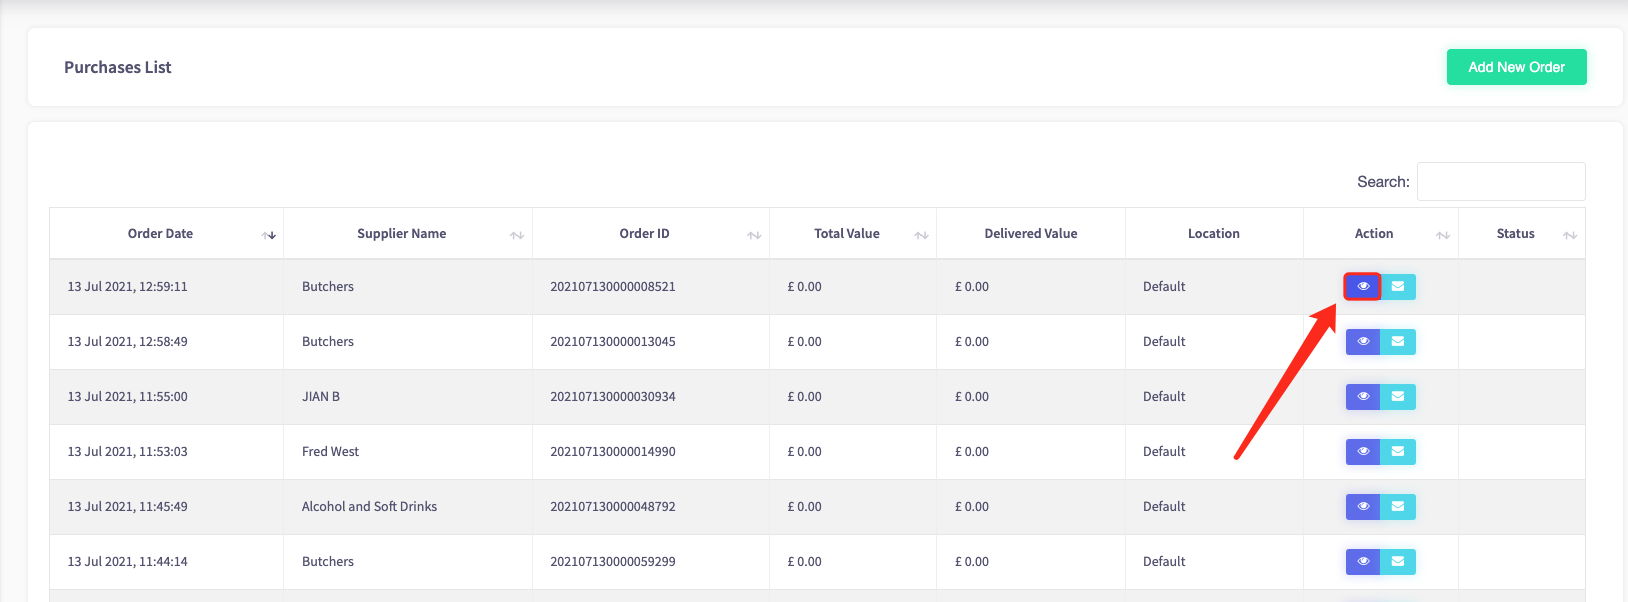
Return to the Purchases List. Then, click the purple eye icon next to your most recent order to view it.
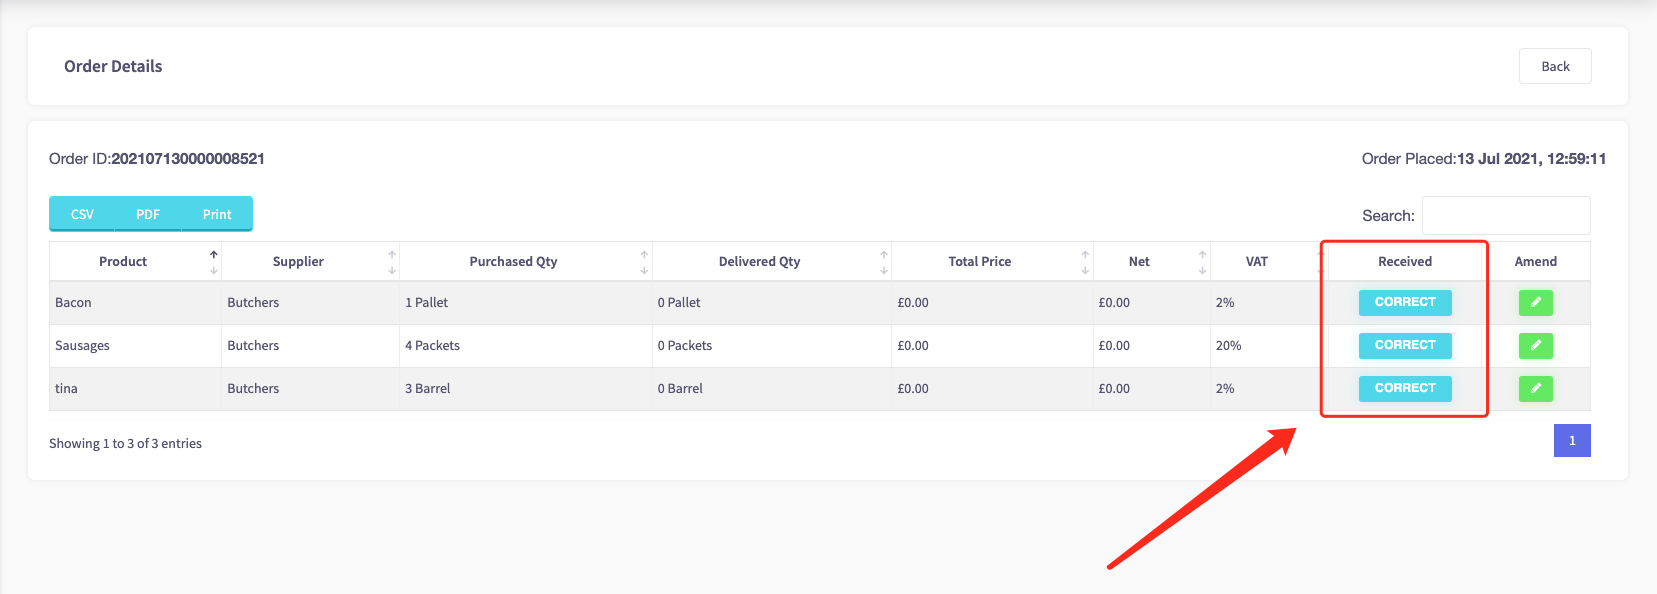
Click the blue 'Correct' button to inform the system that your order has been received.
The button will then grey out.
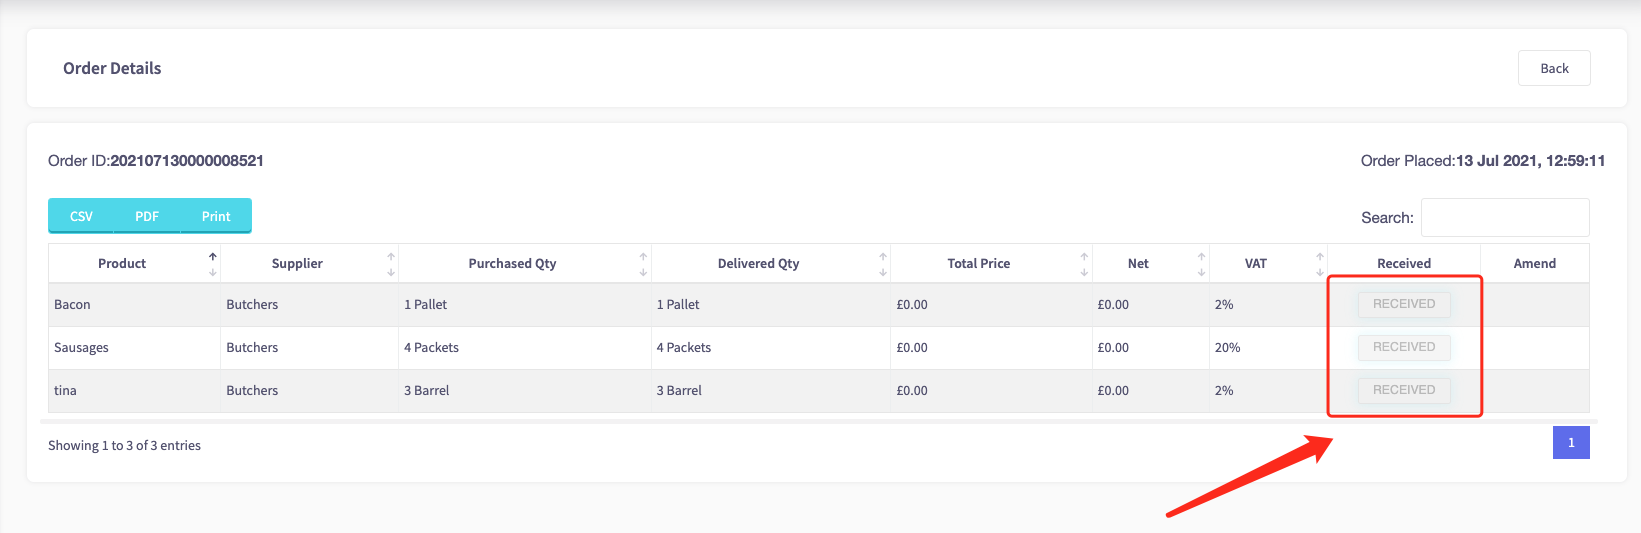
Repeat this process for every item of stock.
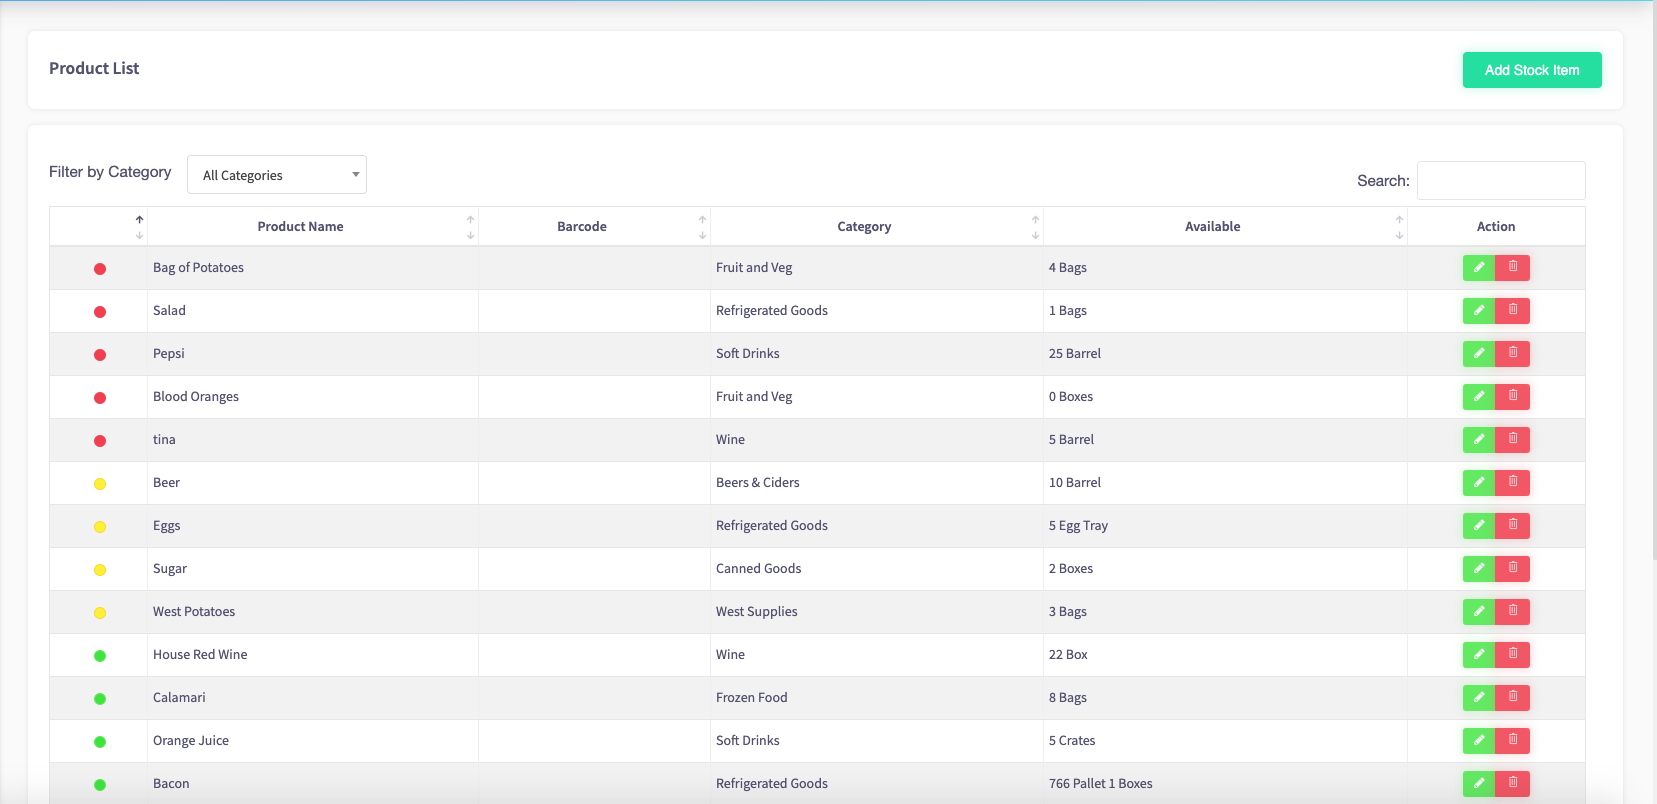
Finally, go to 'Stock Management' on the left-hand side, then 'All Stock Items'.
The table will show your full inventory, including how much of each item is in stock.