1. On your terminal, select the arrow  from the top left and select the settings icon
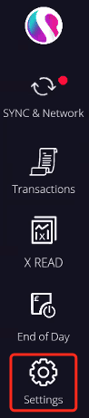
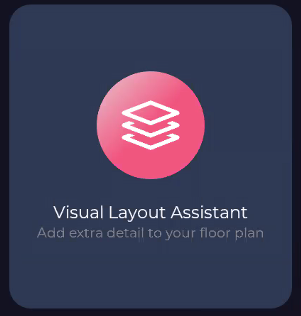
2. Select the Visual Layout Assistant tile to open the editor
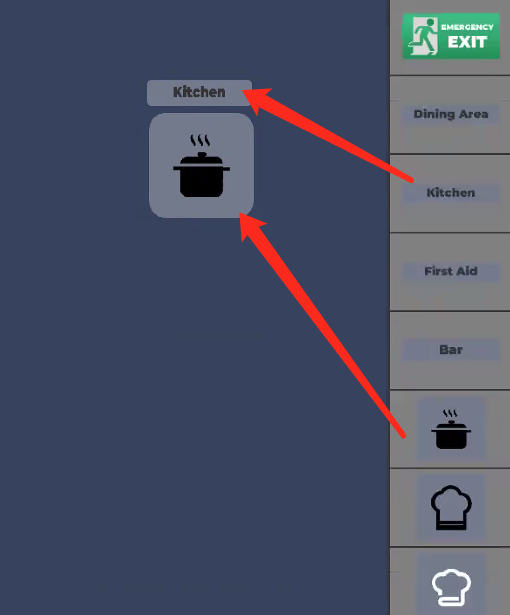
3. From the right you can see a tab with a chevron icon  , select here to reveal a menu displaying all the customisation icons available, you will be able to drag and drop these icons onto the floor plan
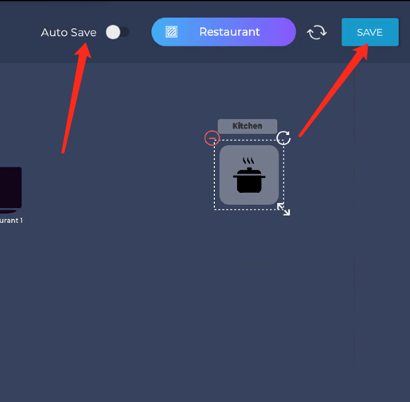
4. After placing the icons, tap them once to see options on the corners of these icons to adjust the size  , rotate
  or delete
  .
.
5. Once you have finished editing your floor plan you can press the save button on the top right to save or enable auto saving if you make changes to your layout frequently.
If you need any help with the visual editor, you can view our video below or get in contact by emailing support@sparkepos.com