How to add someone to the wait list on HQ
This guide will show you how to add someone to the wait list through the back office.
- How to add someone to the wait list using the grid view
- How to add someone to the wait list using the table view
- How to add someone to the wait list using the timeline
- How to add someone to the wait list using all bookings
How to add someone to the wait list using the grid view
This guide will show you how to add someone to the wait list using the grid view.
Before you do anything, you need to login to your store account SparkEpos
Firstly, click on the 'Reservations', then the 'Grid view' option on the menu.

This will then display the grid view, shown here.
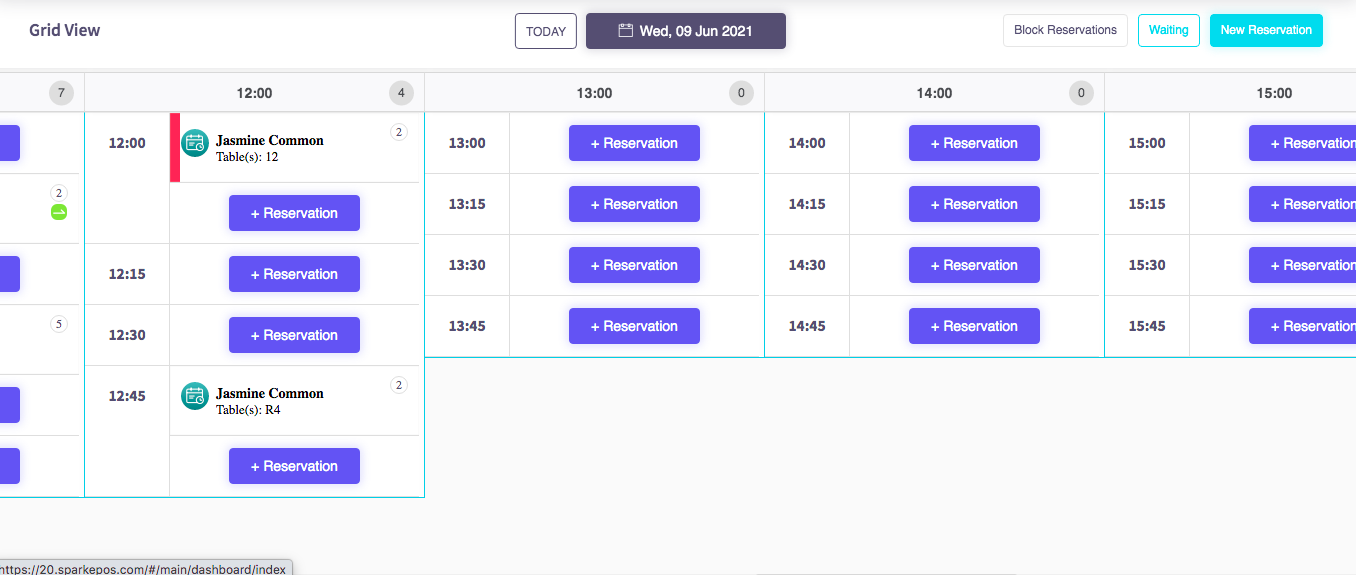
Secondly, click on the 'Waiting' button, shown here.

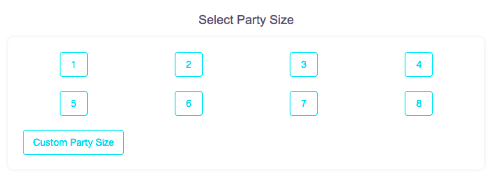
Then your page should look like this. Select the amount of people that have arrived, or create a custom party size with the 'Custom party size' button below.
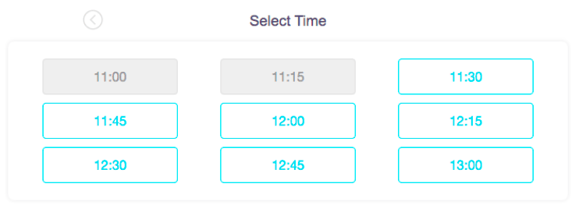
From here select the time that the customer/s have arrived.
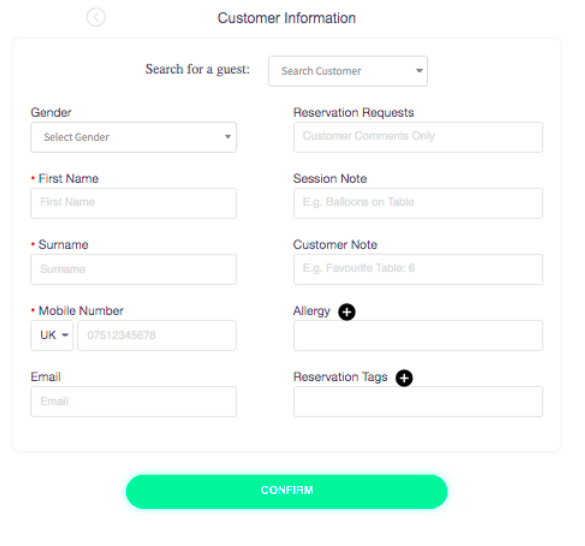
Then you will see the customer information form, where you can put in the customers details.
How to add someone to the wait list using the table view
This guide will show you how to add someone to the wait list using the table view.
Firstly, click on the 'Reservations', then the 'Table view' option on the menu.
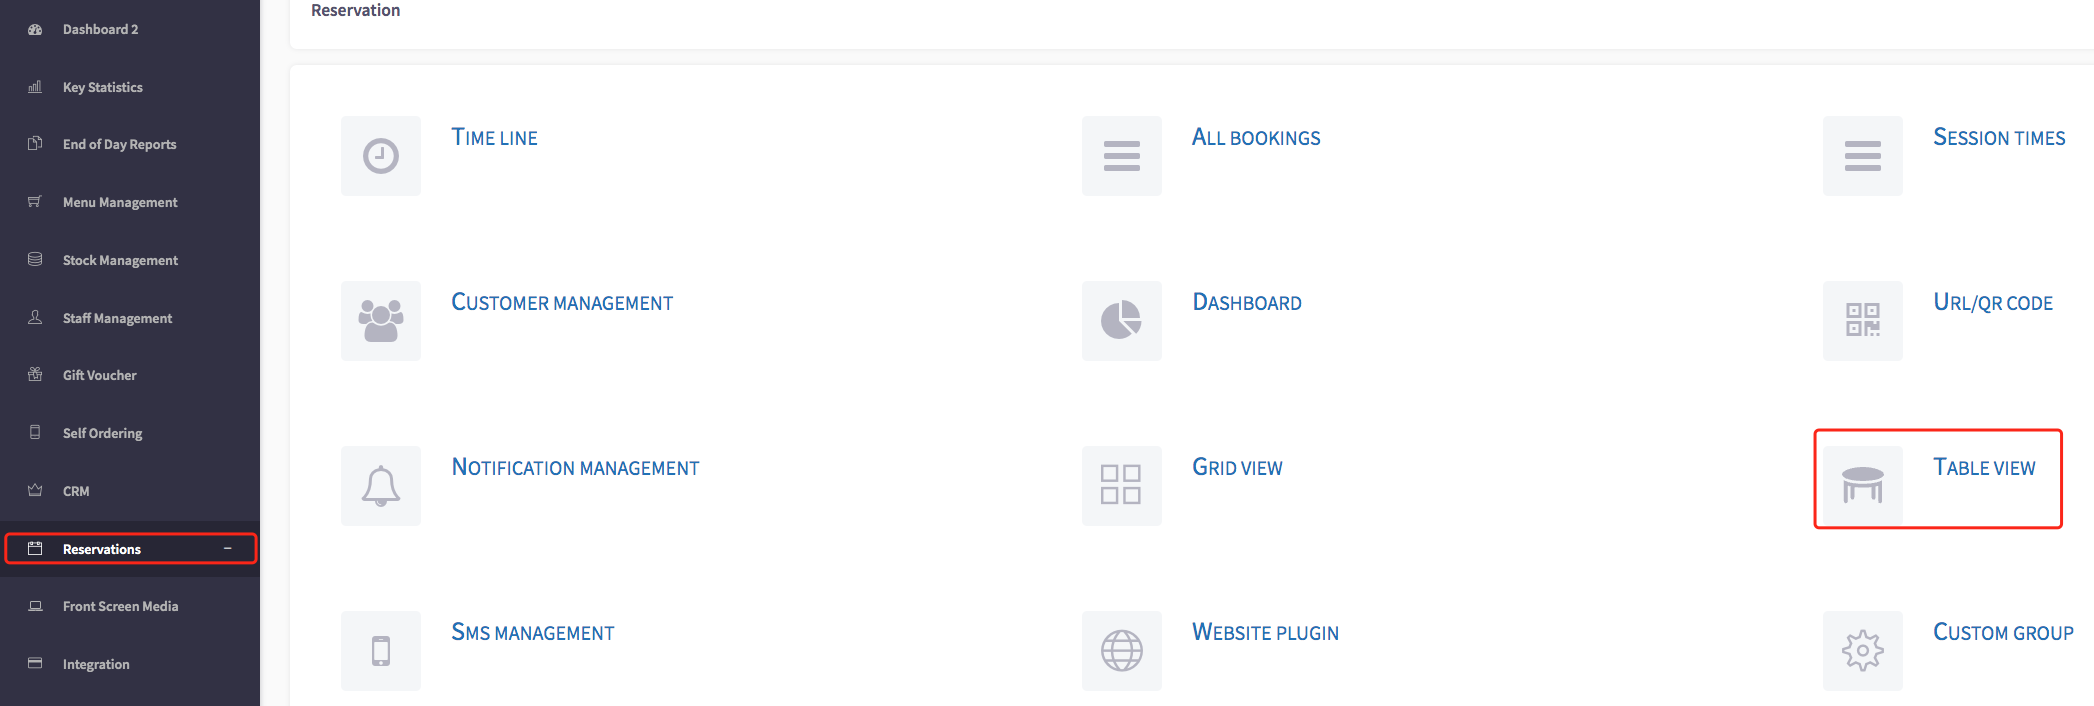
This will then display the table view, shown here.
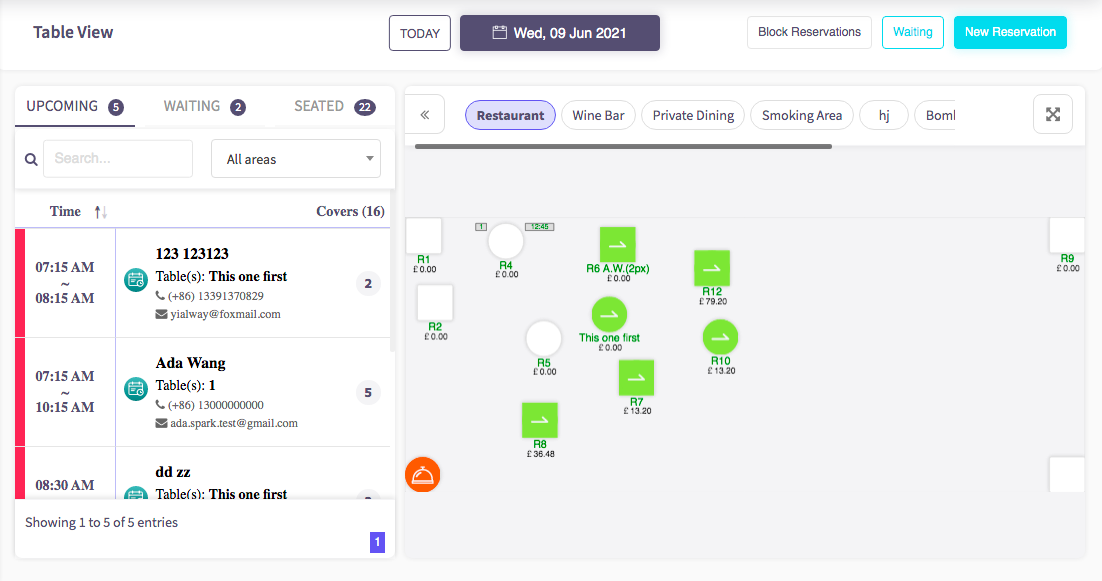
Secondly, click on the 'Waiting' button, shown here.

Then your page should look like this. Select the amount of people that have arrived, or create a custom party size with the 'Custom party size' button below.

From here select the time that the customer/s have arrived.
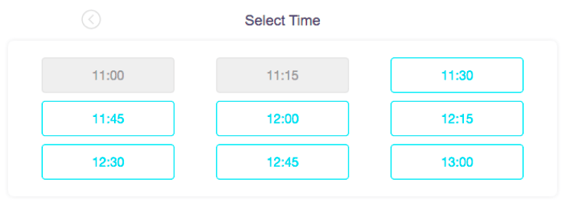
Then you will see the customer information form, where you can put in the customers details.

How to add someone to the wait list using the timeline
This guide will show you how to add someone to the wait list using the timeline.
Firstly, click on the 'Reservations', then the 'Timeline' option on the menu.
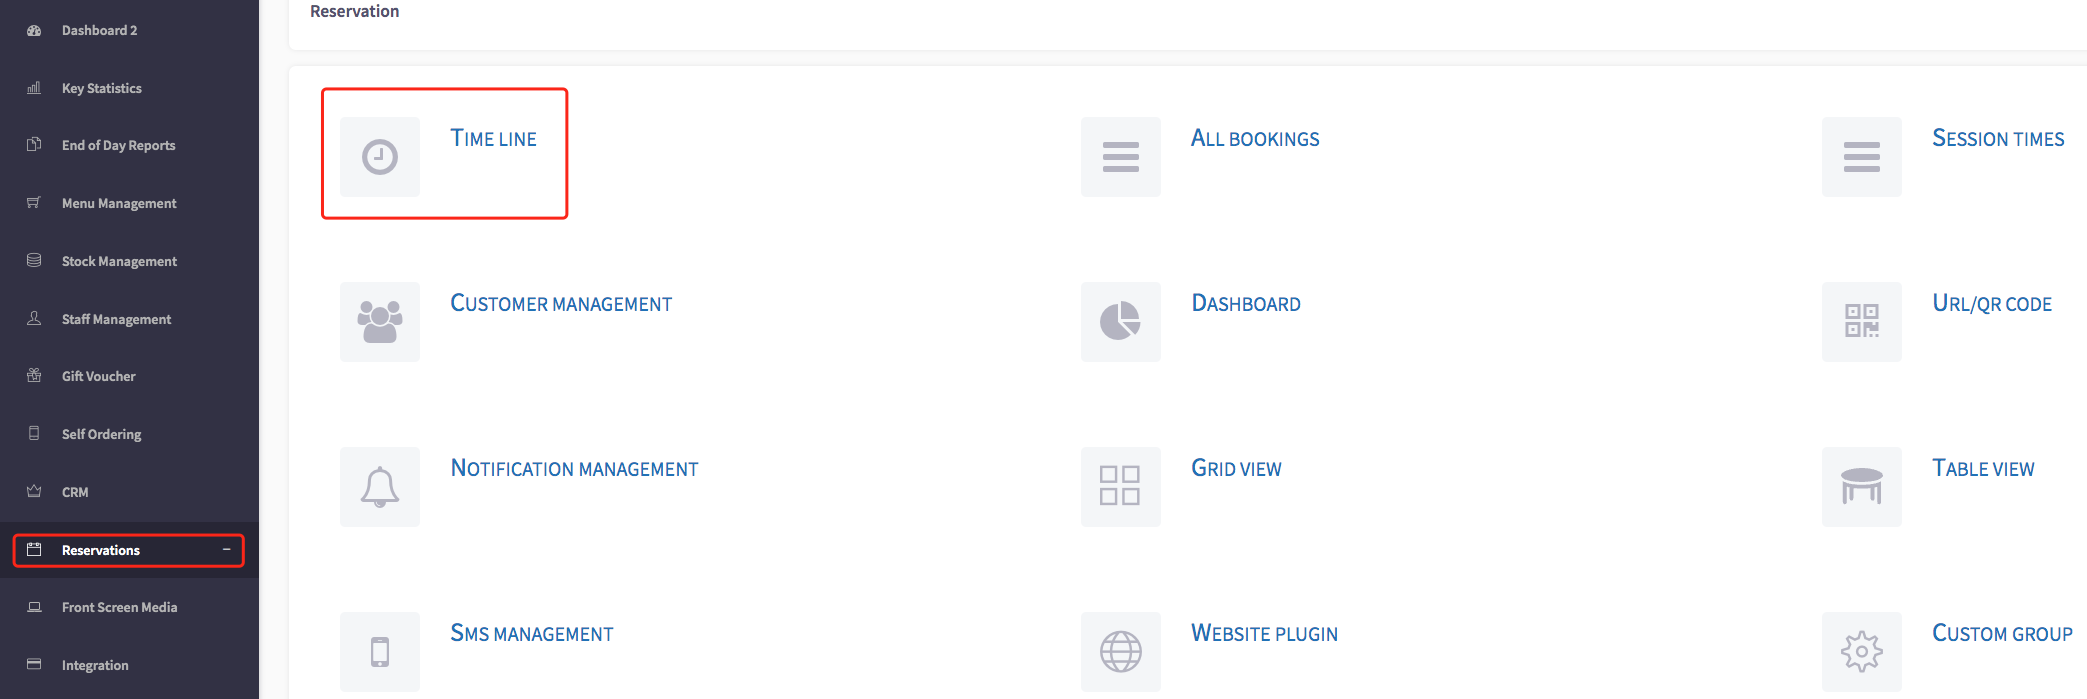
This will then display the timeline, shown here.
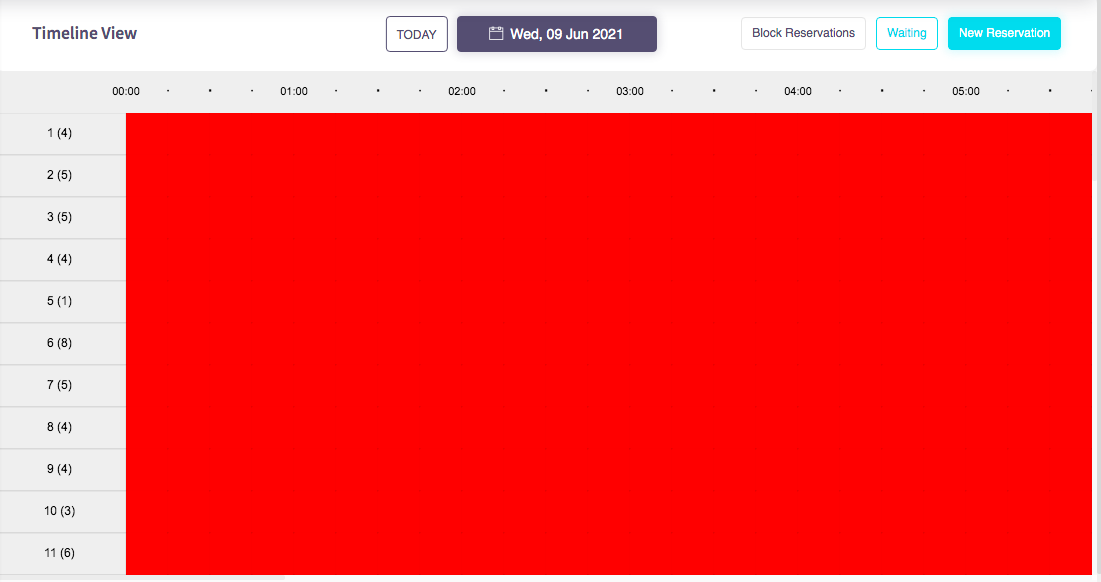
Secondly, click on the 'Waiting' button, shown here.

Then your page should look like this. Select the amount of people that have arrived, or create a custom party size with the 'Custom party size' button below.

From here select the time that the customer/s have arrived.
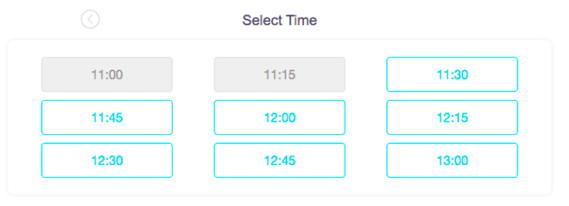
Then you will see the customer information form, where you can put in the customers details.

How to add someone to the wait list using all bookings
This guide will show you how to add someone to the wait list using all bookings.
Firstly, click on the 'Reservations', then the 'All bookings' option on the menu.
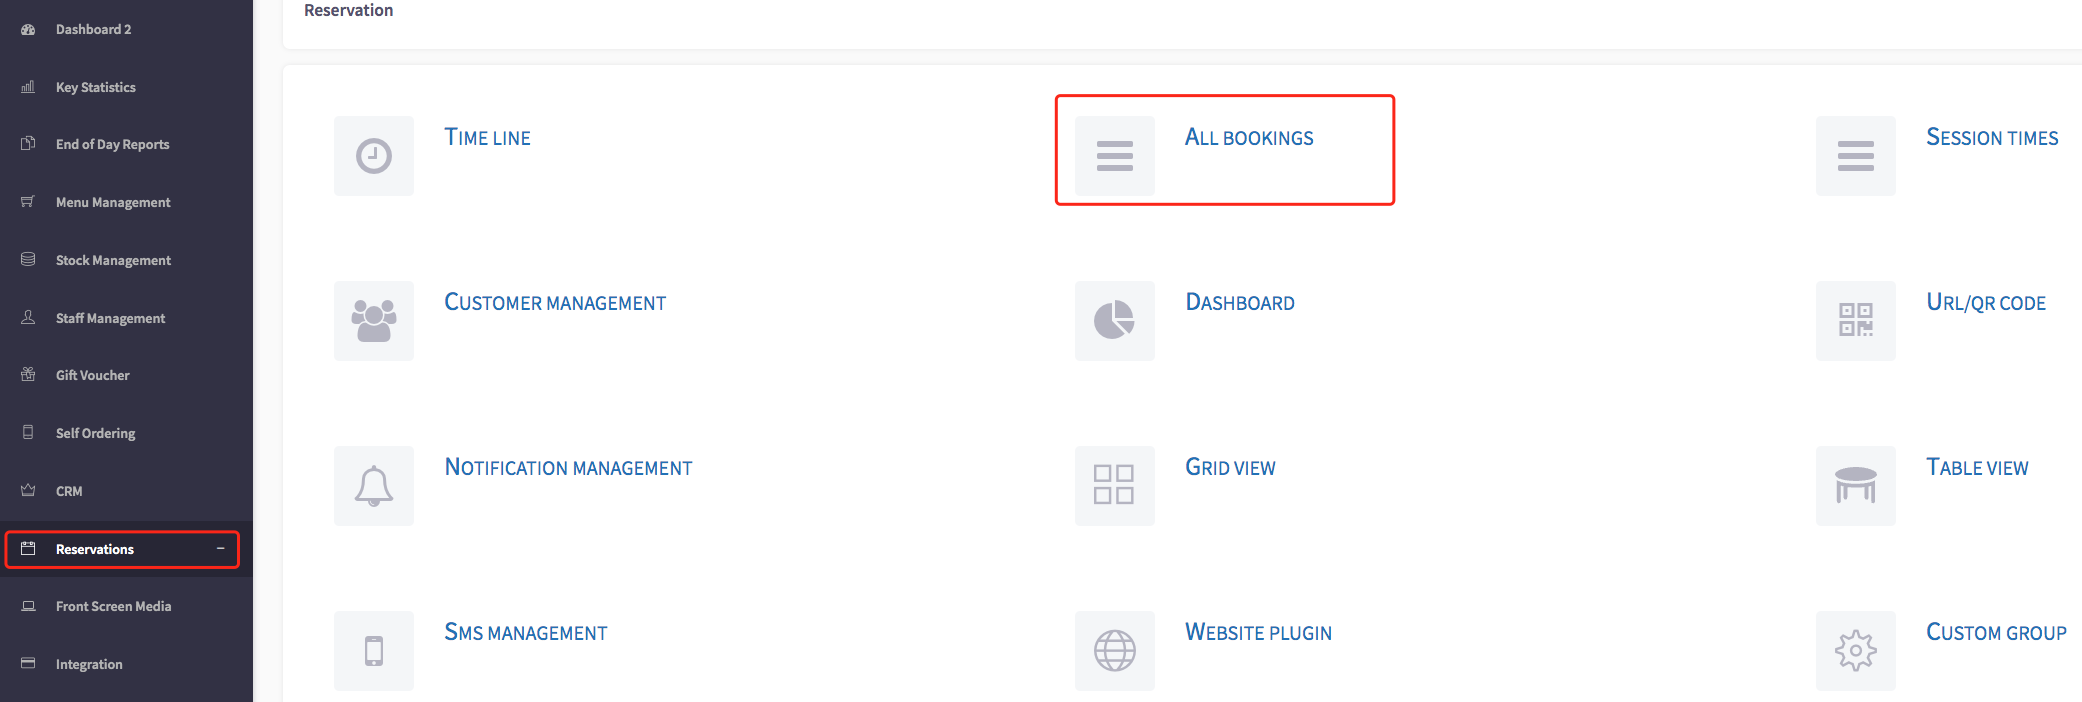
This will then display the all bookings view, shown here.
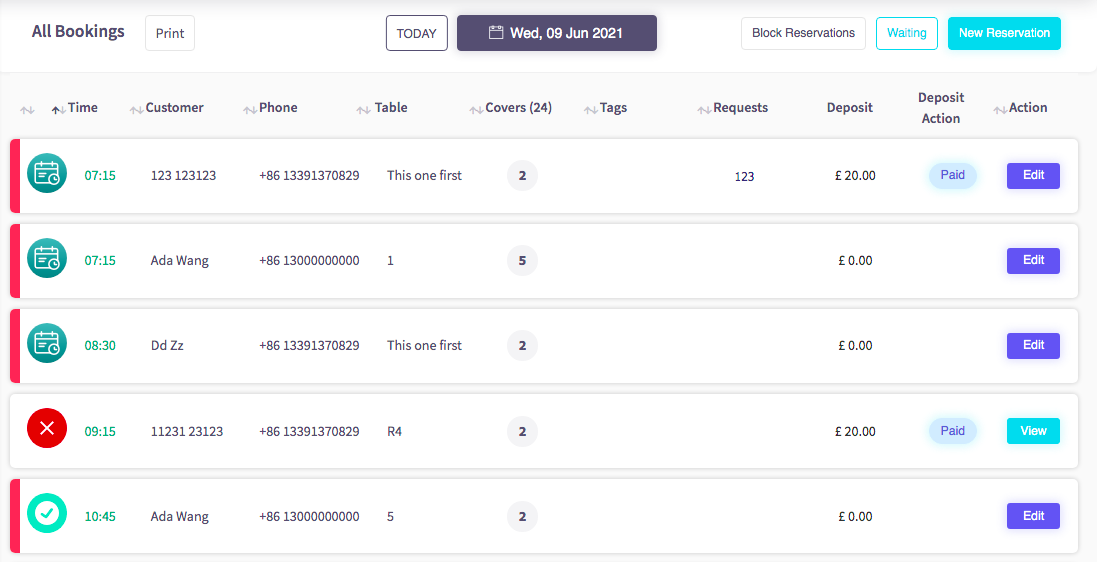
Secondly, click on the 'Waiting' button, shown here.

Then your page should look like this. Select the amount of people that have arrived, or create a custom party size with the 'Custom party size' button below.

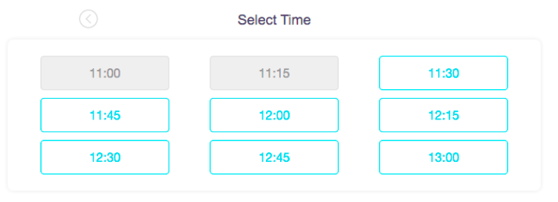
From here select the time that the customer/s have arrived.
Then you will see the customer information form, where you can put in the customers details.
