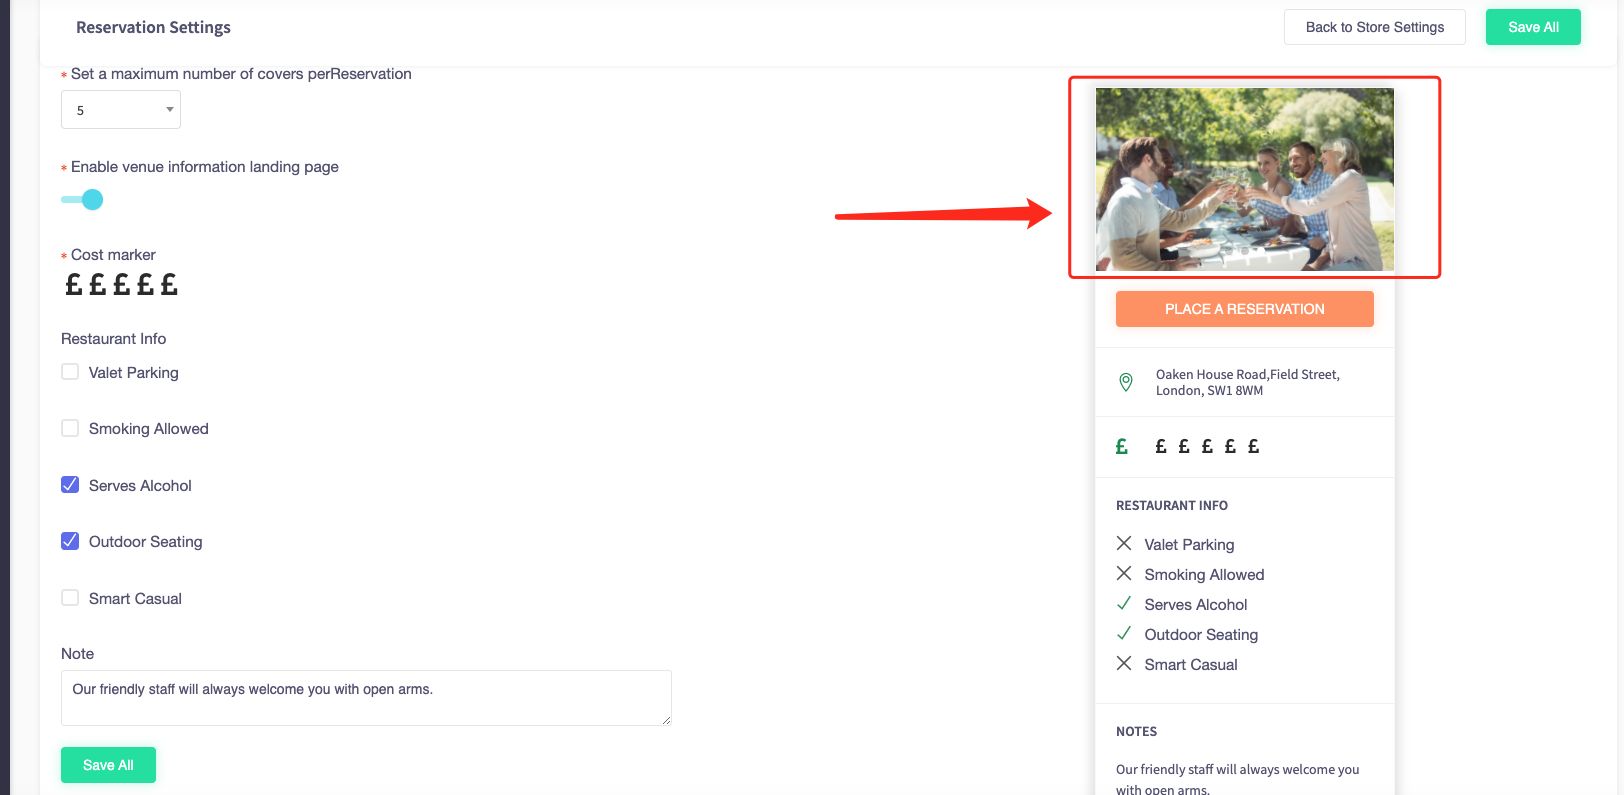
How to change reservation images
This article is for changing the images that appear when making reservations.
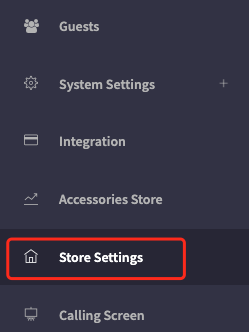
1. Navigate to the left sidebar and press 'Store settings'.
2. You will be presented with the store settings page.
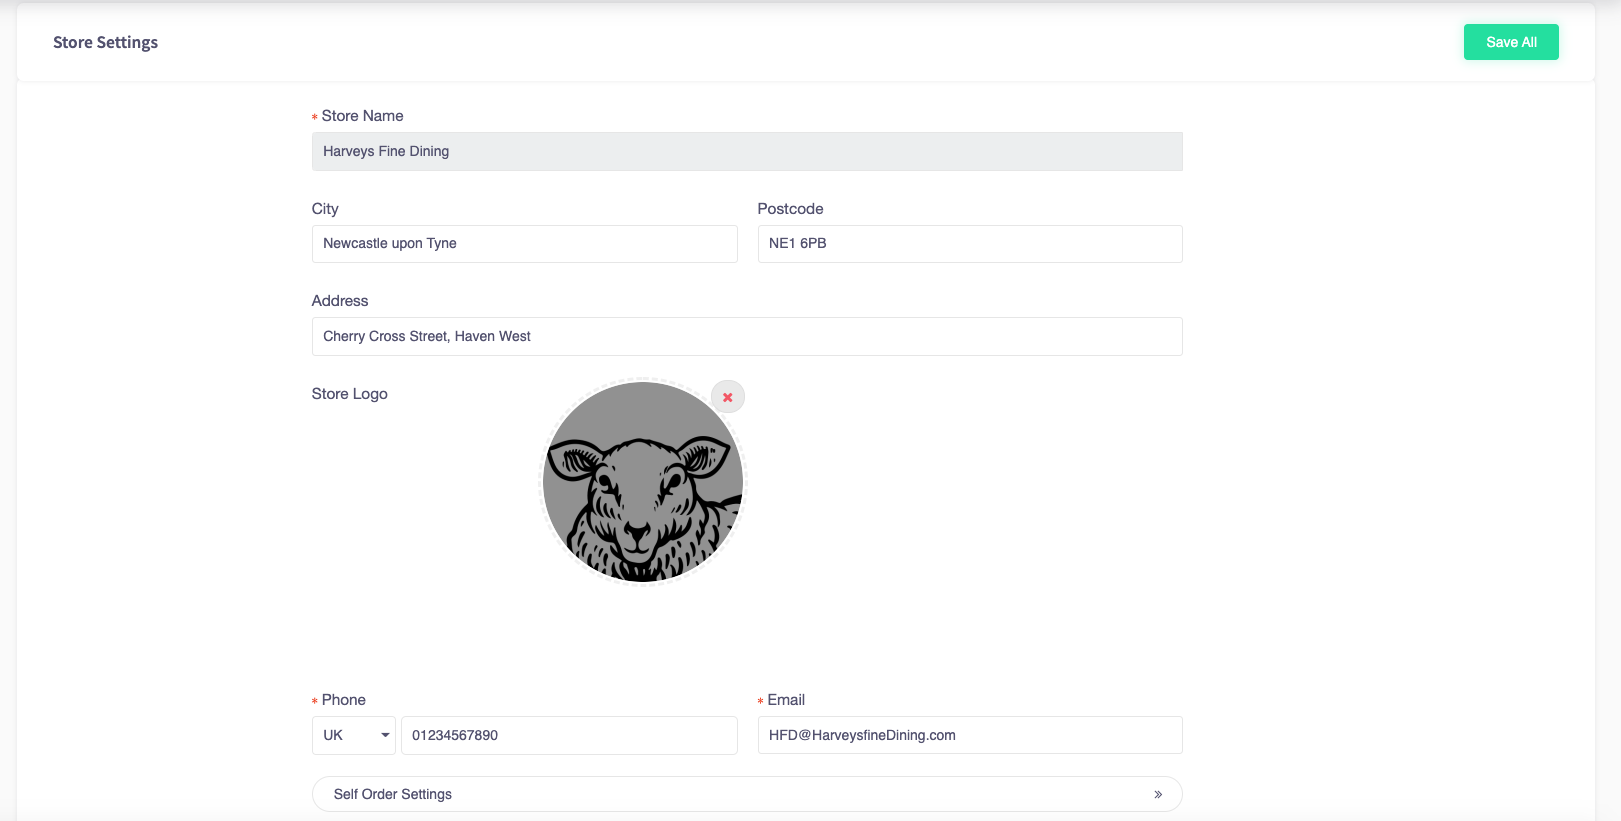
3. Press on the button called 'Reservation settings'.

4. You will be presented with a screen full of reservation settings.
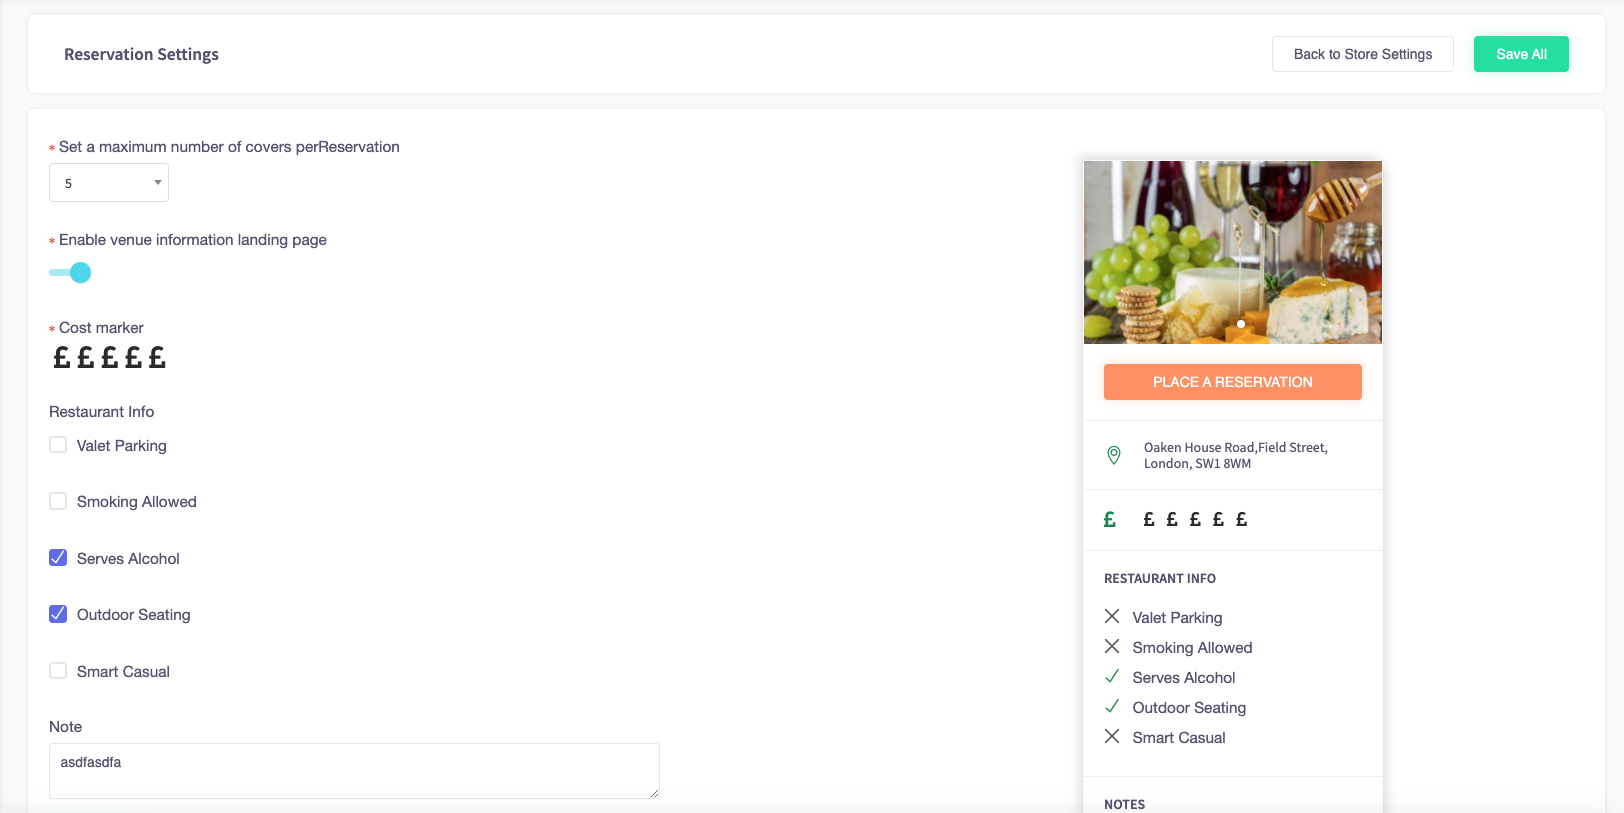
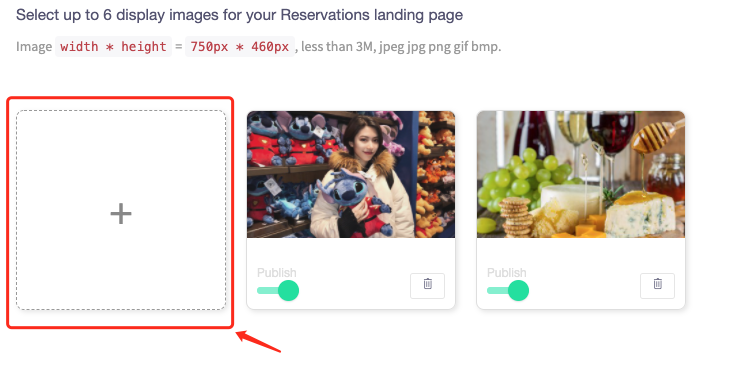
5. Scroll down and you will see this area allowing you to add new display images. Press the box with the '+' icon in.
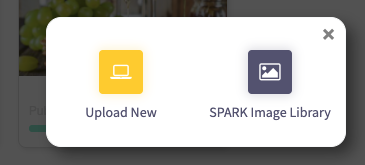
6. You can upload images directly from a computer or take the images from a pre-built library.
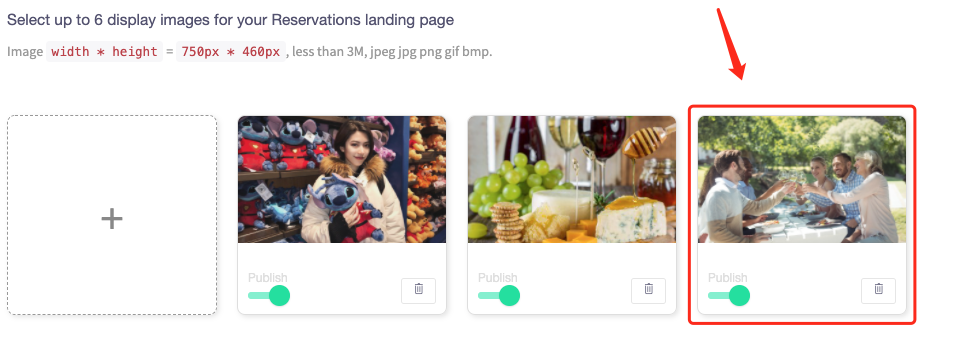
7. Once selected, the image will automatically be put in the list.
8. After the image has been uploaded, press "Save All" to save the changes.
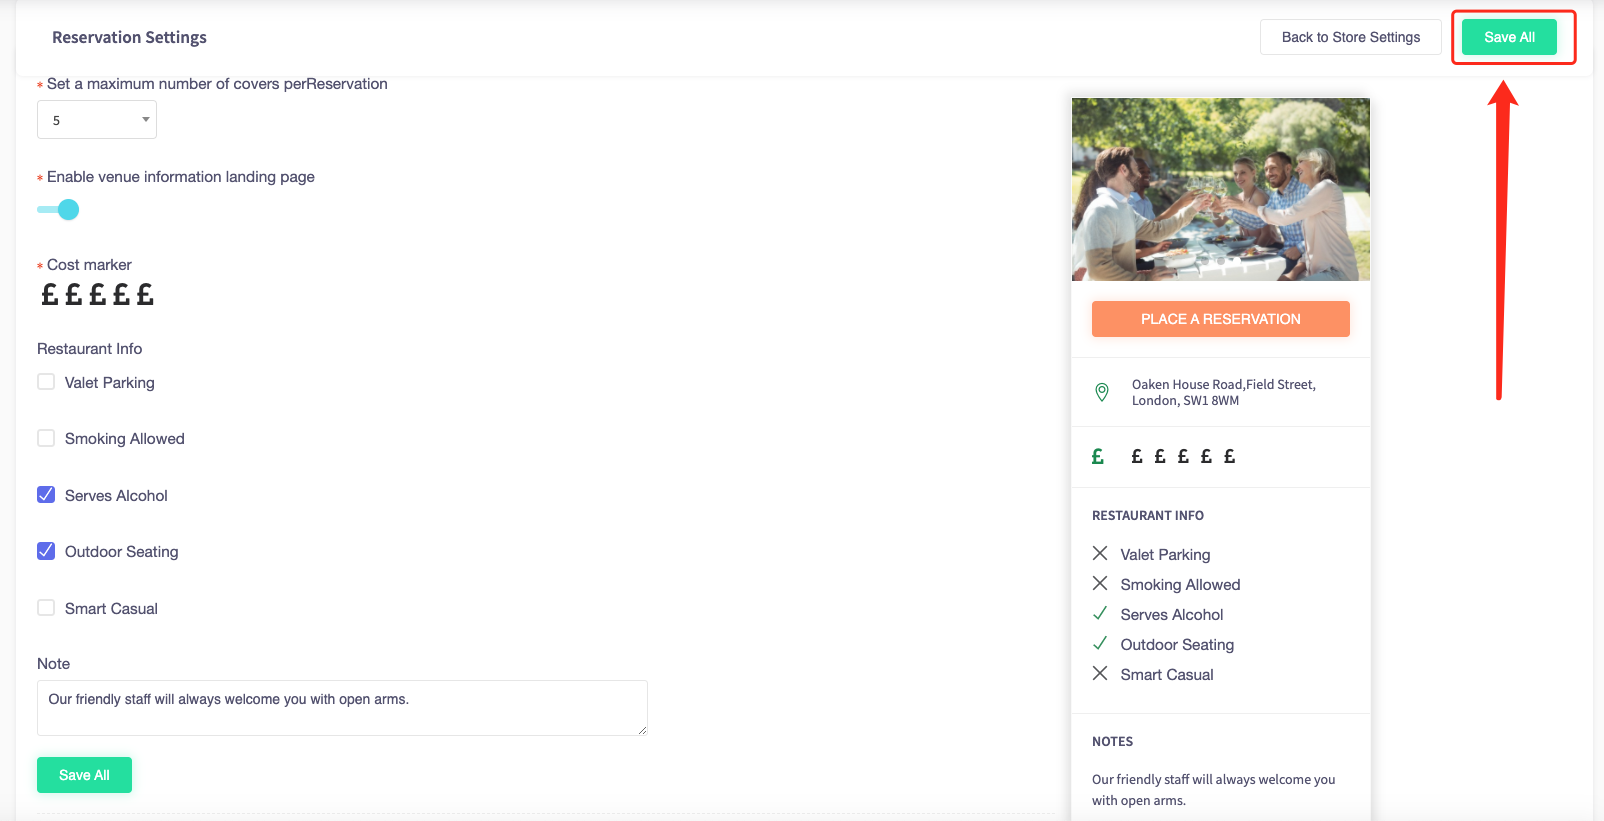
9. When the image is saved and published, it should appear on the preview.
