-
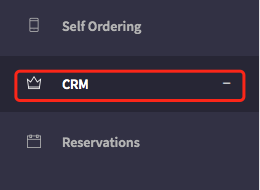
Navigate over the left hand side bar and press the CRM tab.
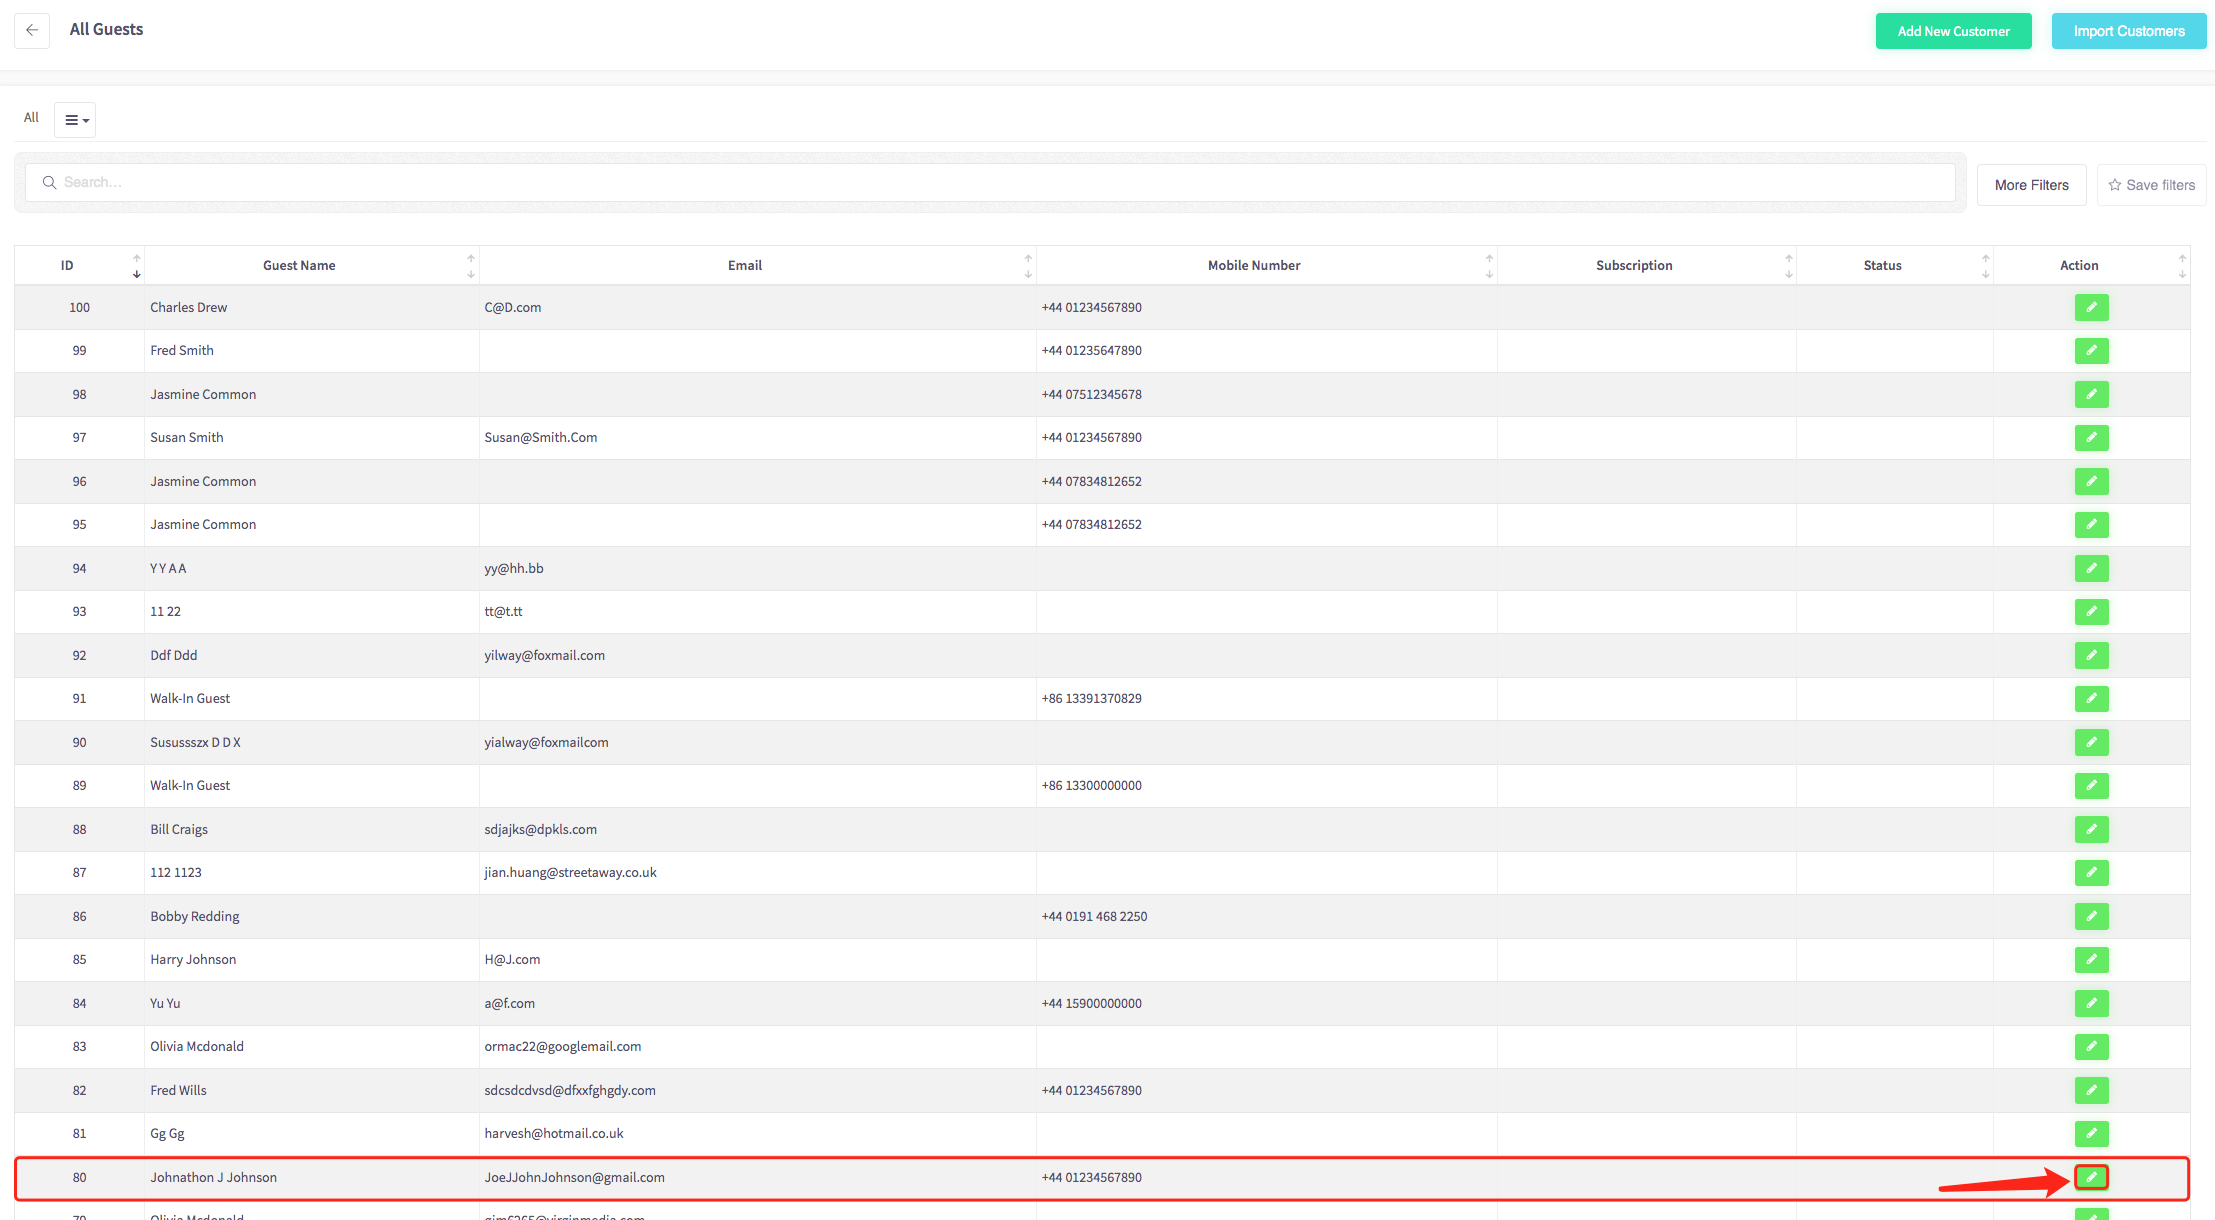
2. Select the tab in the CRM menu that says 'Guests'.

3. Select the  icon next to the customer profile you want to alter the tags on.
4. On the customer profile screen, select tags.
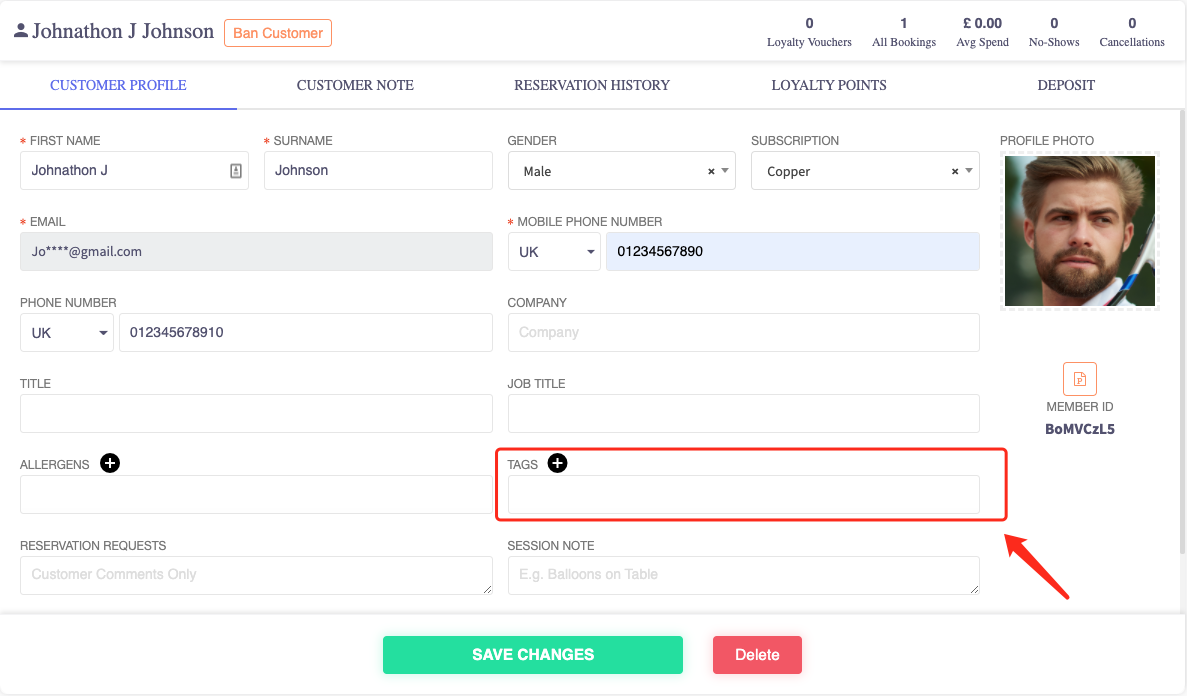
5. Selecting the tags will bring up a popup box with the current tags you have created.
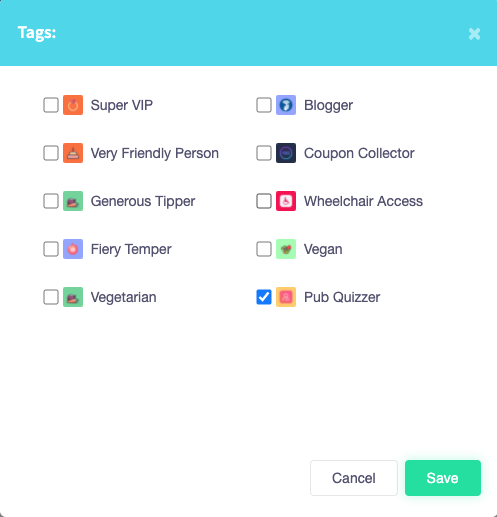
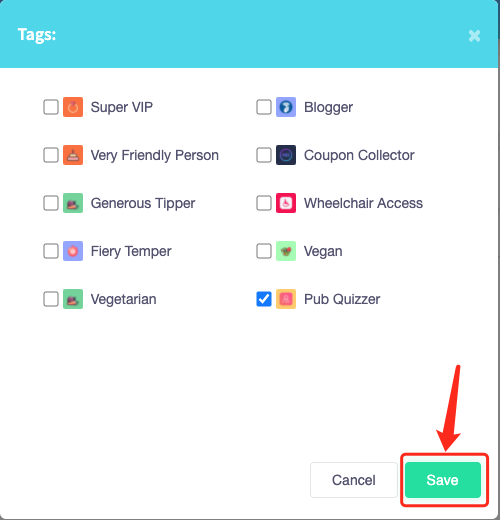
6. Once a tag (or multiple tags) are selected, press 'Save' to assign the tag to the customer.
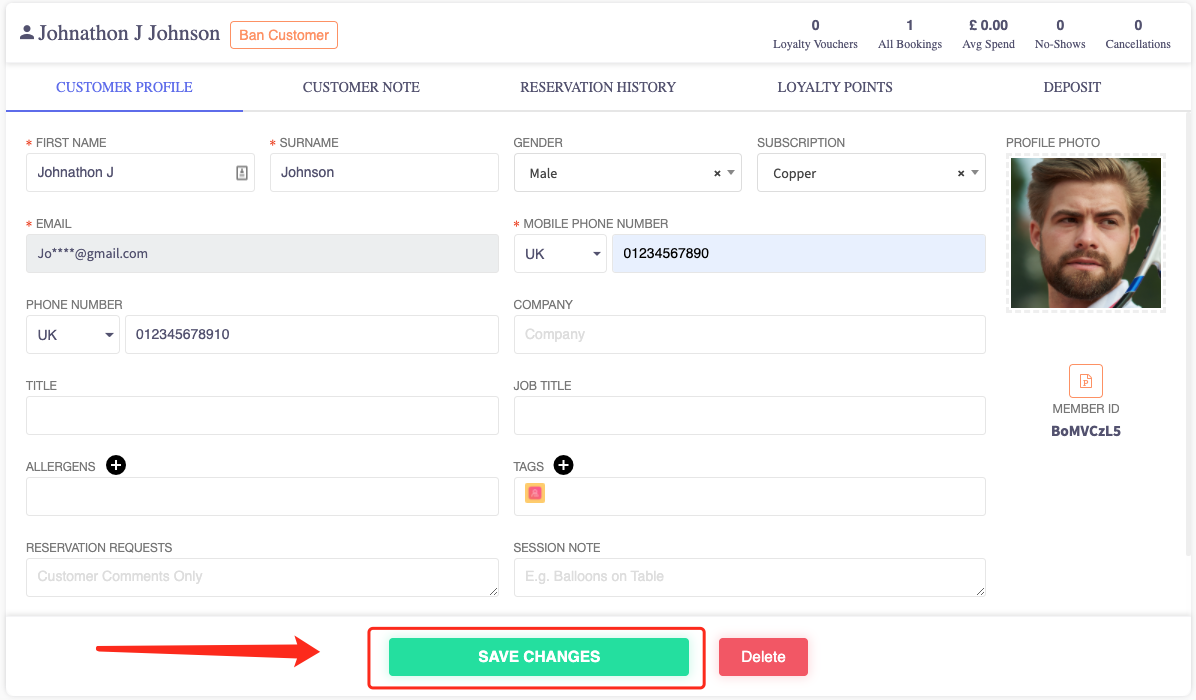
7. Once saved the logo of the tags should appear within the tags box.
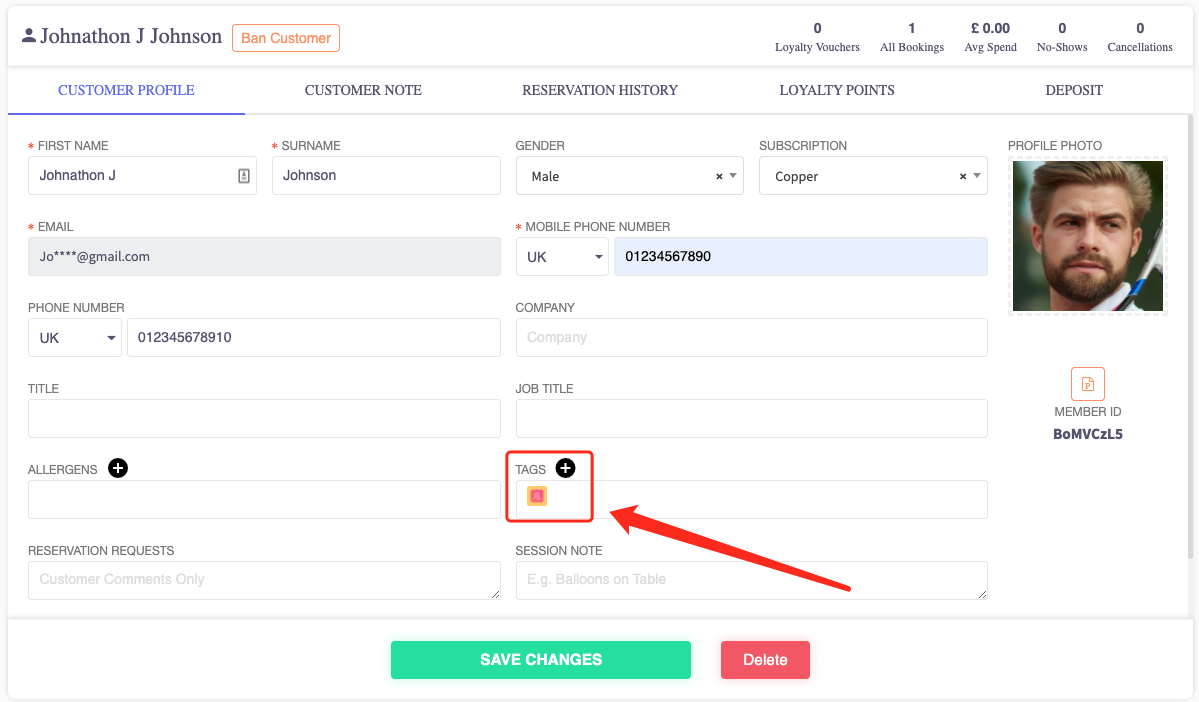
8. To save the tag to the customer, finish the process by selecting 'Save Changes'.