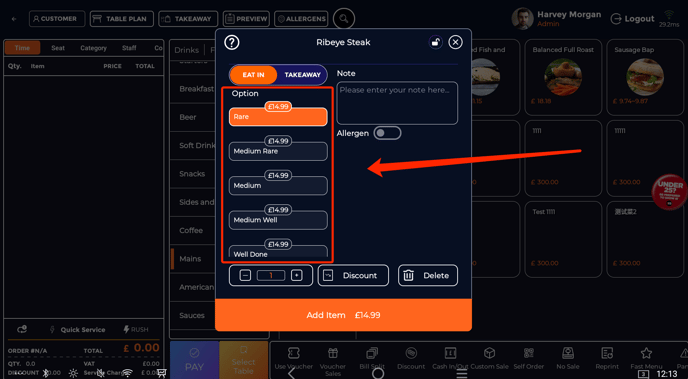
For instance, let's consider the scenario of running a steakhouse. Effectively conveying specifics like the desired cut of meat and preferred cooking level to the kitchen is paramount. Options serve as a seamless method to augment each order with additional preferences.
Here's a glimpse of how this feature looks on a terminal:
To integrate an option into a menu item, follow these steps:
-
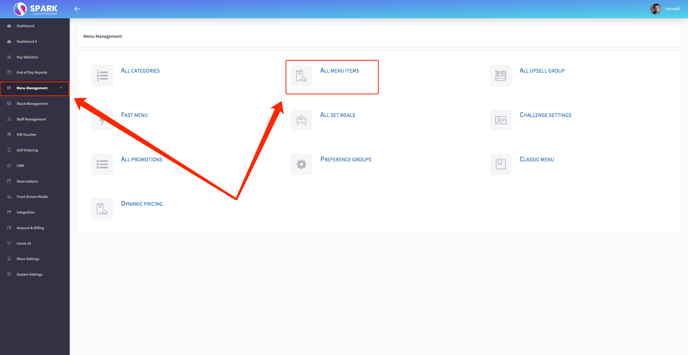
Accessing the Back Office: Begin by navigating to the back office.
-
Menu Management Navigation: Once inside the back office, proceed to "Menu Management," and then select "All Menu Items."
-
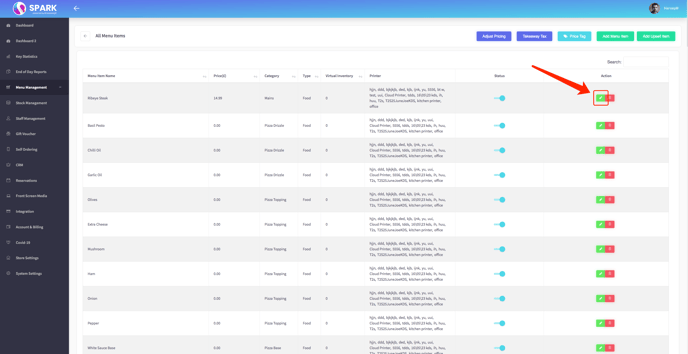
Editing the Menu Item: Choose the specific item you intend to enhance with an option, and then click on the "Edit" option.
-
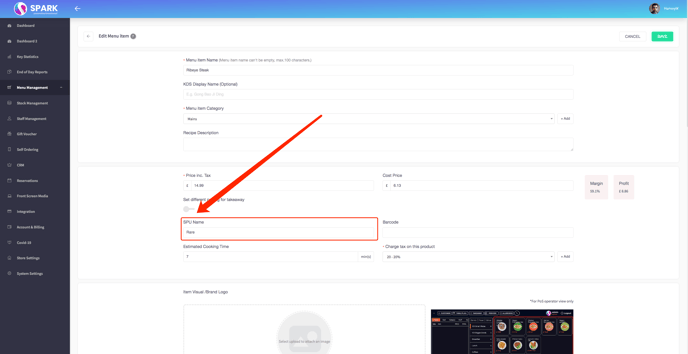
Adjusting Menu Item Details: This is where you have the flexibility to make modifications to the menu item.
-
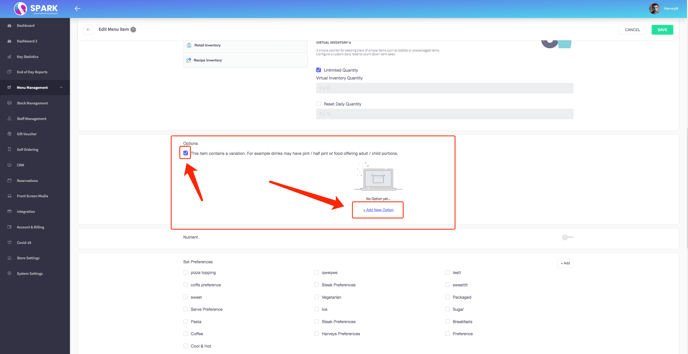
Adding Options: Let's illustrate this with a case involving a steak. Begin by setting the Standard Product Unit (SPU) name. The SPU represents the default selection. In our example, we'll set it as "Rare." Following this, scroll further down to locate the "Options" checkbox. Check this box to activate the option feature.
-
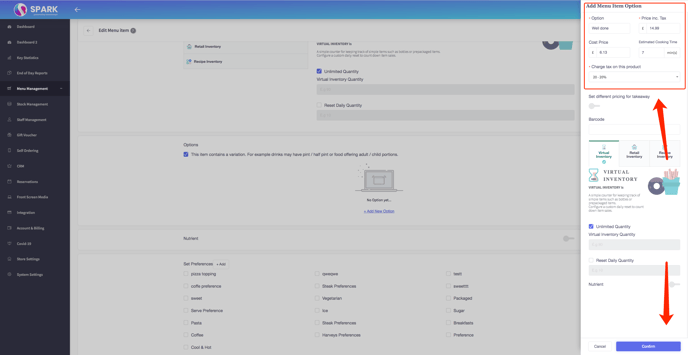
Creating Additional Options: Once selected, a button labelled "Add New Option" will appear. Click on this button to initiate the process. You'll be prompted to input the option name, price, and tax rate. (Additional settings are also available as needed.)
-
Saving Your Configuration: After inputting the necessary details, simply hit "Save." This will seamlessly incorporate the chosen option into the menu item. The next time you choose this item, the system will prompt you to select your preferred option.
With these steps, you can elevate your menu offerings by seamlessly integrating options. This empowers your customers to tailor their orders to their unique preferences.