Please login to the SPARK HQ portal - Here
- Navigate to and click on 'System settings' in the left pane on the HQ portal webpage. It will be located at the bottom. (Please see '1.' on image below)
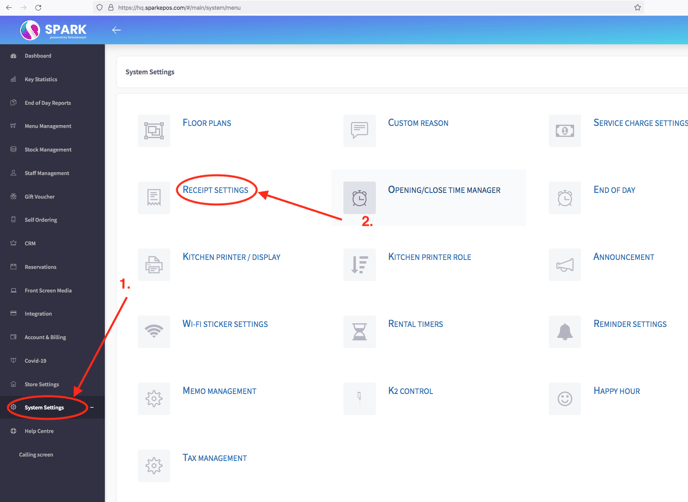
- Click on 'Receipt settings' found on the main screen. (Please see '2.' on image above)
- A preview of the receipt should now be displayed on the page. From here you can upload your branding logo, edit address and contact details and also provide a url landing page for your customers. This could be for links to promotions, etc..
- Move the mouse over to the logo section, from here you should now see a 'upload' button appear. Click to upload your image, then select 'upload new'.
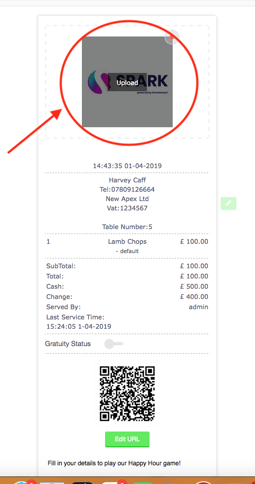
- Next we will edit the address and contact detail section. Click the small green icon on the right to edit the details, then click inside the area highlighted '2.' below.
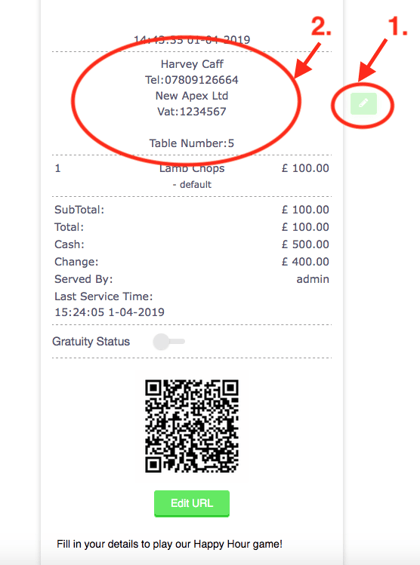
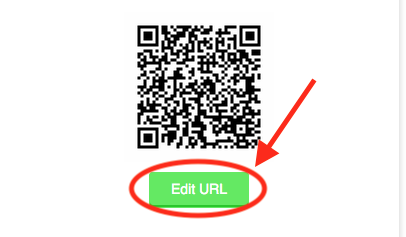
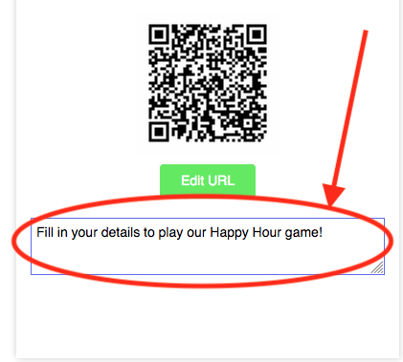
- Lastly, we will teach you how to customise the QR codes on your receipts and provide a small description on what this feature does. Editing the URL will allow your customers to be guided to a webpage of your choice. Please input the URL you wish your customers to visit. You can also input a small description to allow your customer to understand what function this QR code provides. (Please see below as an example of this feature)