- How to login to the handheld
- How to logout of the handheld
- How to notify staff that you are taking a break
- How to notify staff that you are clocking out
- How to place an order with quick service
- How to place an order with table service
- How to make a sale
- How to do a refund
- How to use void and comp
- How to do an X-Read
- How to do an end of day read
How to login to the handheld
This guide will show you how to login to the handheld.
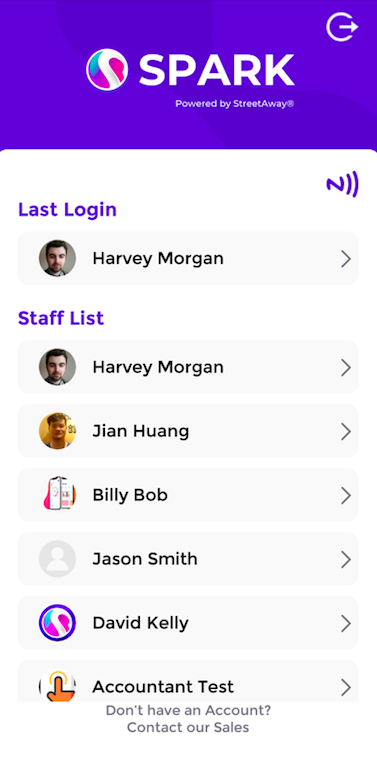
Firstly, you need to select your profile on the homepage. You can do this just by clicking on your profile.
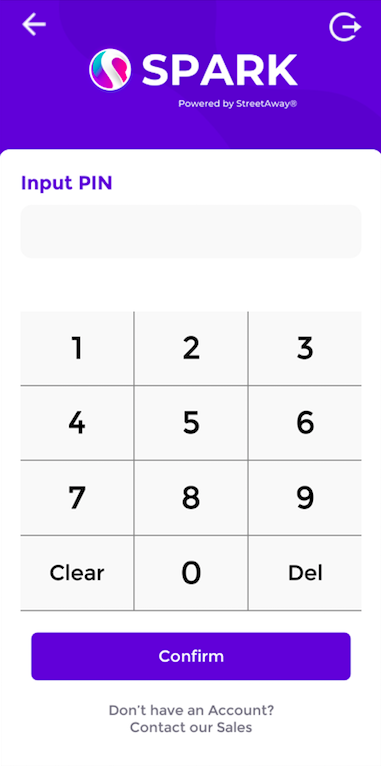
Now you need to enter your pin. You can do this by tapping on the number pad, and then click 'Confirm'.
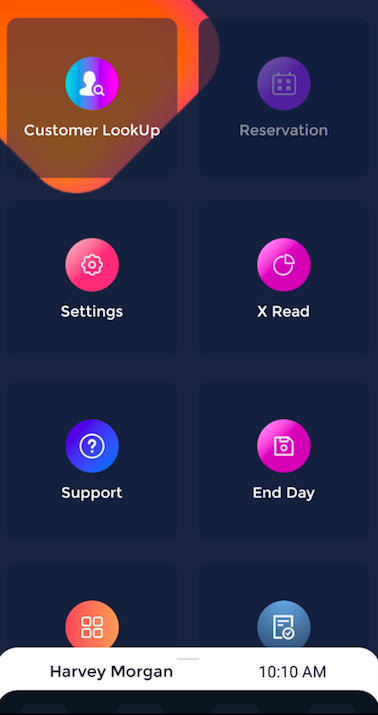
Now you have logged in, and you will be able to see your homepage.
How to logout of the handheld
This guide will show you how to logout of the handheld.
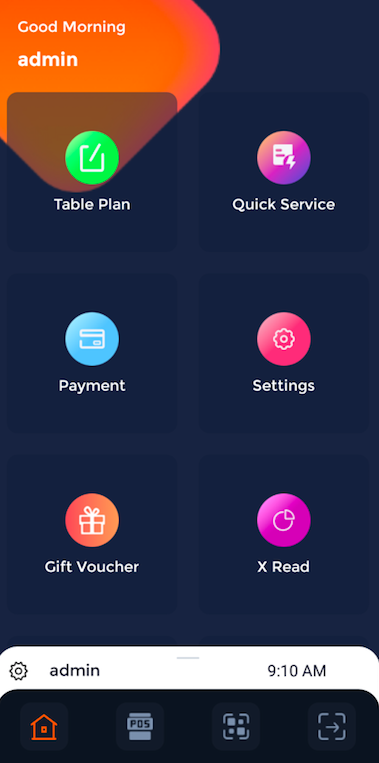
Firstly, redirect yourself back to the homepage, which should look similar to this.
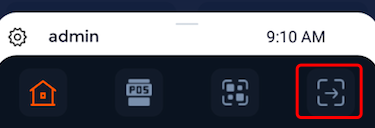
To logout, look at the bottom right corner of the homepage and click on the button with an arrow in a box, shown here.
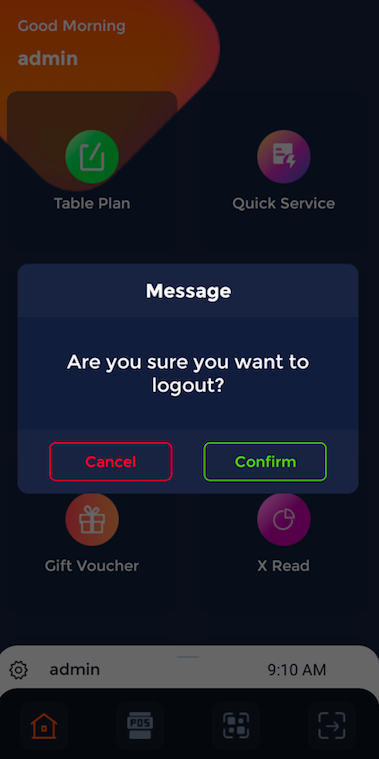
Now you will get a message asking if you are sure you want to logout. You can then click the green 'Confirm' button.
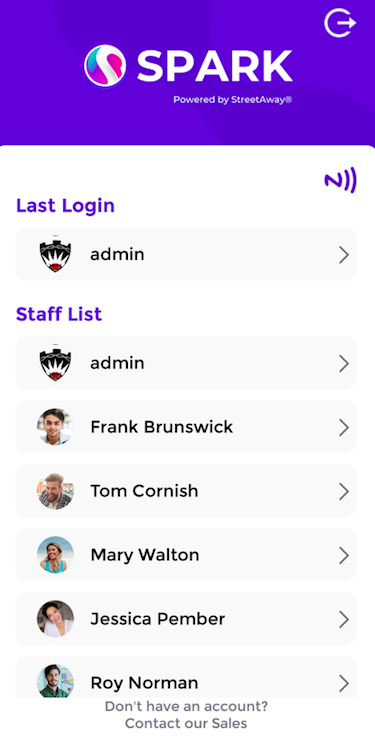
Now you are logged out successfully, you will be brought to the main login page, where you can exit from here.
How to notify staff that you are taking a break
This guide will show you how to take a break on the handheld.
Firstly, navigate your way back to the home screen.
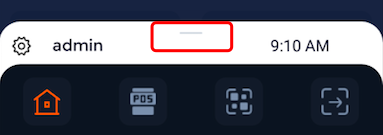
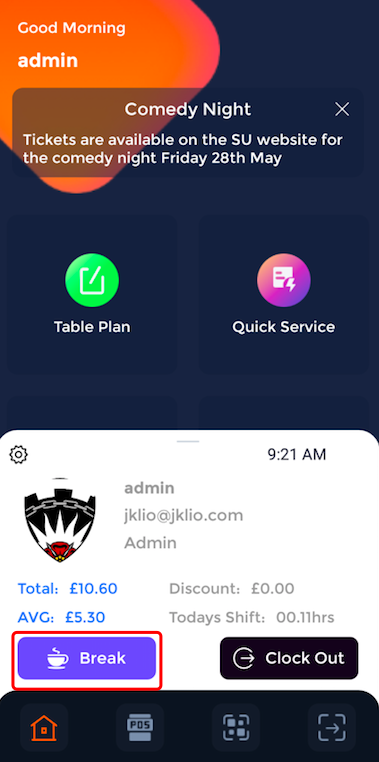
At the bottom of the homepage, you will see this white tab. You can tap on this to open it up.
This section will then pop up, where you can see that it gives you the option to take a break. To take a break, click on the 'Break' button, shown here.
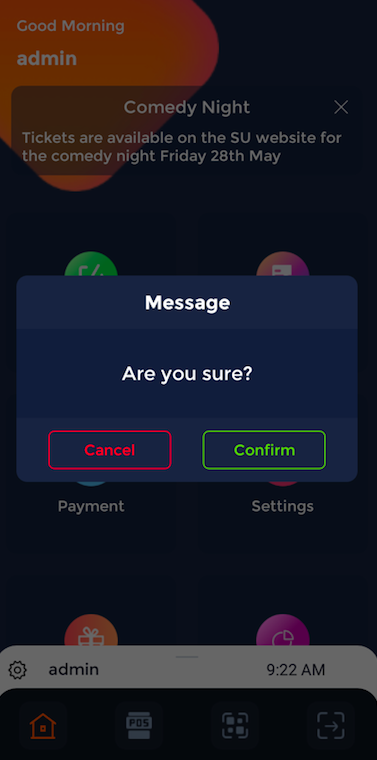
The handheld will ask if you are sure about this. To confirm that you are taking a break, click the green 'Confirm' button.
Now you will be directed to the login page, where you can login after your break.
How to notify staff that you are clocking out of your shift
This guide will show you how to clock out of your shift.
Firstly, navigate your way back to the home screen.
At the bottom of the homepage, you will see this white tab. You can tap on this to open it up.
This section will then pop up, where you can see that it gives you the option to clock out of your shift. To clock out, click on the 'Clock Out' button, shown here.

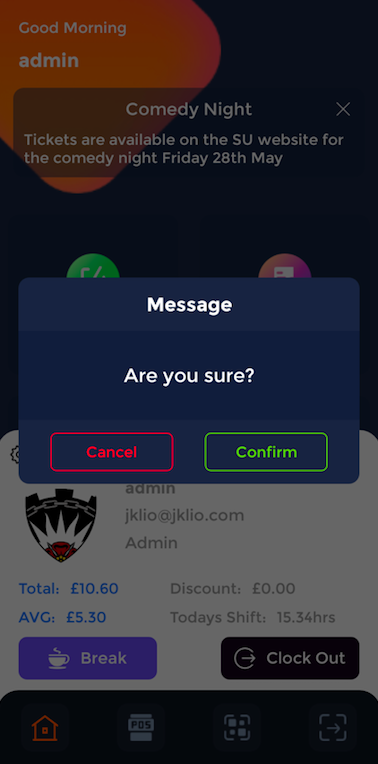
The handheld will ask if you are sure about this. To confirm that you are clocking out of your shift, click the green 'Confirm' button.
Now you will be clocked out of your shift, and directed to the login page.
How to place an order with quick service
This guide will show you how to place a quick service order.
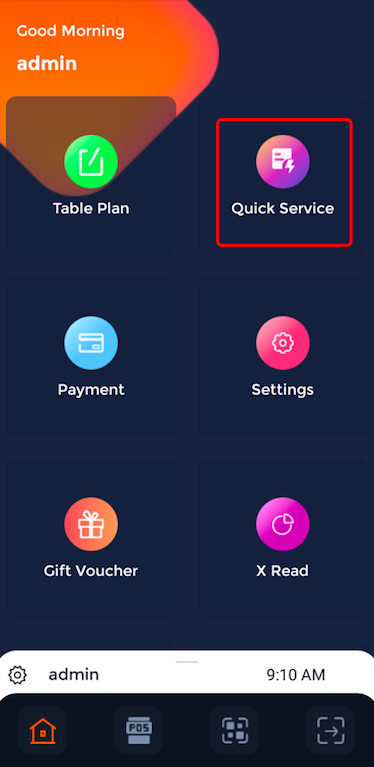
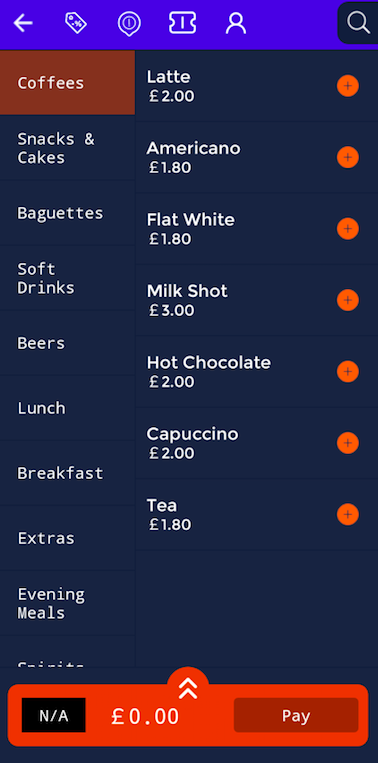
Firstly, click on 'Quick Service'.
Now you can place a quick order.
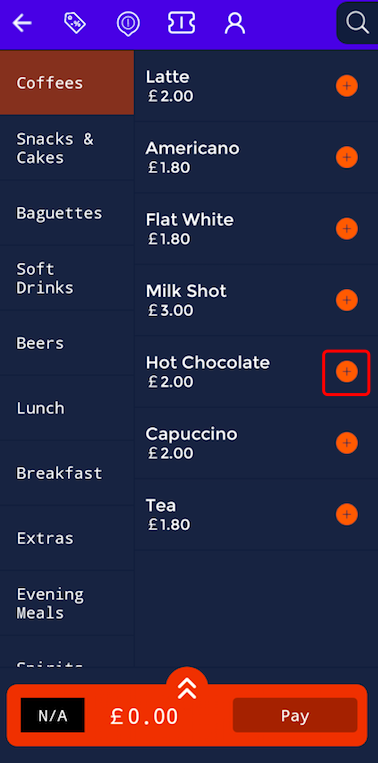
If you would like to order a hot chocolate, you can click on the + icon next to the hot chocolate, to add the quantity.
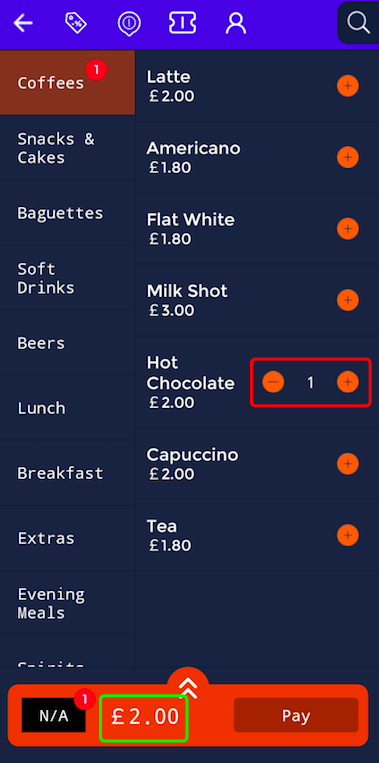
Here you can see that one hot chocolate has been added, and the price has been added below.
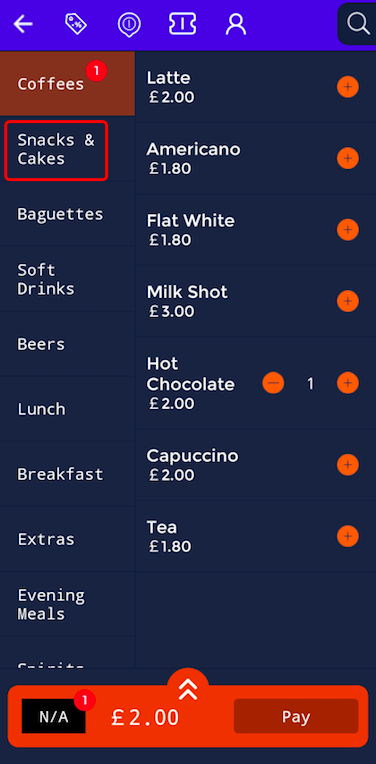
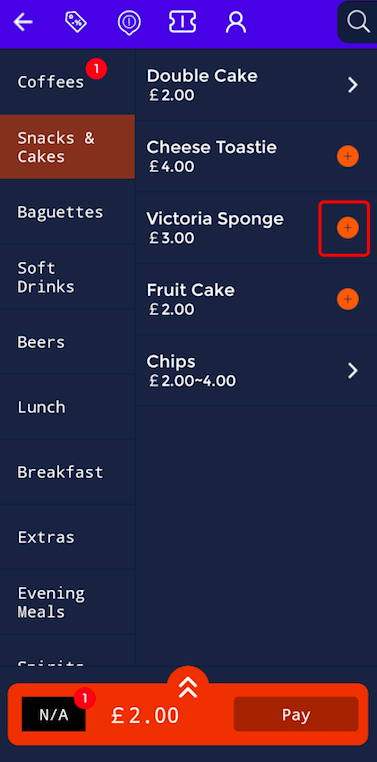
Once you are finished with a particular section on the left-hand menu, you can select another. For example, if you would like to select 'Snacks & Cakes', you can click on this section, shown here.
Now you will be able to view the 'Snacks & Cakes' section. You can add a Victoria Sponge by clicking on the + button, shown here.
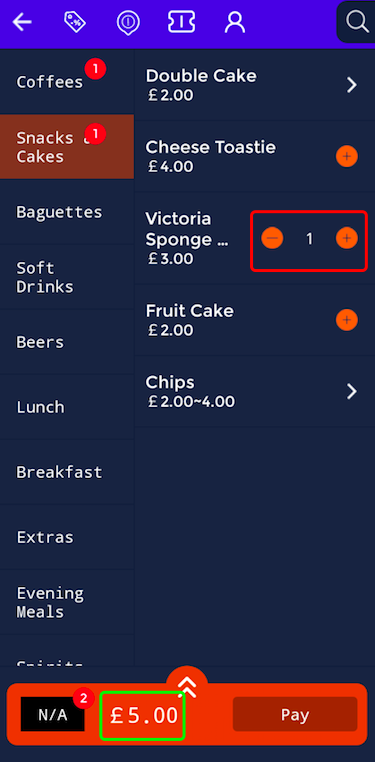
Here you can see that one Victoria Sponge has been added, and the balance has been updated below.
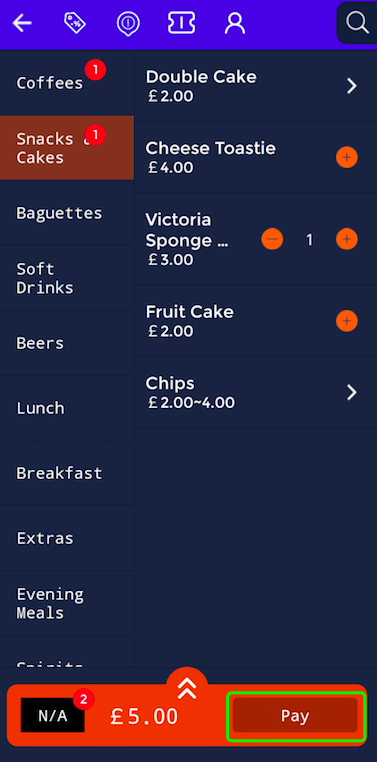
Once you have finished with the order, click on the 'Pay' button below.
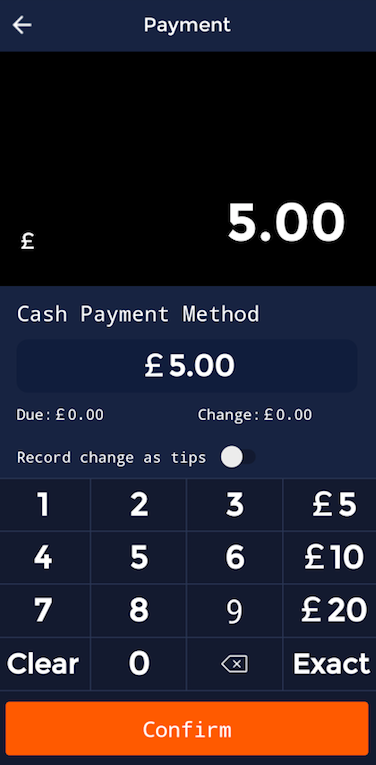
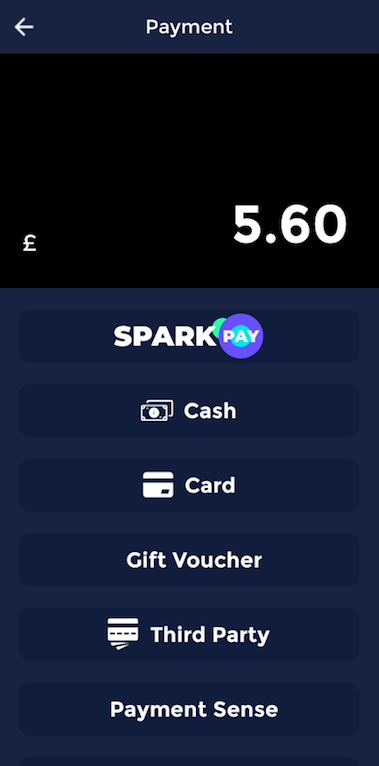
Now you will be able to select the payment method the customer would like to choose. If they would like to click the 'Cash' method, select the 'Cash' option, shown here.

Now you can input how much cash has been given to you from the customer. You can do this by selecting the amount on the number pad.
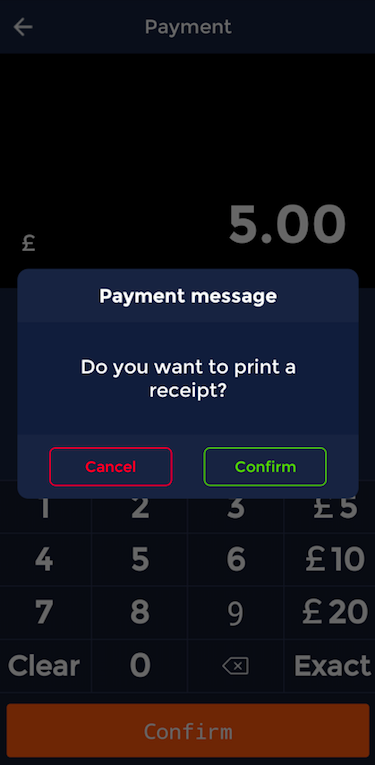
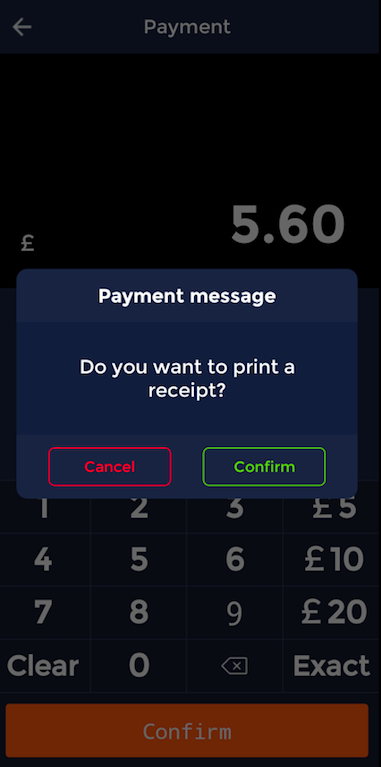
Once you have done this, the order will be processed and you can print a receipt to a customer. If the customer would like a receipt, you can click the green 'Confirm' button.
How to place an order with table service
This guide will show you how to place an order with table service.
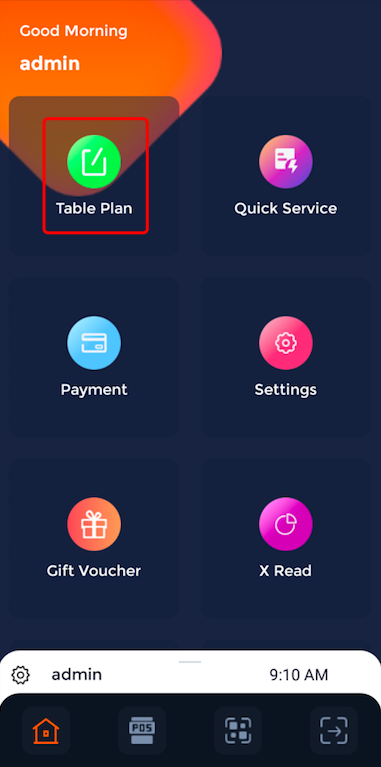
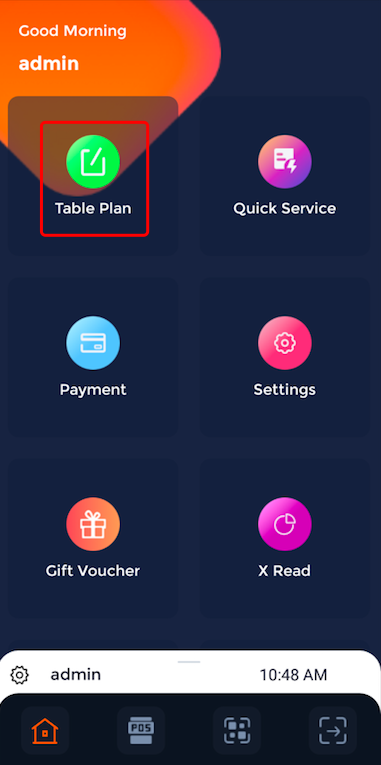
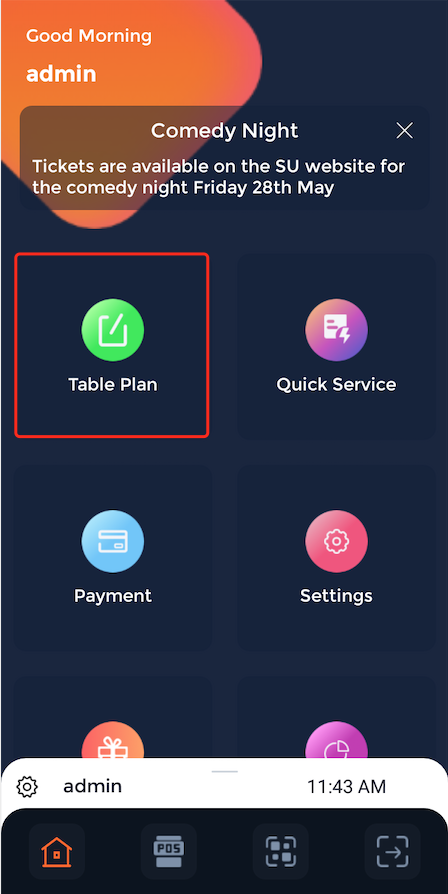
Firstly, select 'Table plan' on the homepage.
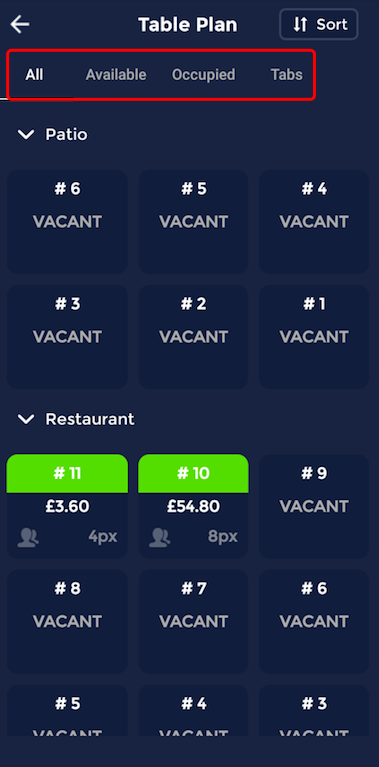
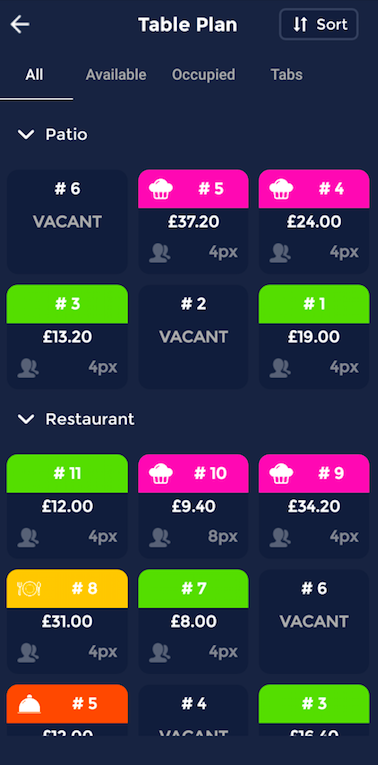
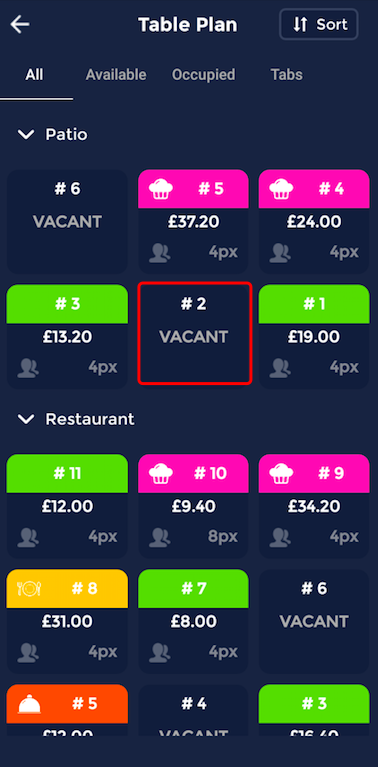
Now you will see the table plan, where you can view all tables, available tables, occupied tables, and tabs. You can do this by clicking on each section at the top, shown here.
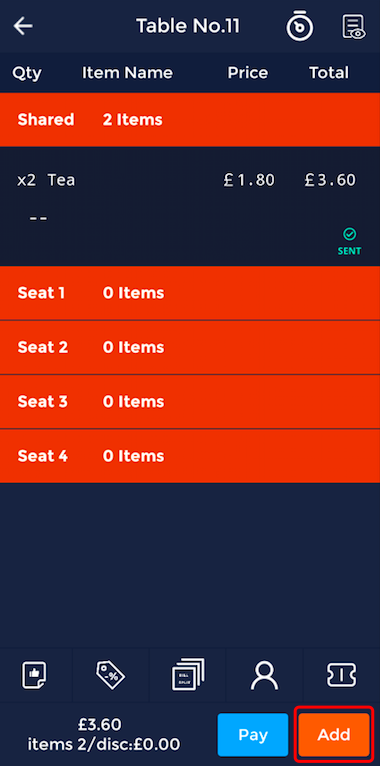
Here you can see the 'Occupied' section has been selected. This will show all of the tables that are occupied. If the table would like to place an order, you can select on the table. For example, selecting table number 11, shown here.
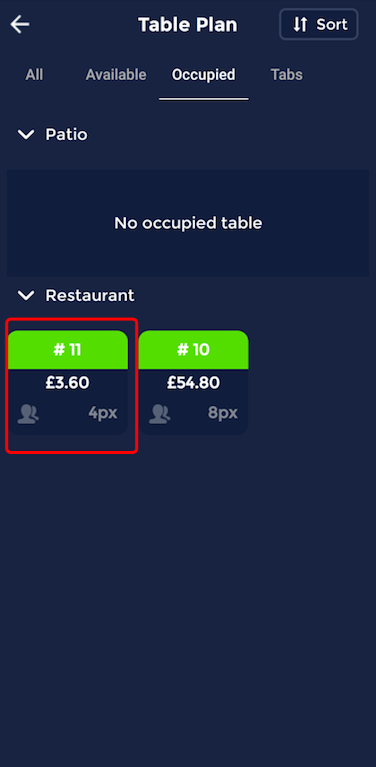
Here you can see the details for table 11, the number of items they have ordered, the price, and the total price.
If you would like to add to that order, you can click the 'Add' button below.
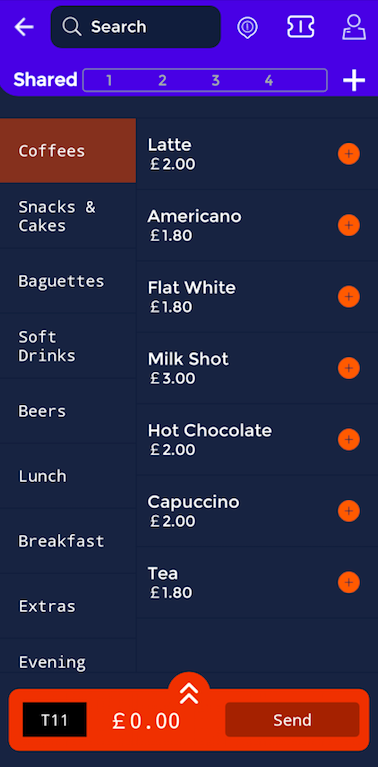
Now you can select the items that the customer would like to order.
If you would like to know more about how to use the menu, check out our guide on how to place an order using quick service.
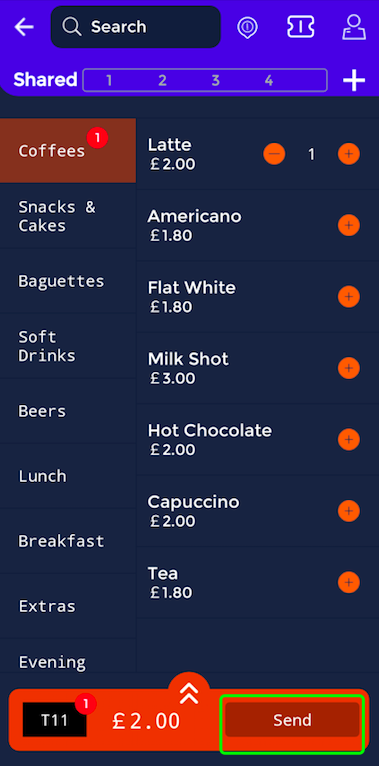
Once you have done this, you can click 'Send'.
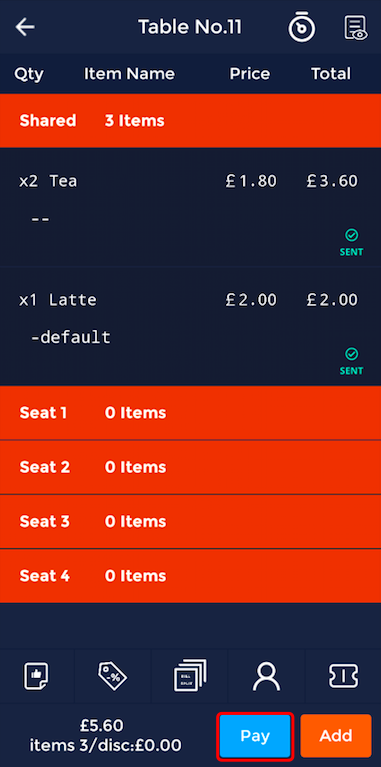
When the customer has finished ordering, you can click the 'Pay' option.
The customer will be offered different payment methods. Select the payment method they would prefer to use.
Once the customer has chosen a payment method and has paid, you can offer them a receipt. If they would like a receipt, you can click 'Confirm'.
How to make a sale
This guide will show you how to make a sale.
Firstly, select 'Table Plan' on the homepage.
This will then show you the table plan, shown here.
You can select a table that currently is occupied to extend their order, or you can select a new table that is vacant if a customer has just arrived. This is shown below.
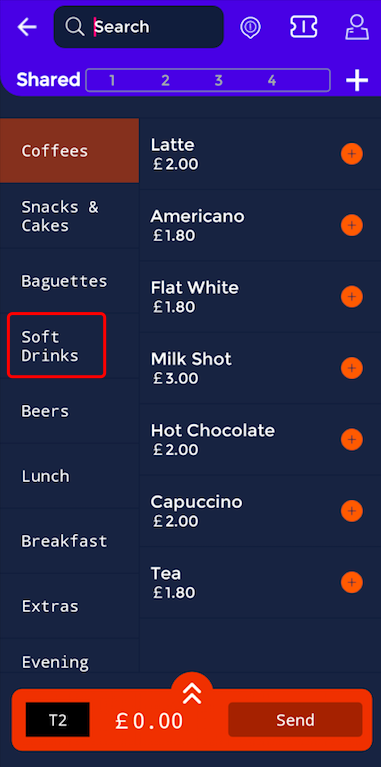
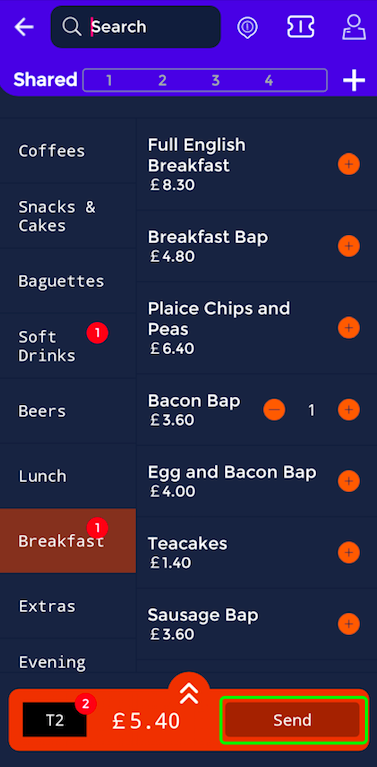
Now you can search for your menu items by using the 'Search' tool at the top by typing in this box.

Or you can manually select the options on the sidebar, for example, it is currently on the 'Coffees' section. If you wanted to move it to the 'Soft Drinks' section, you can do it by tapping on it.
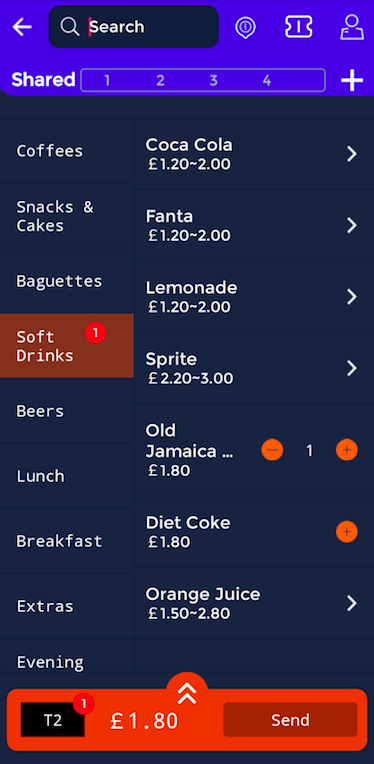
If you want to add a quantity to an item, for example, if you wanted to order one Old Jamaica Ginger, you can do this by selecting the orange plus icon, shown below.

This will now appear with a '1' next to the menu item.
You can do the same process if you want to add any food items, shown below.
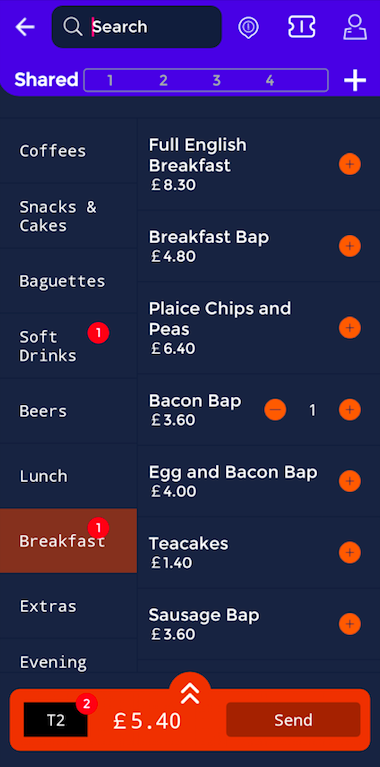
When you are happy with your order, you can press the 'Send' button, shown here.
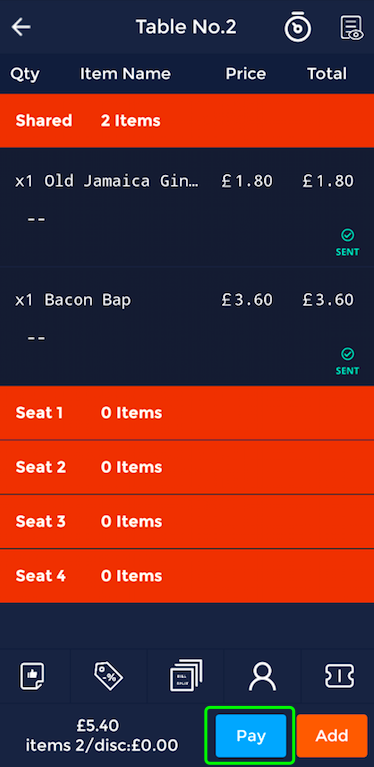
This will then show you the items that are in the order, and show you a green tick next to each one with the 'Sent' text to show that the item has been sent.
When the customer is ready to pay, select 'Pay'.
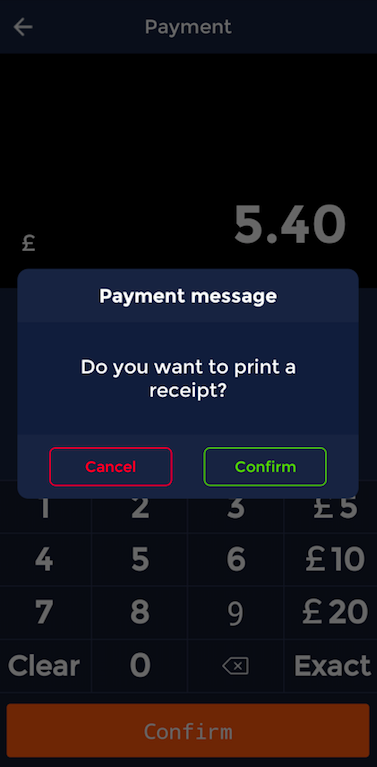
Now you can see there are multiple payment options available, select the option your customer would like to use simply by clicking on it.

Once you have done this and added the amount the customer is paying, you can ask if they would like a receipt. If they do, select 'Yes.
Now the sale will have been made, and the customer will receive their order in due course.
How to do a refund
This guide will show you how to do a refund on the handheld.
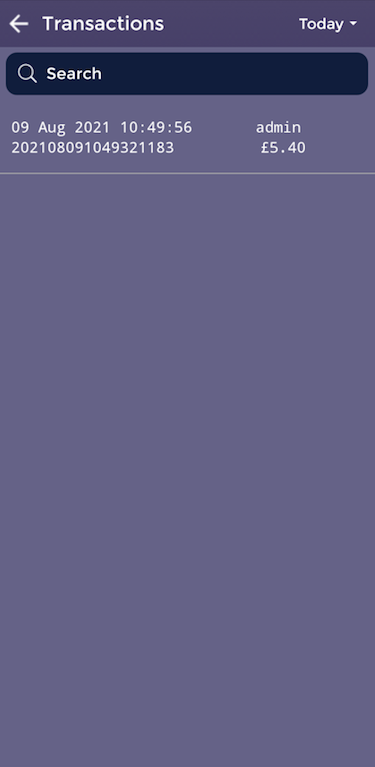
Firstly, select 'Transactions' on the homepage.
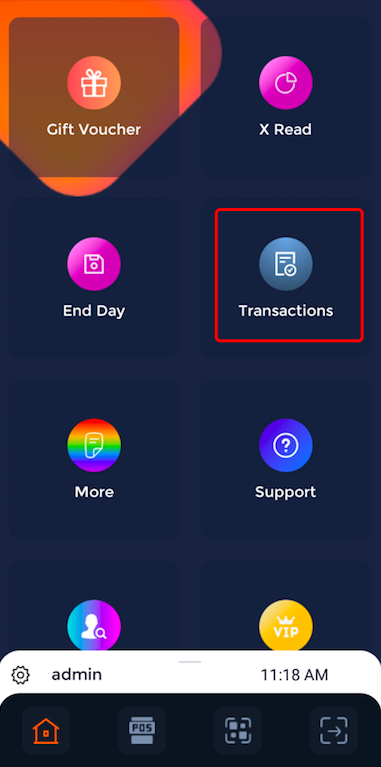
Now you can see a list of transactions.
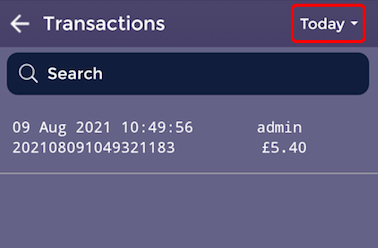
To view previous transactions from other days, you can select the dropdown arrow shown next to 'Today'.
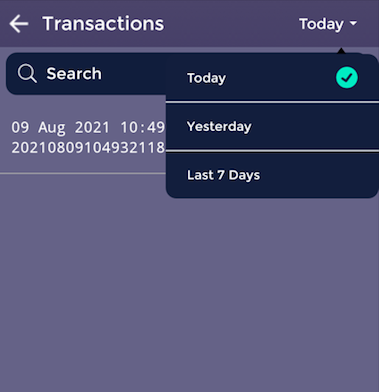
Here you can select 'Yesterday' or 'Last 7 days or keep it on 'Today'.
To select a transaction, you can simply click on the transaction, shown here.
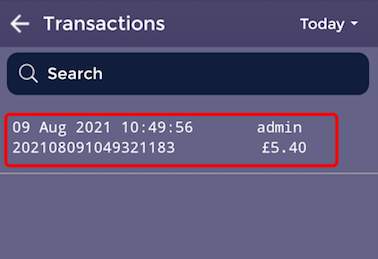
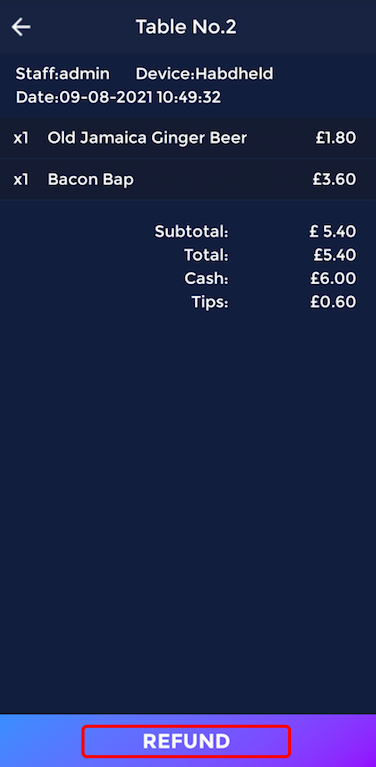
Now you can see the transaction in more detail.
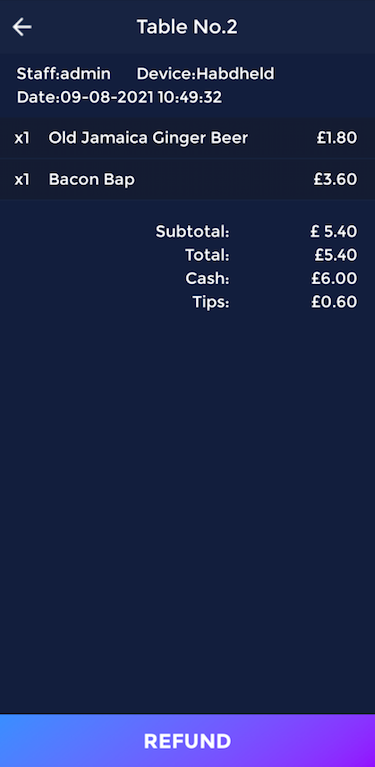
To issue a refund, you can click on the 'Refund' button. shown here.
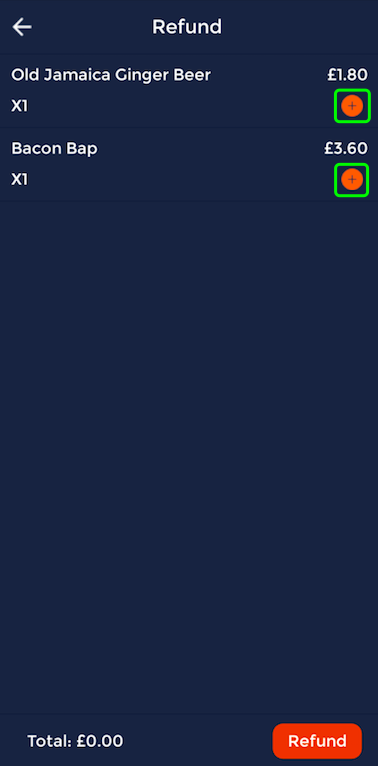
You can select what items you would like to refund by pressing the orange plus icon that is next to each item.
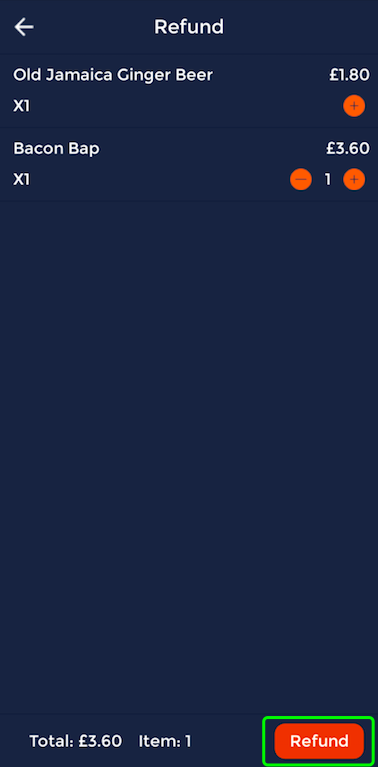
For example, if the refund was for the bacon bap, once you have clicked the orange plus icon, you will see a '1' showing that you are giving a refund for 1 bacon bap.
If you would like to proceed with the refund, press 'Refund'.
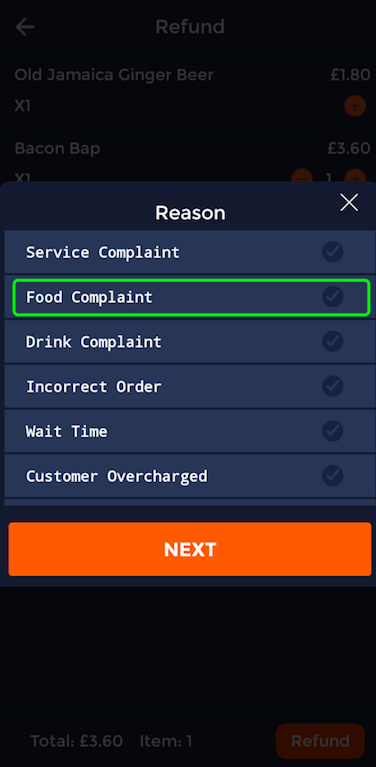
Now you can see the list of reasons. To select a reason, you can simply click on it.
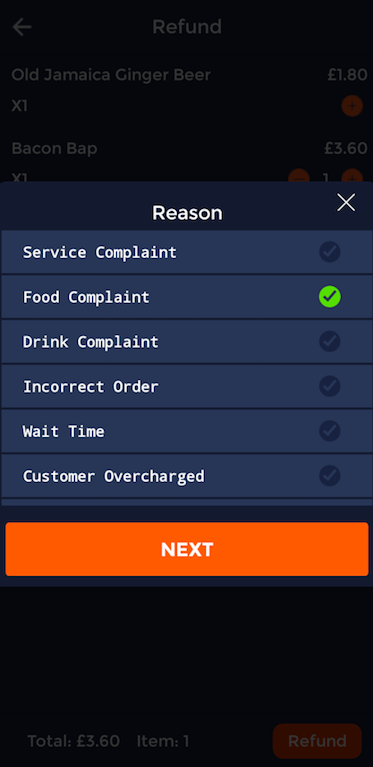
As you can see here, the 'Food Complaint' reason has been selected as there is now a green tick beside the option.
Now you can enter the amount you are refunding, and select 'Confirm'.
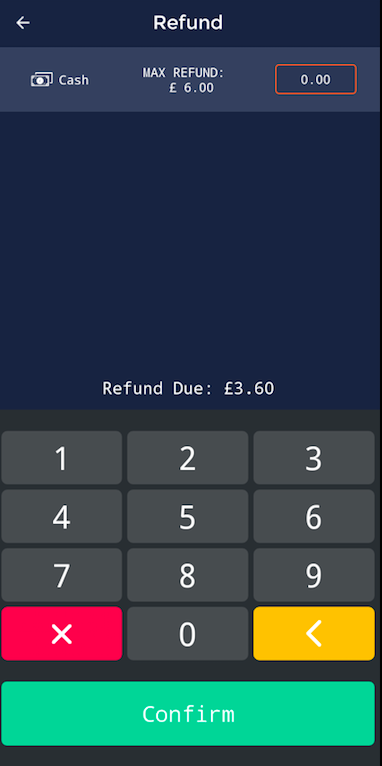
Now the refund will have been processed.
How to use Void and Comp
This guide will show you how to use void and comp on the handheld.
Firstly, select 'Table Plan' on the homepage.
Now you can see the table plan of the venue.
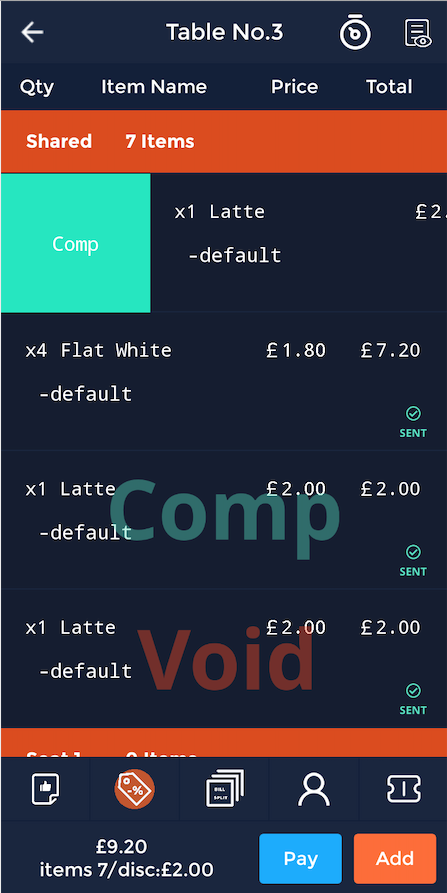
Select a table you would either like to void or comp an item from.

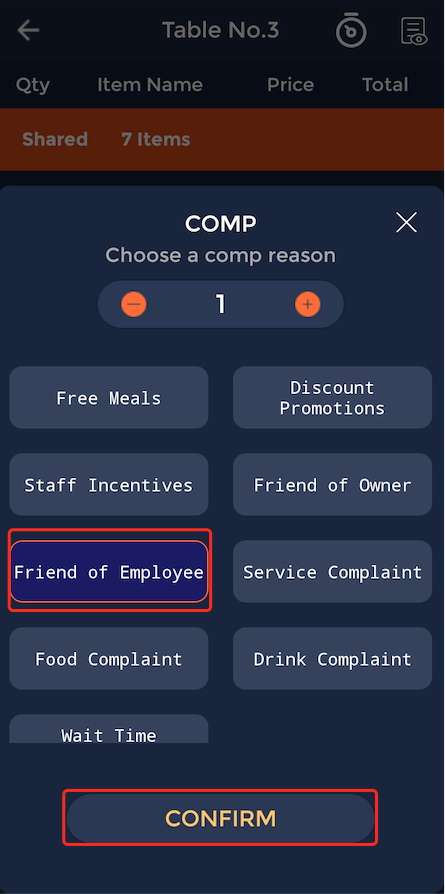
By swiping left on an item, you can Comp the item.
Then, select a reason for apply comp to the item and press the confirm button.
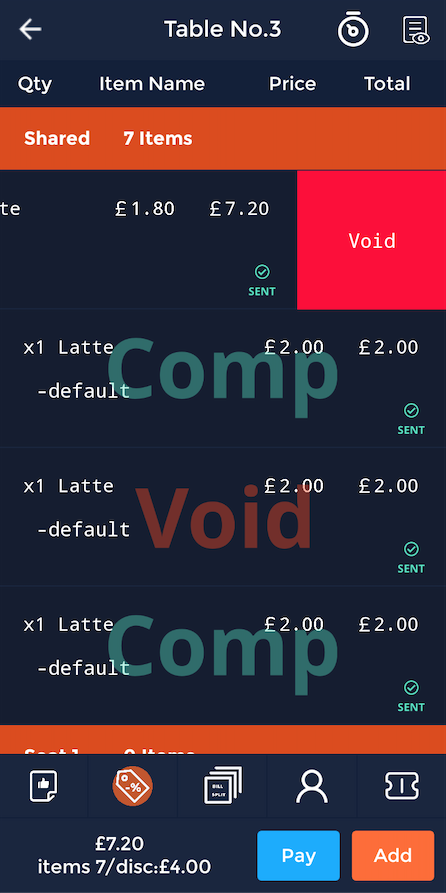
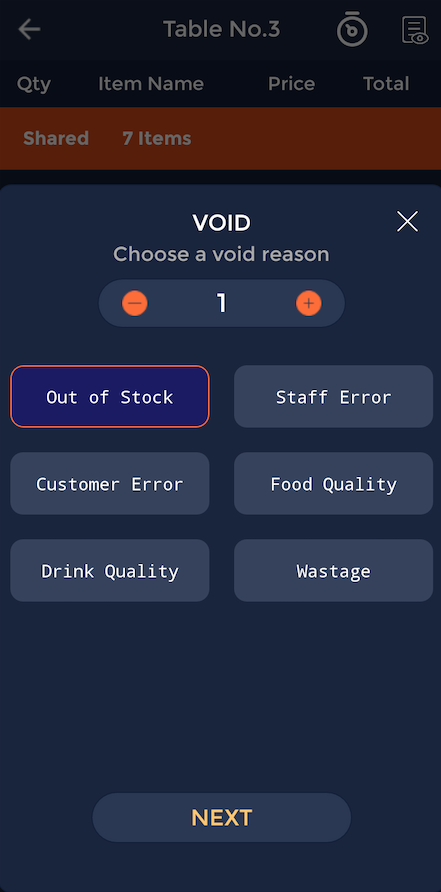
By swiping right on a menu item, you can void it.
Then, select a reason for voiding the item and press the 'next' button.
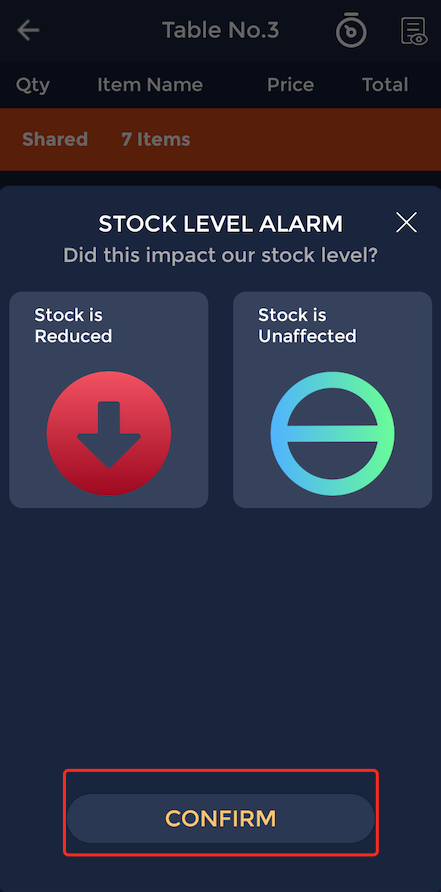
Then, it will ask if the order impacted the stock level. If the stock level has been affected press the 'Stock has been reduced'. If the stock level hasn't been affected, press 'Stock is Unaffected' and then hit the 'Confirm' button.
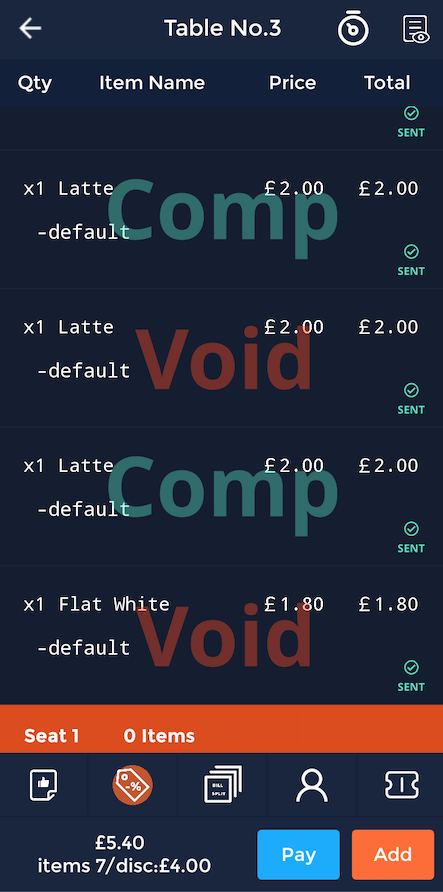
Then the order will display which items from the order have been voided and which ones have been comped.
How to do an X Read
This guide will show you how to do an X-Read on the handheld.
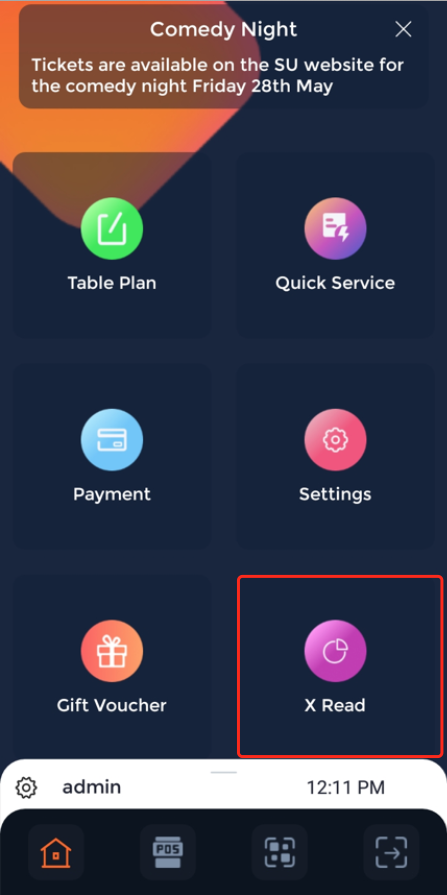
Firstly, select 'X Read' on the homepage.
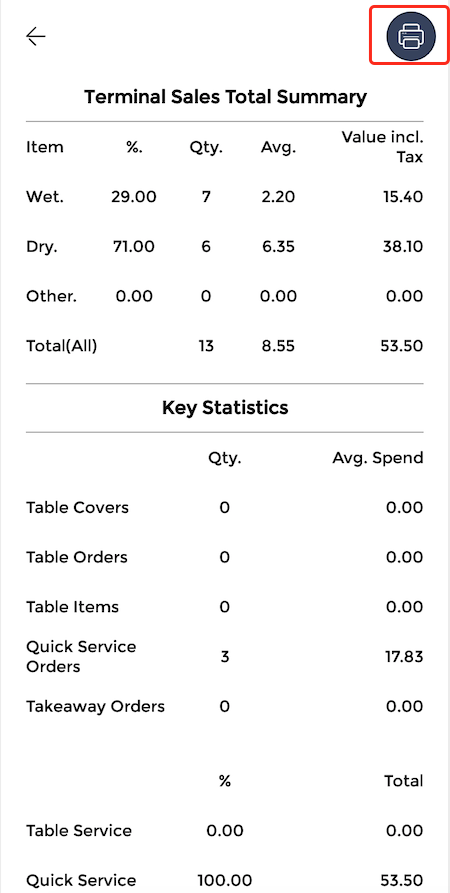
This will display the X Read for today's sales.
In the top right-hand corner, it also gives managers the option to print out their X Reads by selecting a printer.
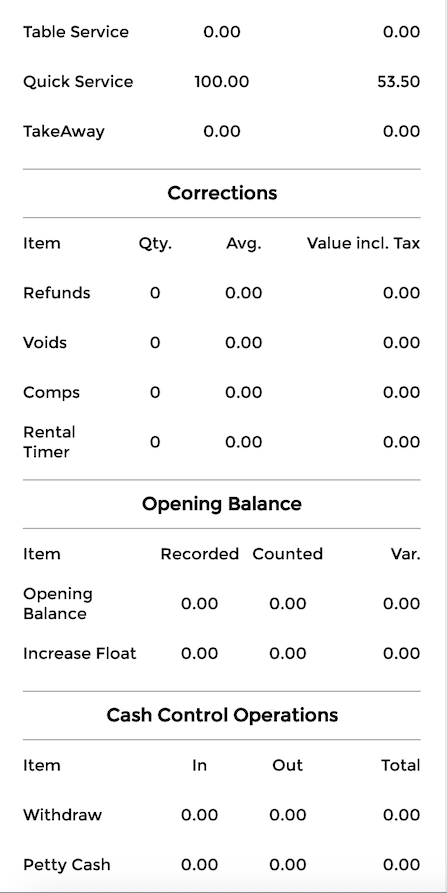
The X Read will display the Terminal Sales Total Summary and Key statistics.
Corrections, Opening Balance and Cash Control Operations data will be displayed.
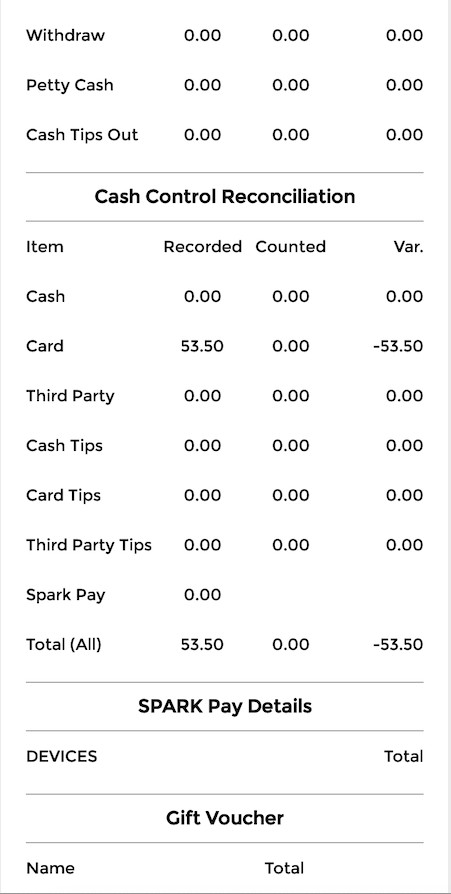
Cash Control Reconciliation, SPARK Pay details and gift voucher statistics will all be displayed in the X-Read.
How to do an end of day read
This guide will show you how to do an end of day read on the handheld.
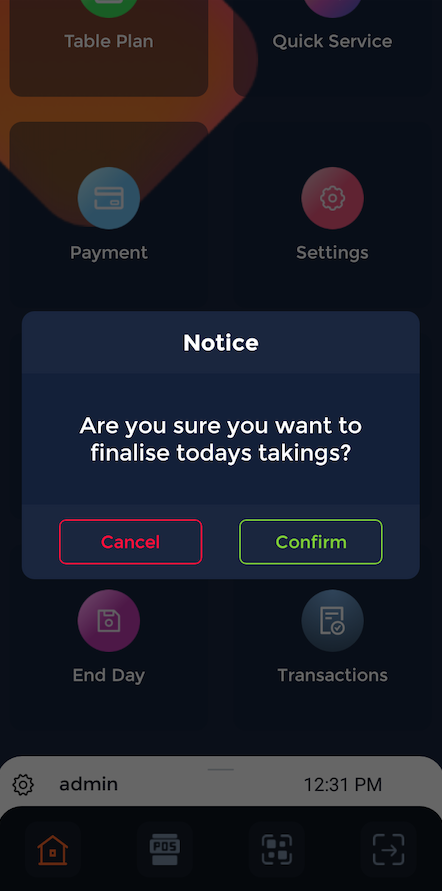
Firstly, select 'End Day' on the homepage.

A notice will then appear asking 'Are you sure you want to finalise today's takings?'. If you do want to take an end of day reading, press 'Confirm'.
This will print out all the data from the X-Read shown in the guide above from the device in a receipt format.