- How to manage staff
- How to add staff members
- How to send an invitation to staff
- How to add a role
- How to you set staff permissions
Before you do anything, make sure you log into your store account SparkEpos
How to manage staff
This guide will show you how to manage your staff members on your Cloud HQ.
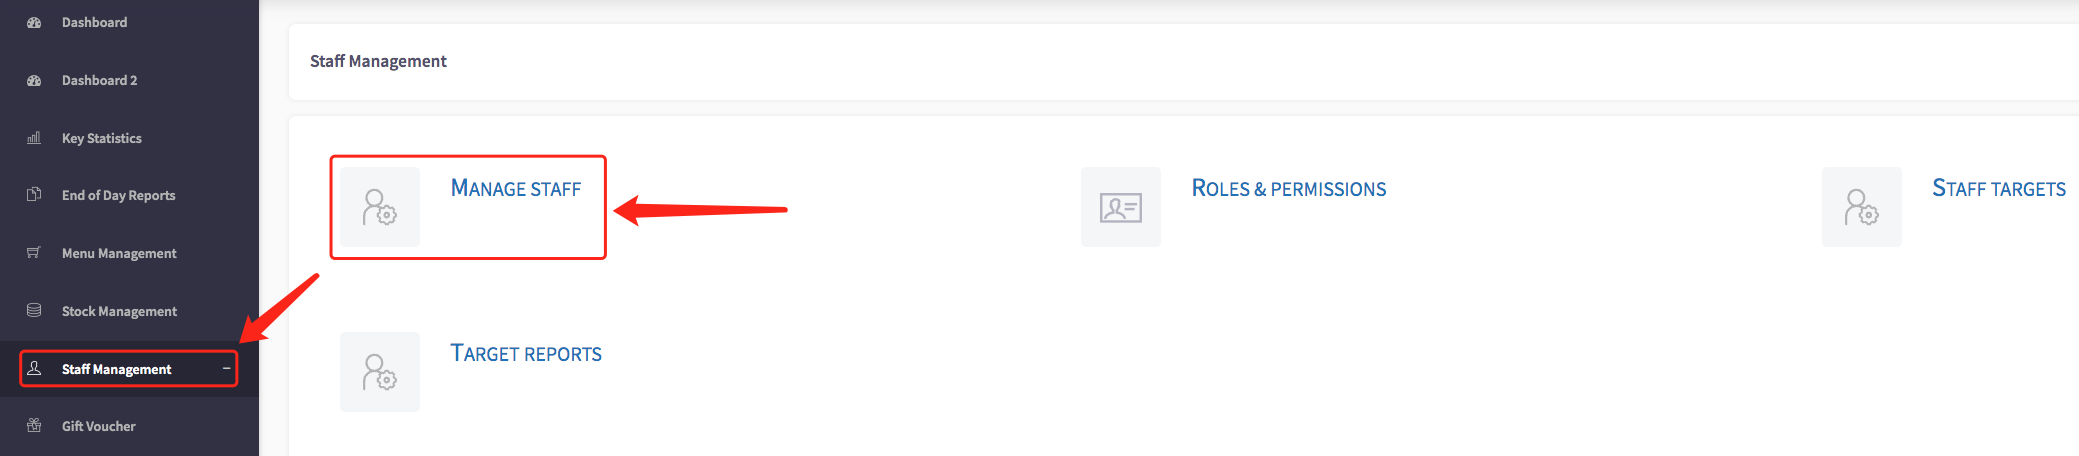
Firstly, click on the 'Staff Management' on the left-hand side, then the 'Manage Staff' option in the menu.

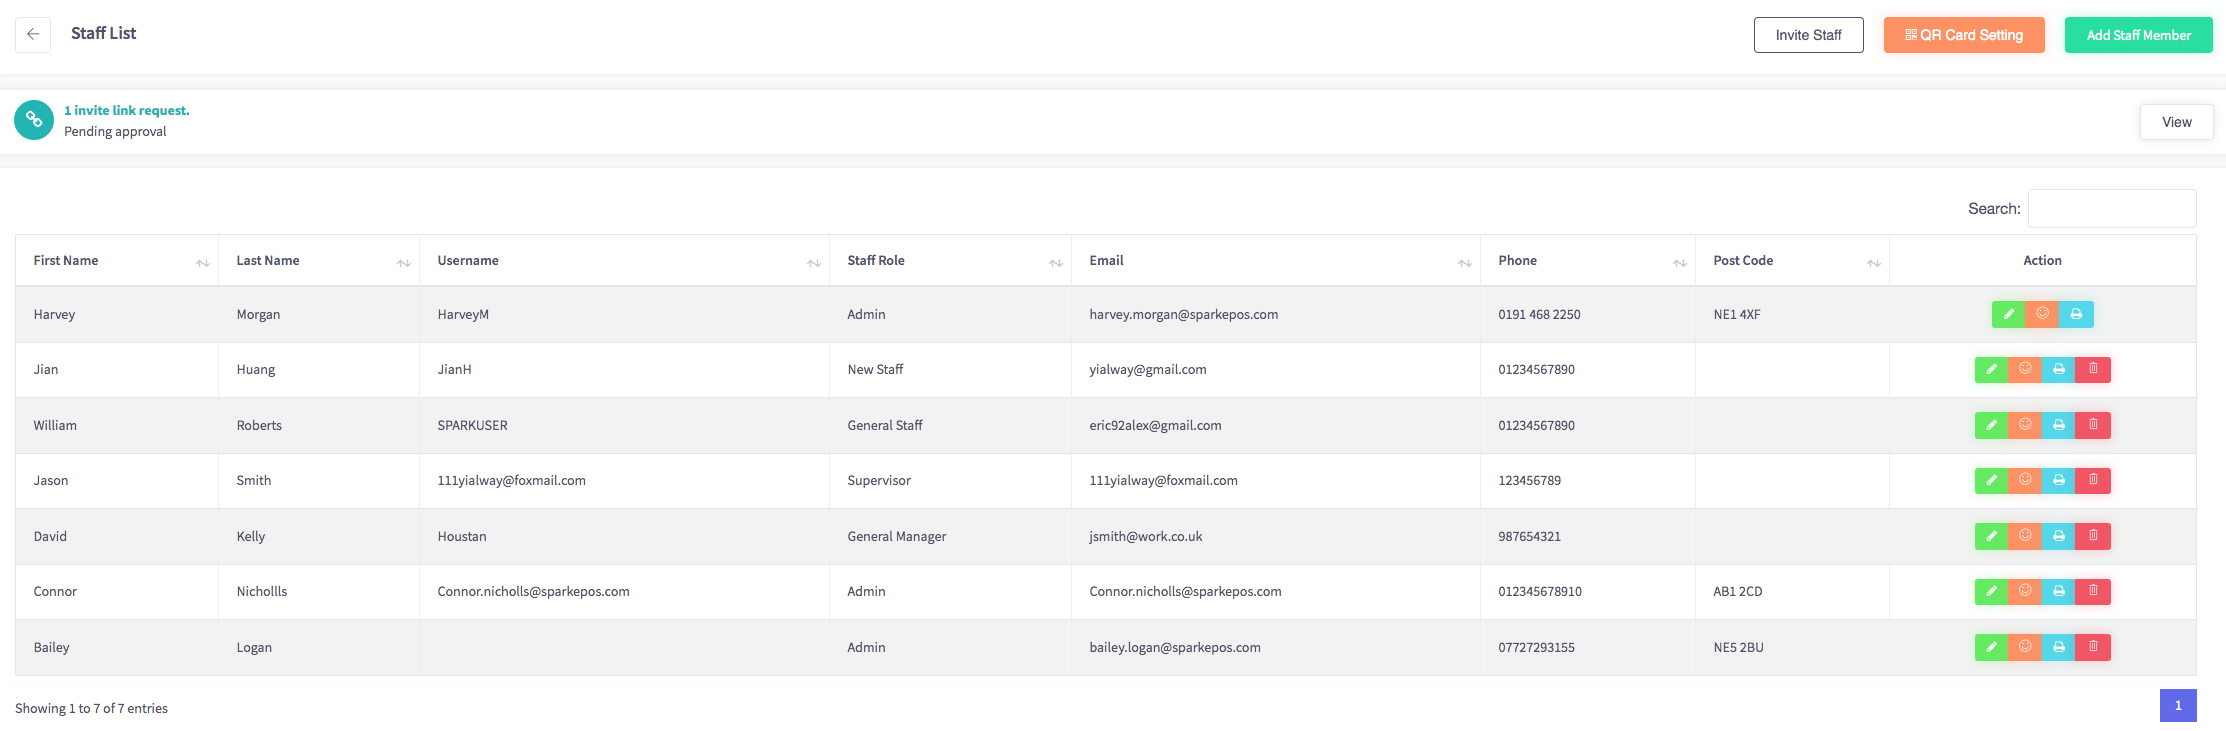
This will display your staff list, shown here.

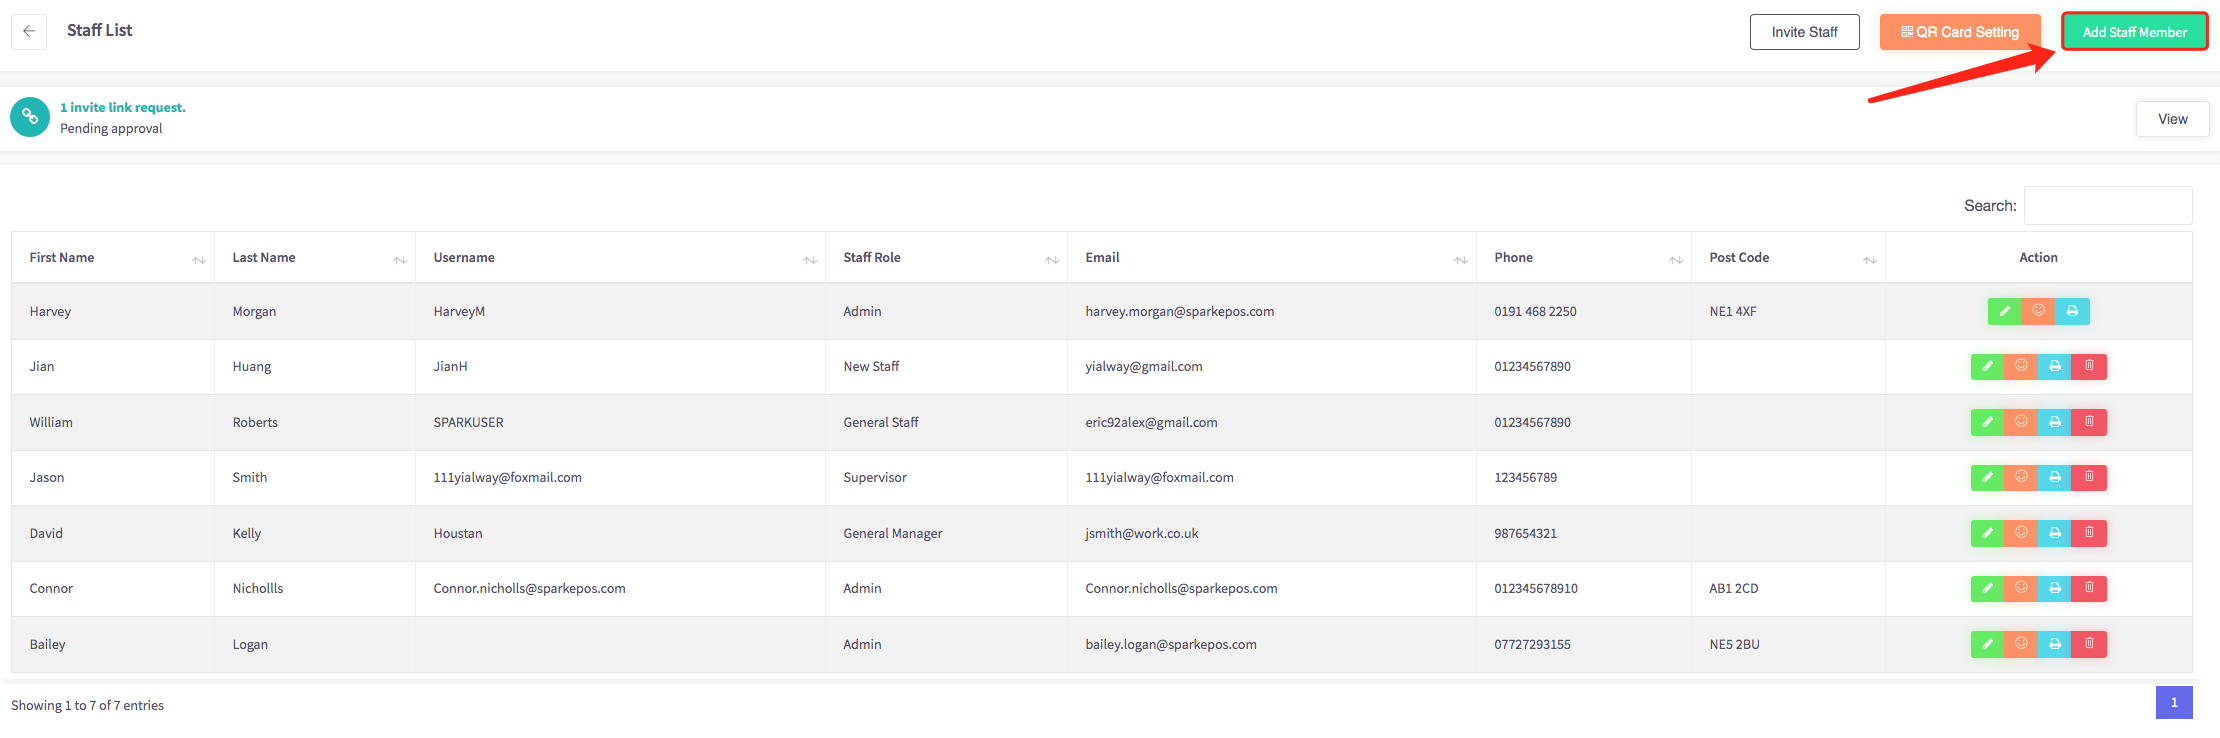
Along the top of this webpage you have 3 buttons

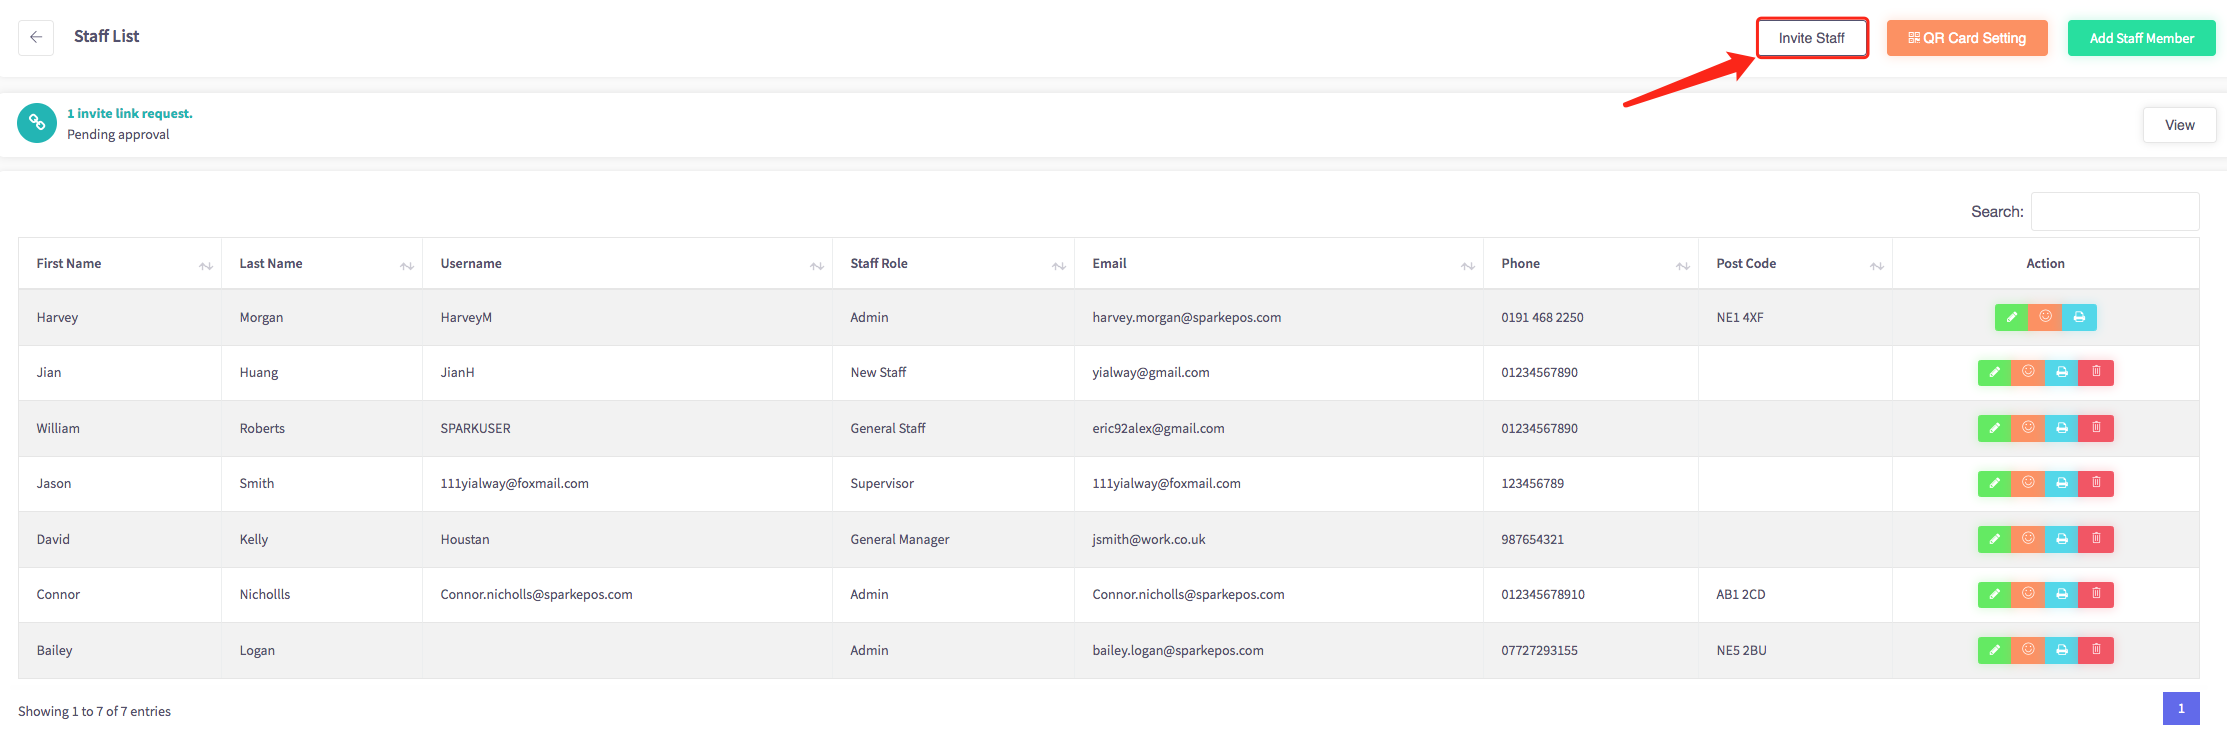
'Invite Staff' is where you input a staff members data, such as name, email and role. Press "Confirm" and it will send an email to the staff member requesting them to join your team.

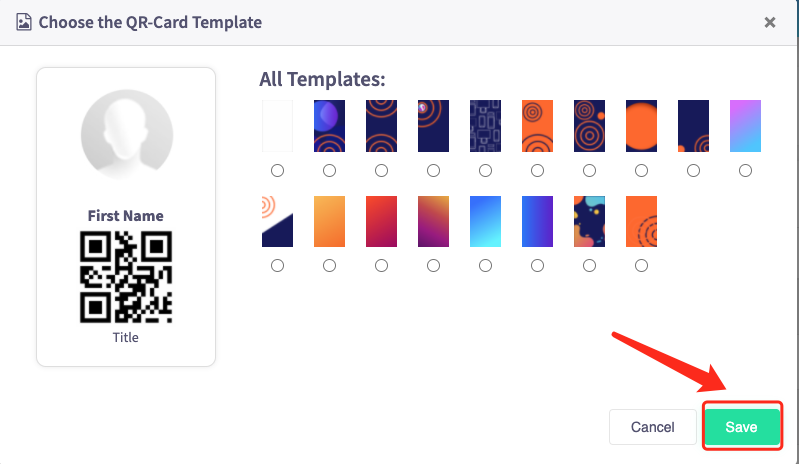
'QR Code setting' allows staff to customise their QR Code by picking a design they like and adding a profile image. Once completed press "Save".
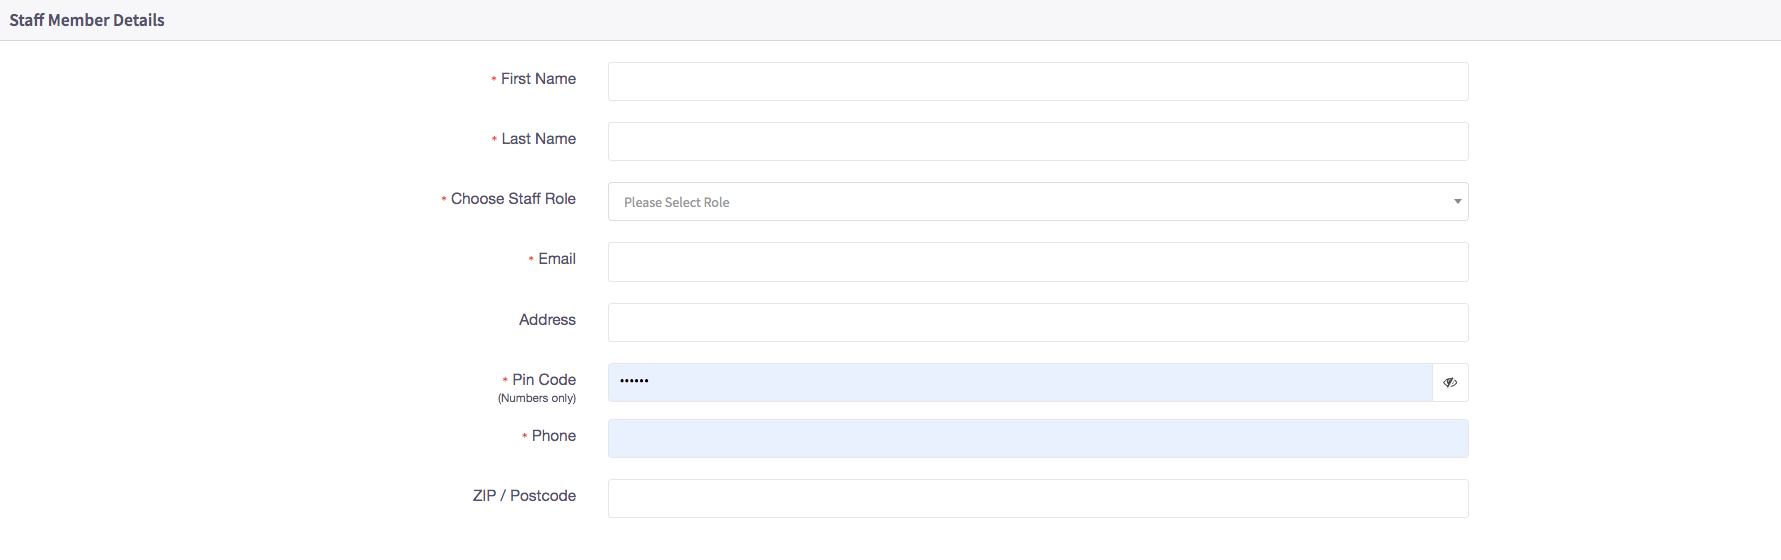
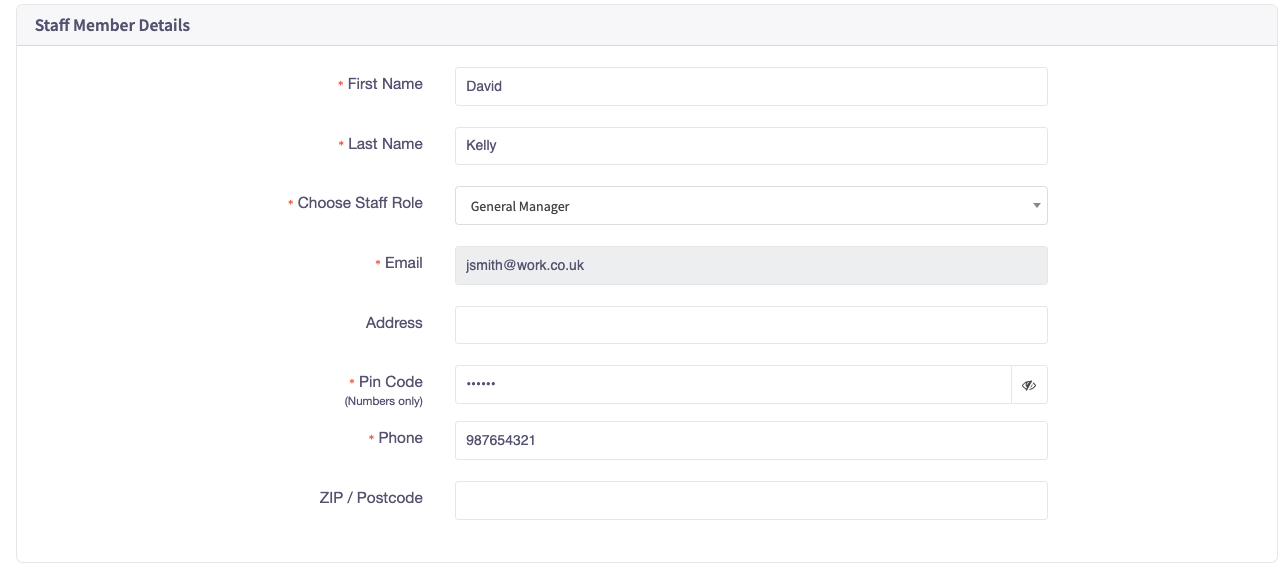
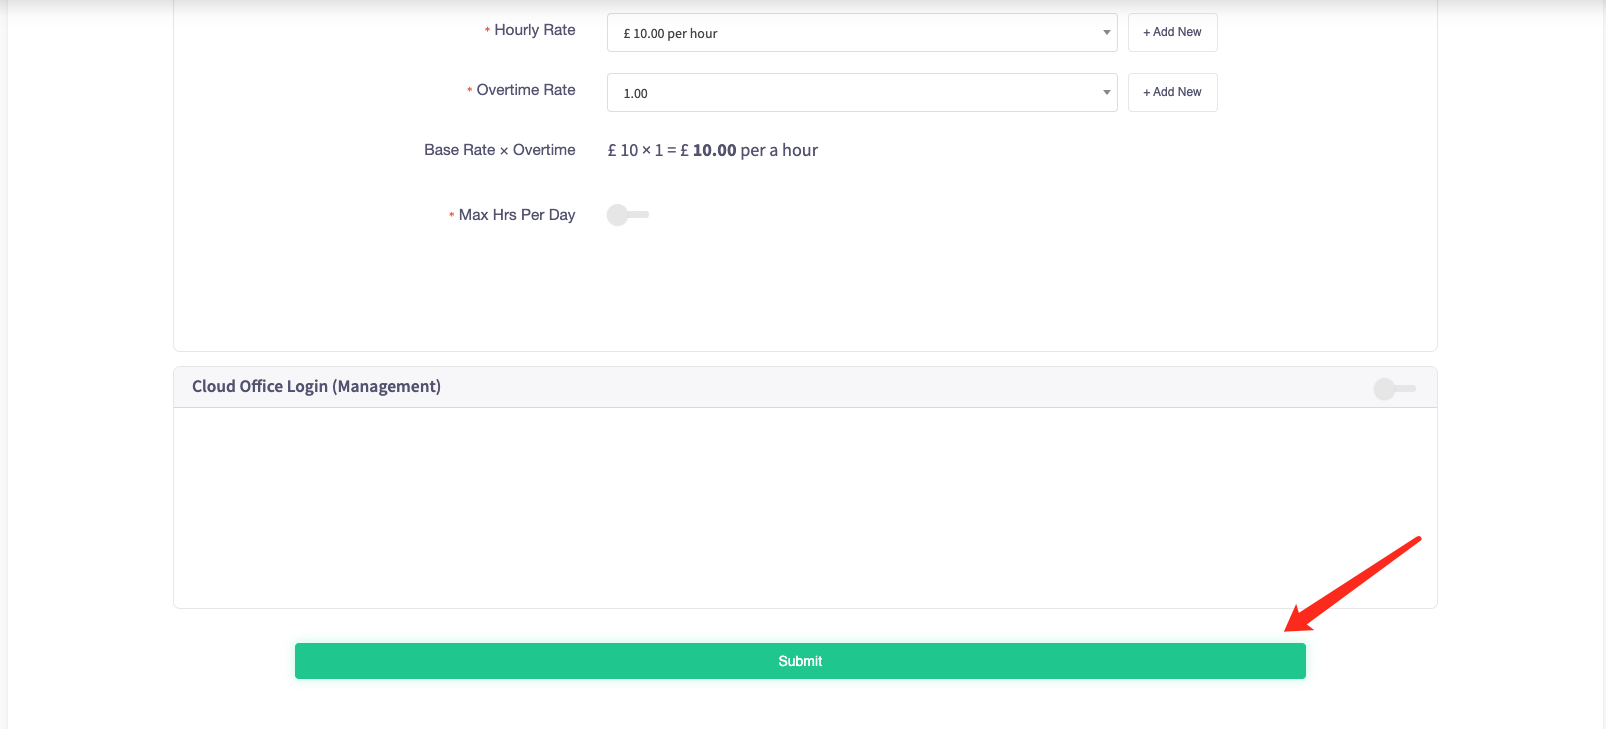
And finally, 'Add Staff Member' is where you input all of your staff members data such as name, email, address, phone number and postcode.
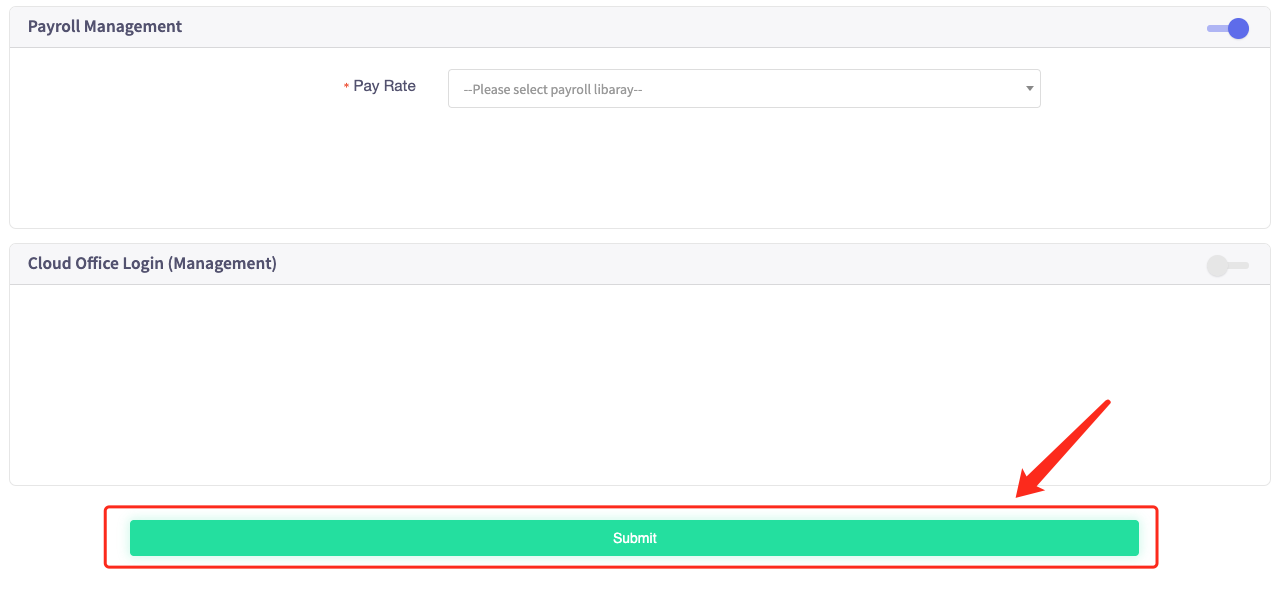
Complete all the fields for payroll and press "Submit" and a new staff member will be created.
At the top right of the screen, there is a search bar that allows you to search for members of staff.
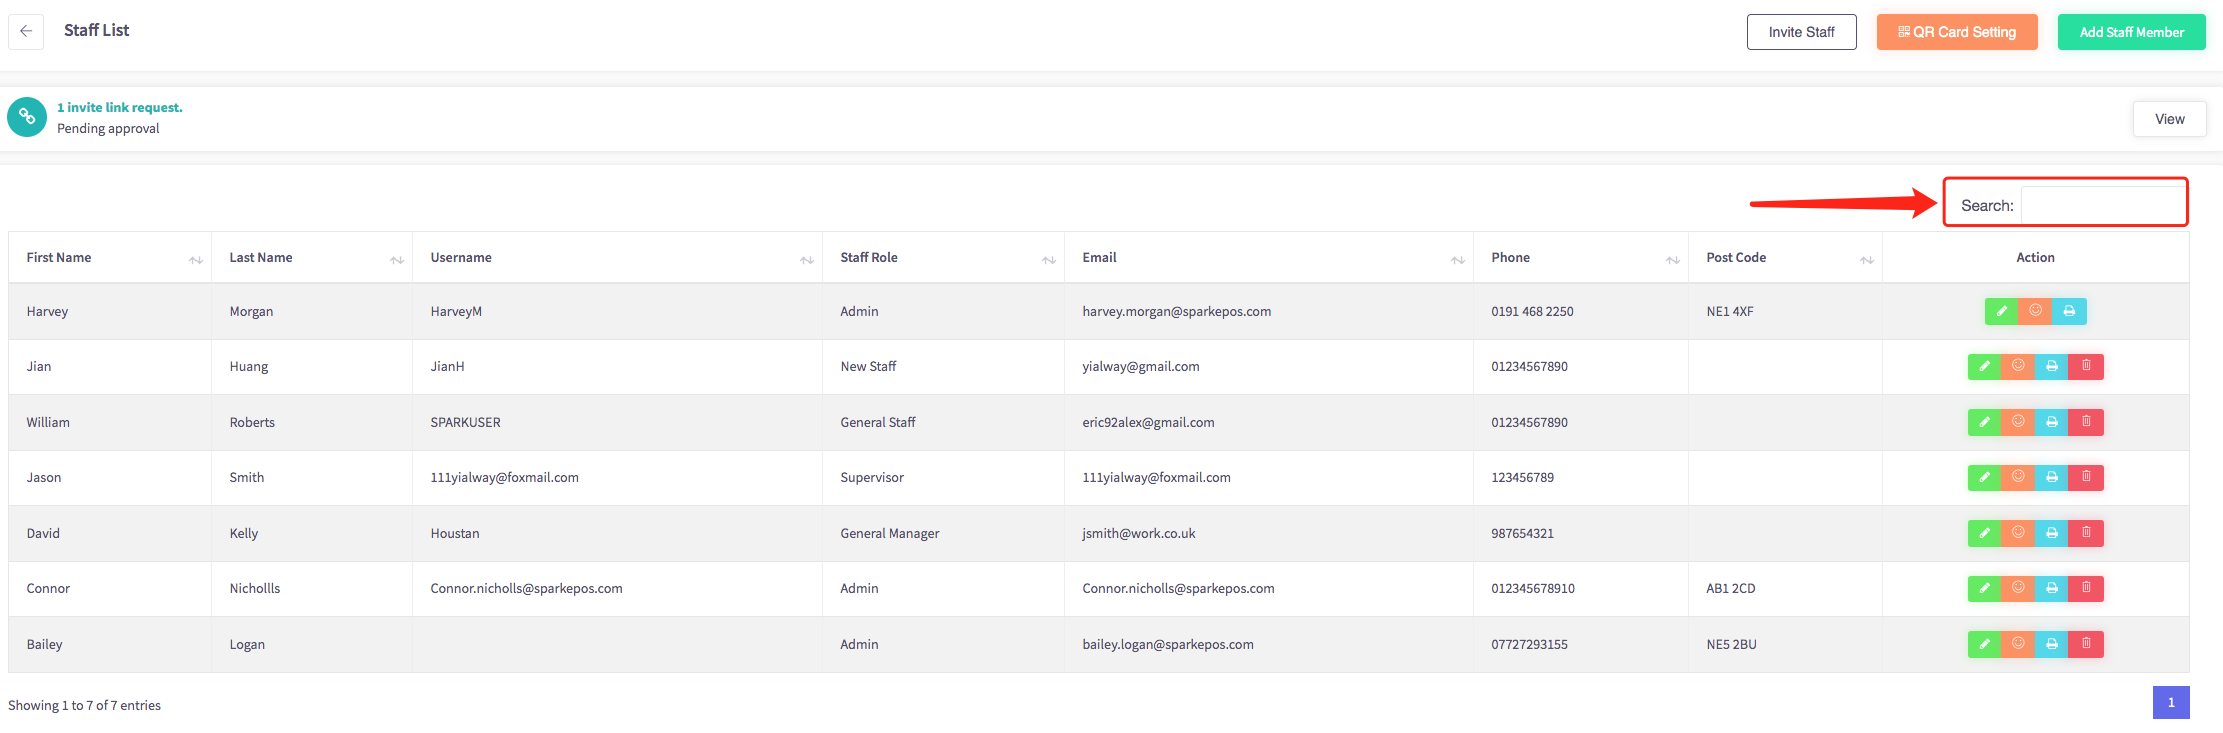
And below the search bar shows a table of all of your staff, first names, last names, username, staff role, email, phone number, postcode and the actions you can do with the staff.
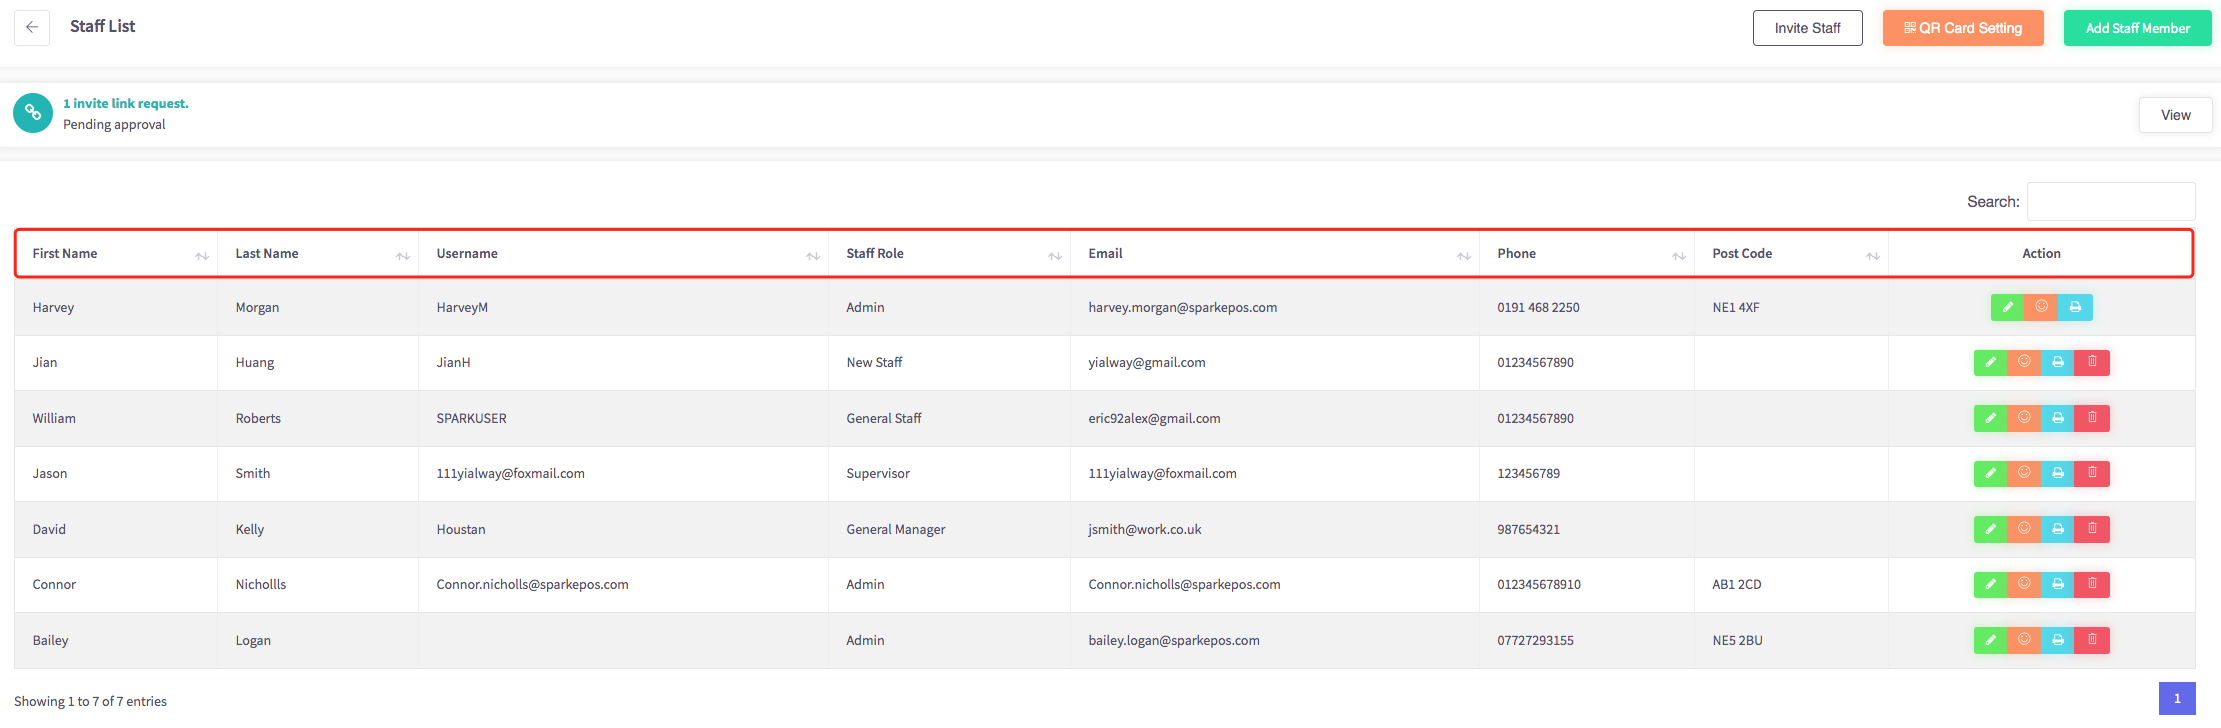
Along the action column of the table, there are 4 different icons.
-
 This green pencil tool allows you to edit your staff's data for example if they have a new phone number or a new staff role you can change this in this menu.
 This orange smiley face tool allows you to view your staff QR Code.
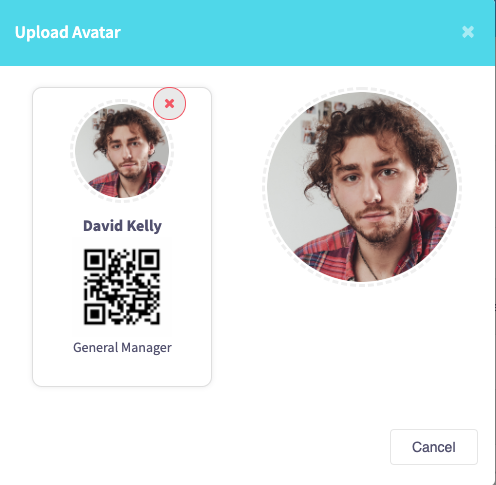
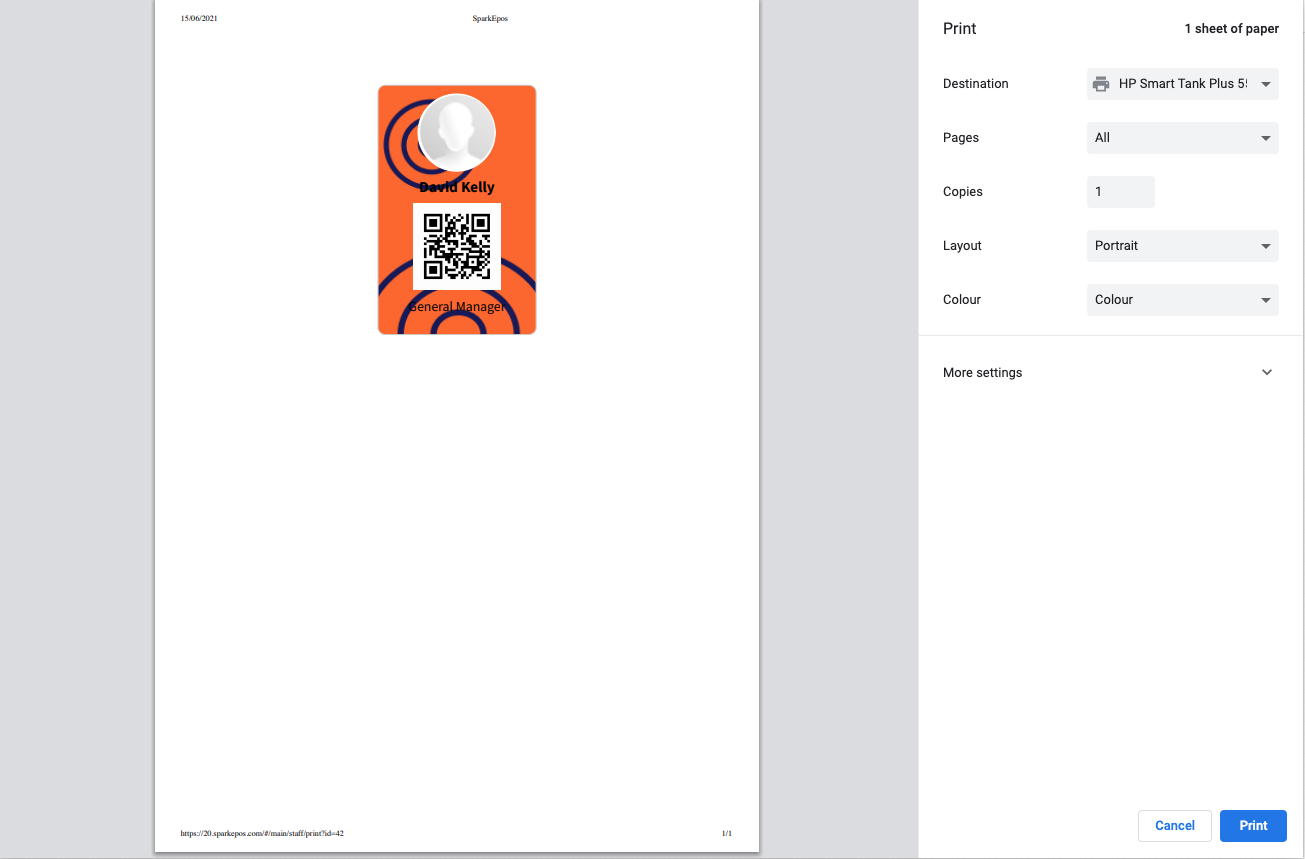
3.  This blue printer tool is a print tool that opens a new tab to allow you to print off the QR Code profile.
4.  This red bin tool allows you to delete a staff profile.
How to add staff members
This guide will show you how to add staff members to your Cloud HQ.
Firstly, click on the 'Staff Management' on the left-hand side, then the 'Manage Staff' option in the menu.
This will display your staff list, shown here.

Then go to the top right of the page and click "Add Staff Member".
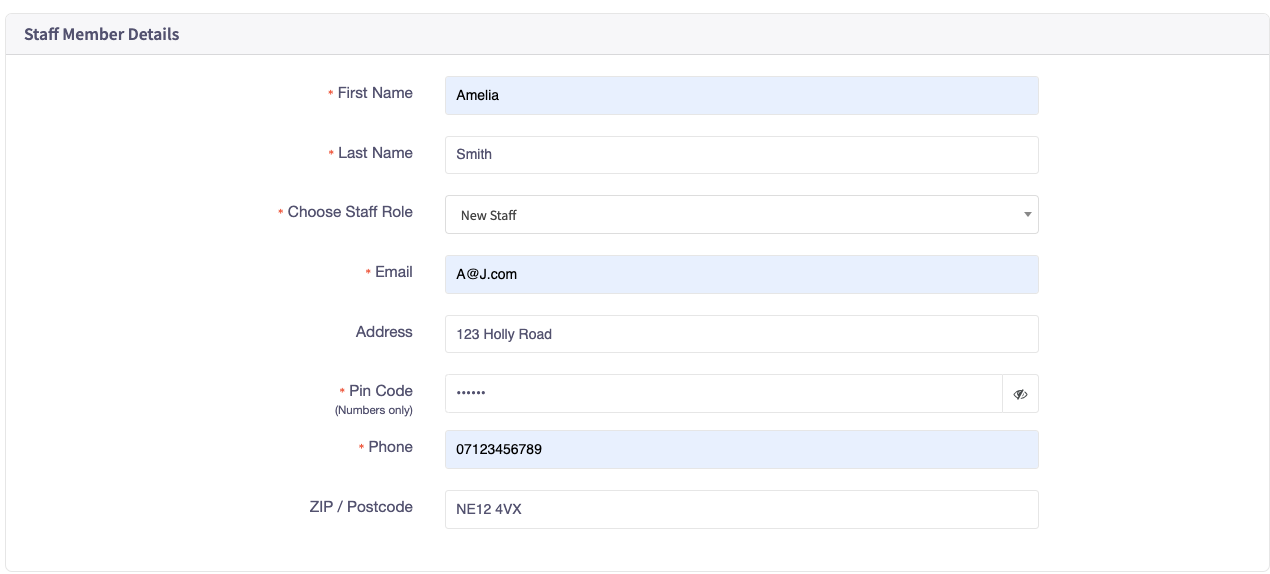
Fill in all the details about your new staff member such as name, role, email, address, pin code, phone number and postcode.
Then select their payroll management and fill in the details below.
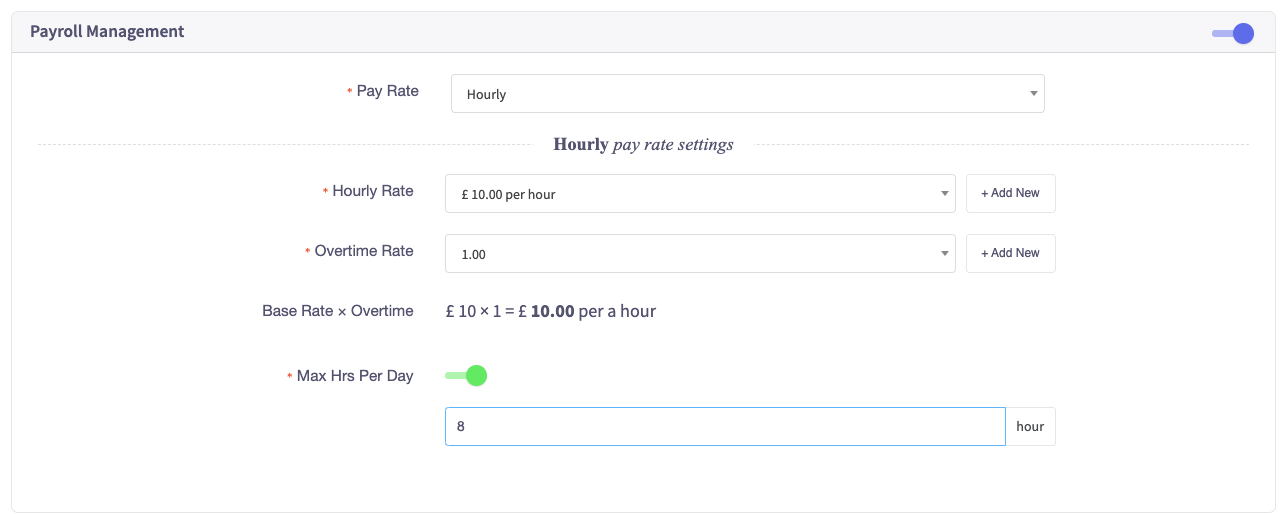
Once you have filled in those details press "Submit" and your new staff member will be added to your staff list.
How to send an invitation to staff
This guide will show you how to send invitations to staff members on your Cloud HQ.
Firstly, click on the 'Staff Management' on the left-hand side, then the 'Manage Staff' option in the menu.

This will display your staff list, shown here.
Next, click the "Invite Staff" button.
Then, fill in the information such as their name, email, role and if you want them to be able to login to the HQ for the staff member you are inviting and press "Confirm".
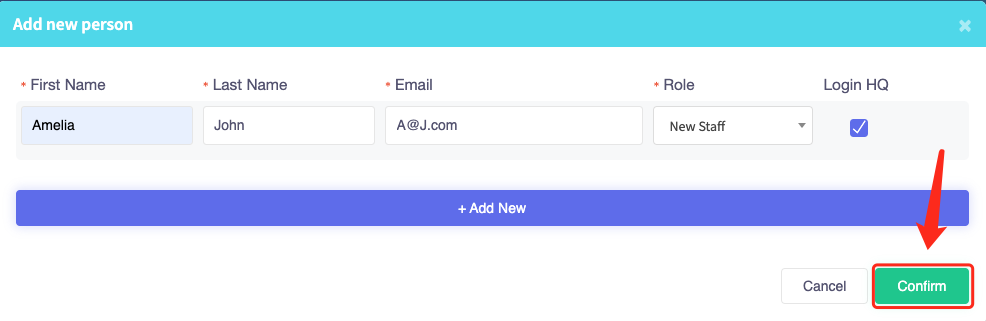
After this step, an email will be sent to that member of staff, inviting them to join your team!
How to add a role
This guide will show you how to add a role to your Cloud HQ.
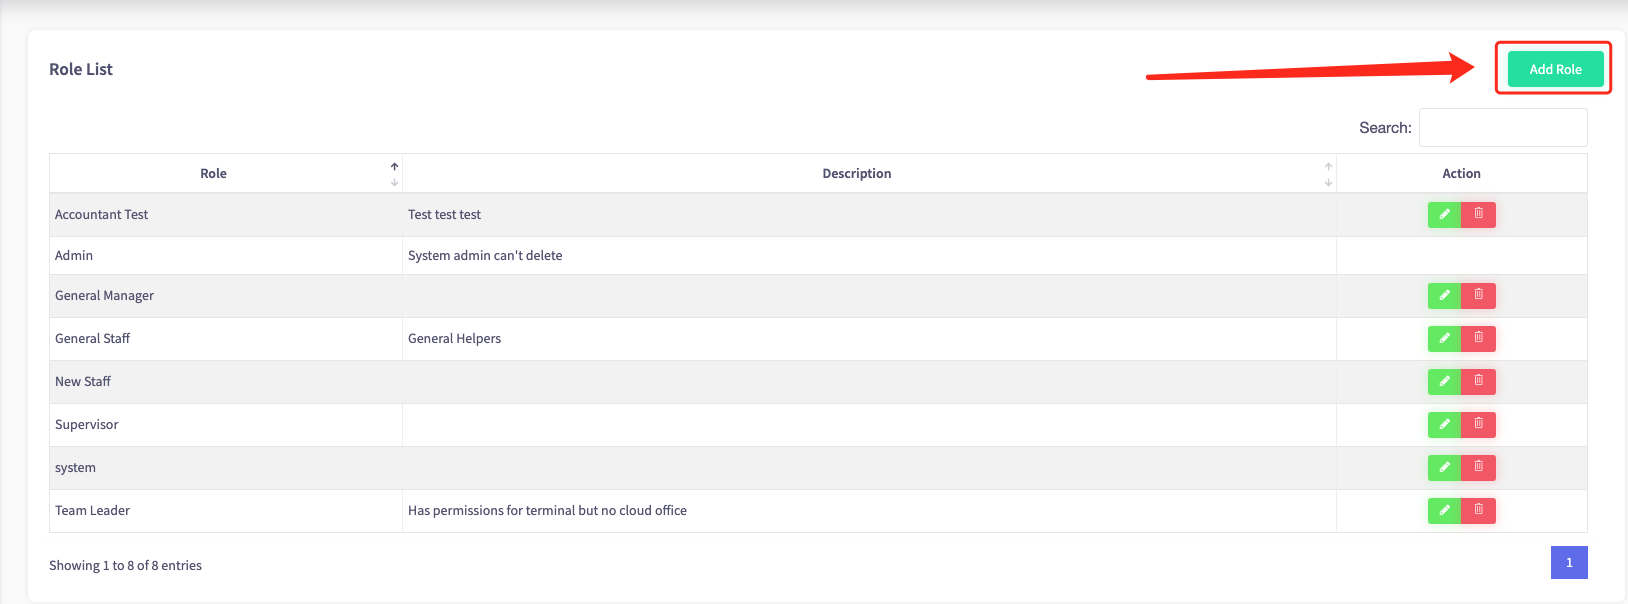
Firstly, click on the 'Staff Management' on the left-hand side column, then the 'Roles and Permissions' option in the menu.

Then click on the top right-hand button "Add Role".
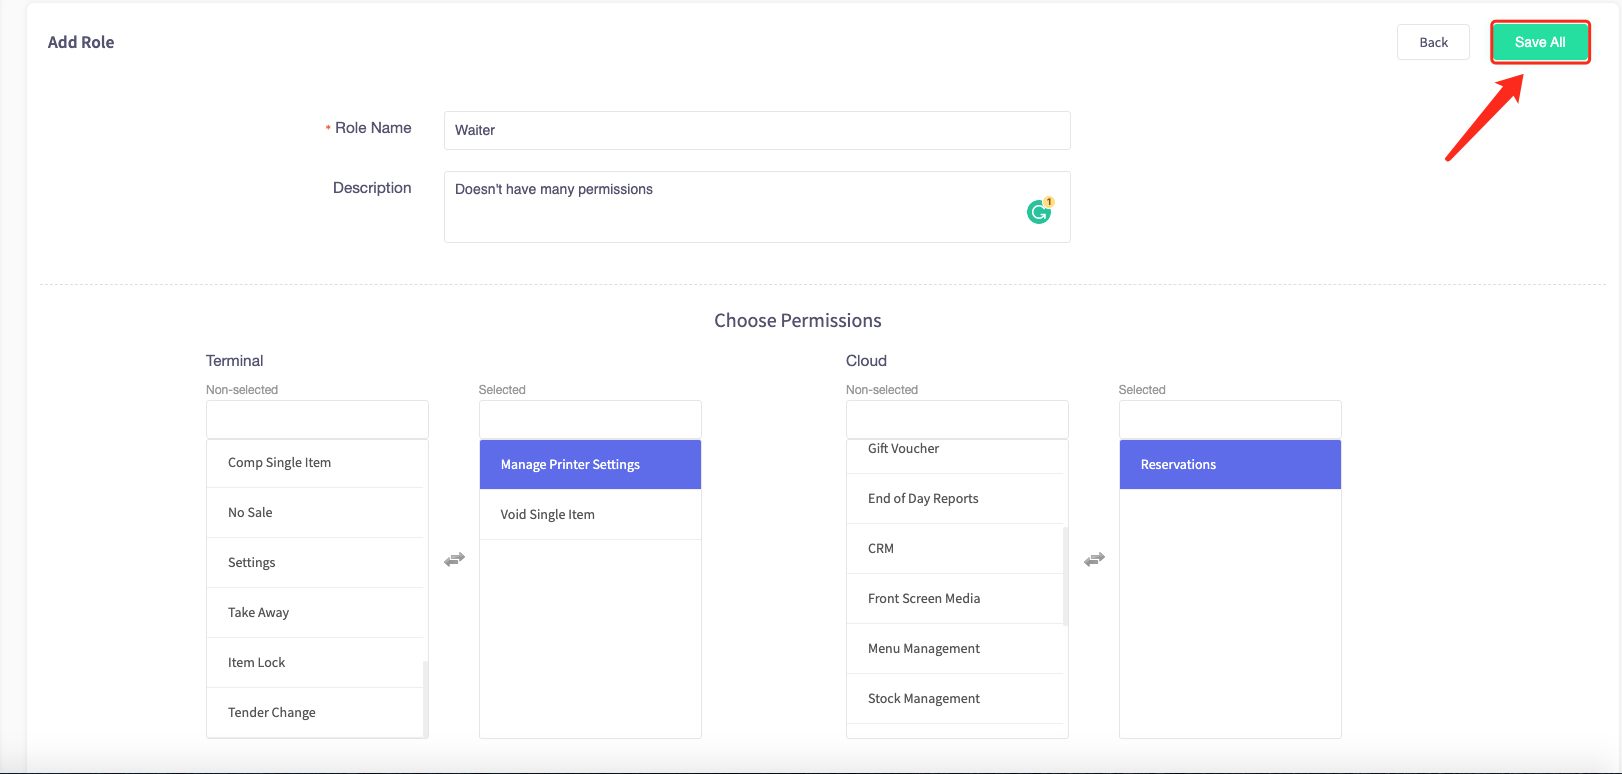
Create a name for your new role and a description.

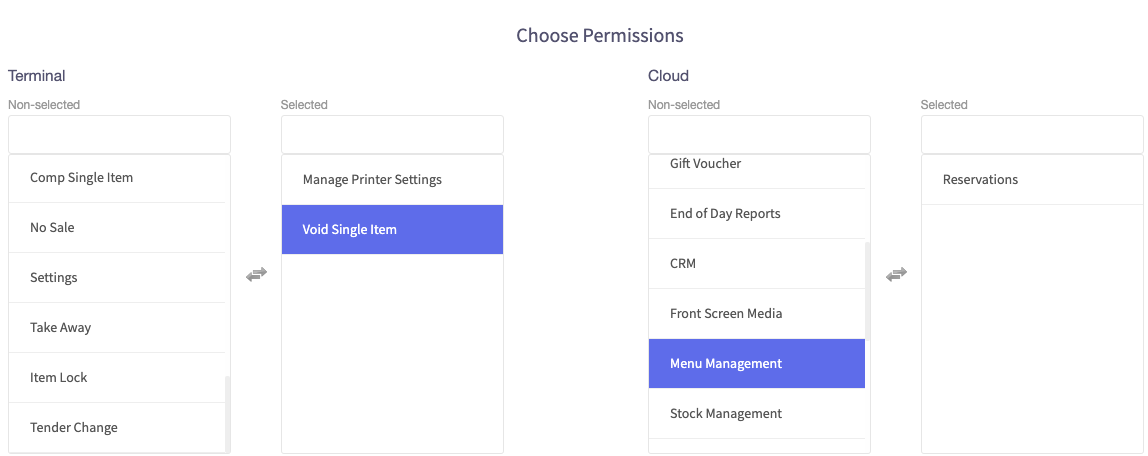
Then select what permissions the role is allowed on either the Terminal or the Cloud.
Once you are happy with the permissions the role is allowed, press "Save All".
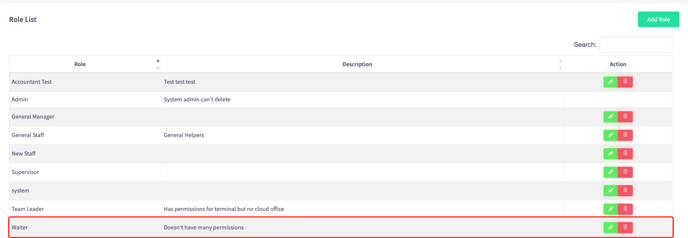
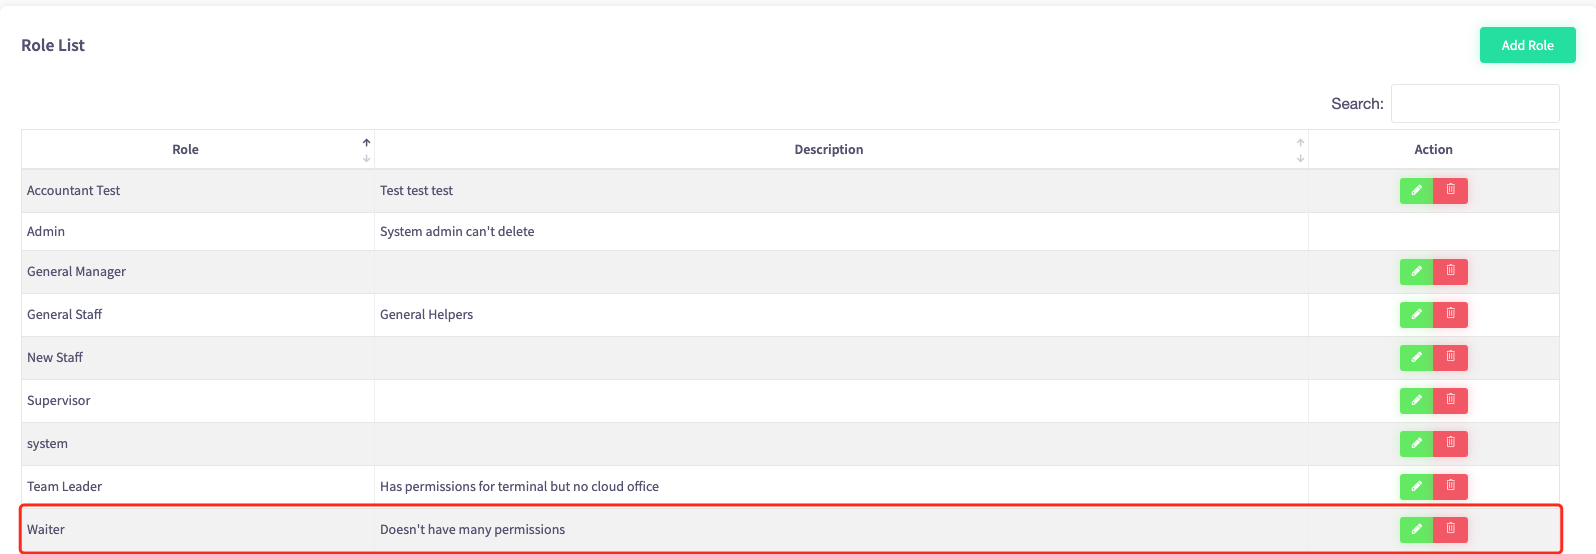
Then the role will be added to your role list.
How to set staff permissions
This guide will show you how to set staff permissions to your Cloud HQ.
Firstly, click on the 'Staff Management', then the 'Roles and Permissions' option on the left-hand menu.

Then click on the top right-hand button "Add Role".

Create a name for your new role and a description.

Then here operators can select what permissions the role is allowed on either the Terminal or the Cloud.

Once you are happy with the permissions the role is allowed, press "Save All".

Then the new role will be added to your role list.
Then, click on the 'Staff Management' on the left-hand side, then the 'Manage Staff' option in the menu.

Here you can see the different staff roles each employee fits into.
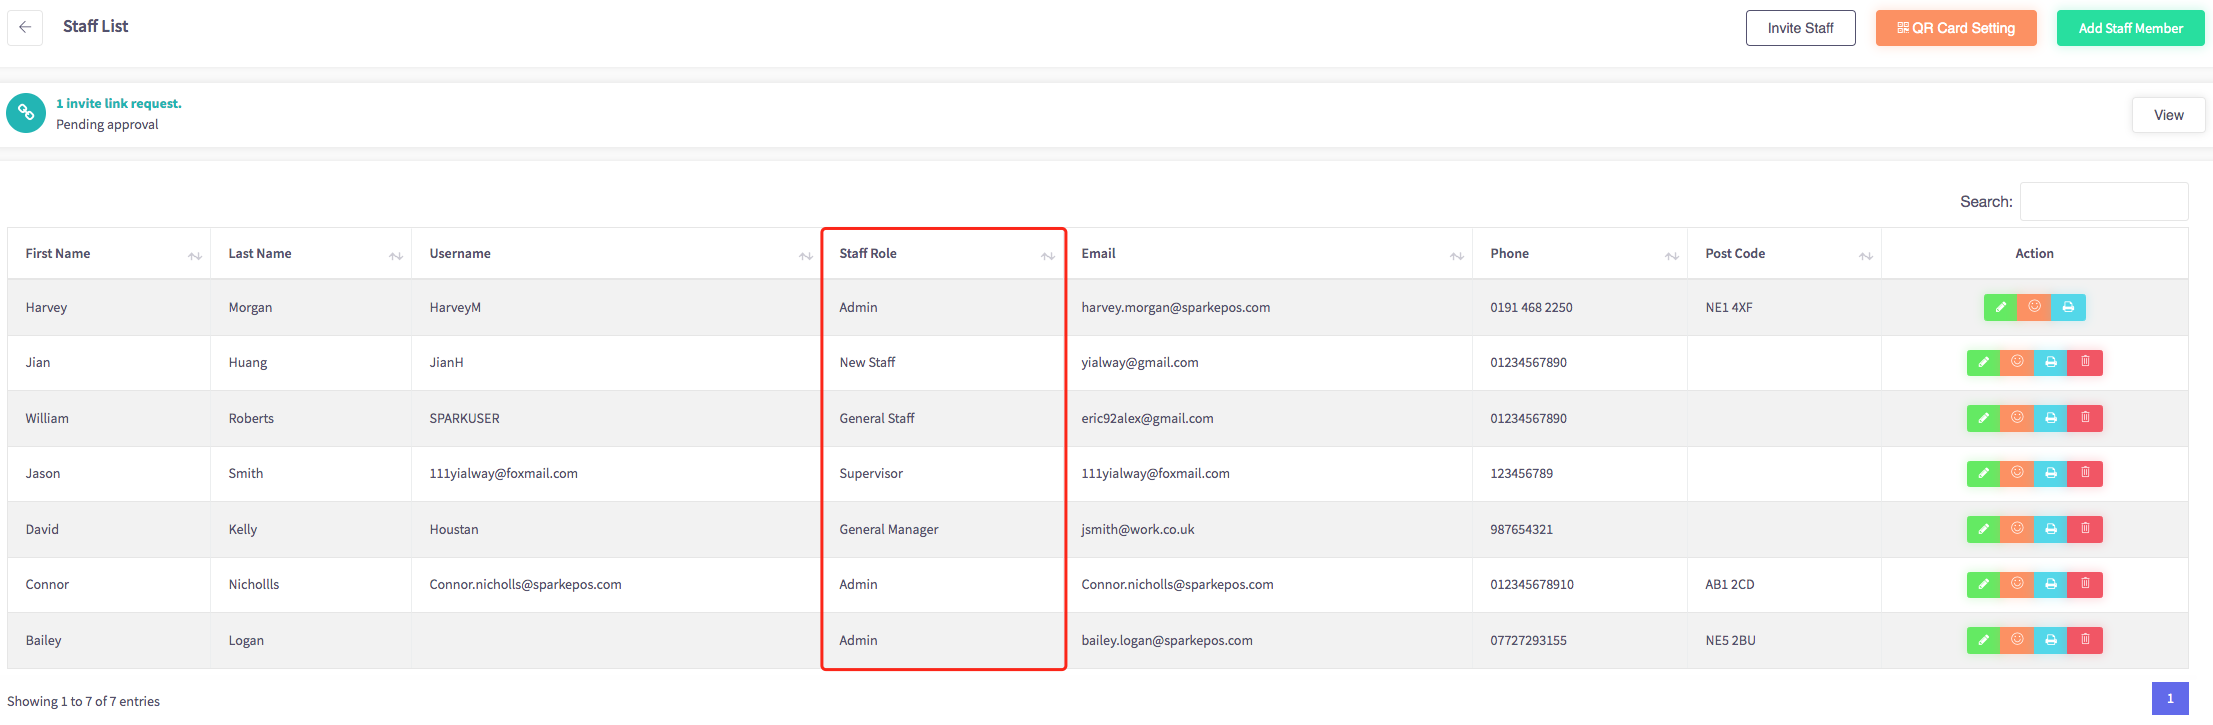
Clicking the  icon allows you to edit your staff's role so you can change their permissions.