- How to create a reservation using a URL code
- How to create a reservation using a QR code
- How to create a reservation with the table view
- How to create a reservation with all bookings
- How to create a reservation with the grid view
- How to create a reservation with the timeline view
How to create a reservation using the URL code
This guide will show you how to create a reservation using the URL code.
Before you do anything, you need to login to your store account SparkEpos
Firstly, click on the 'Reservations', then the 'URL/QR code' option on the menu.
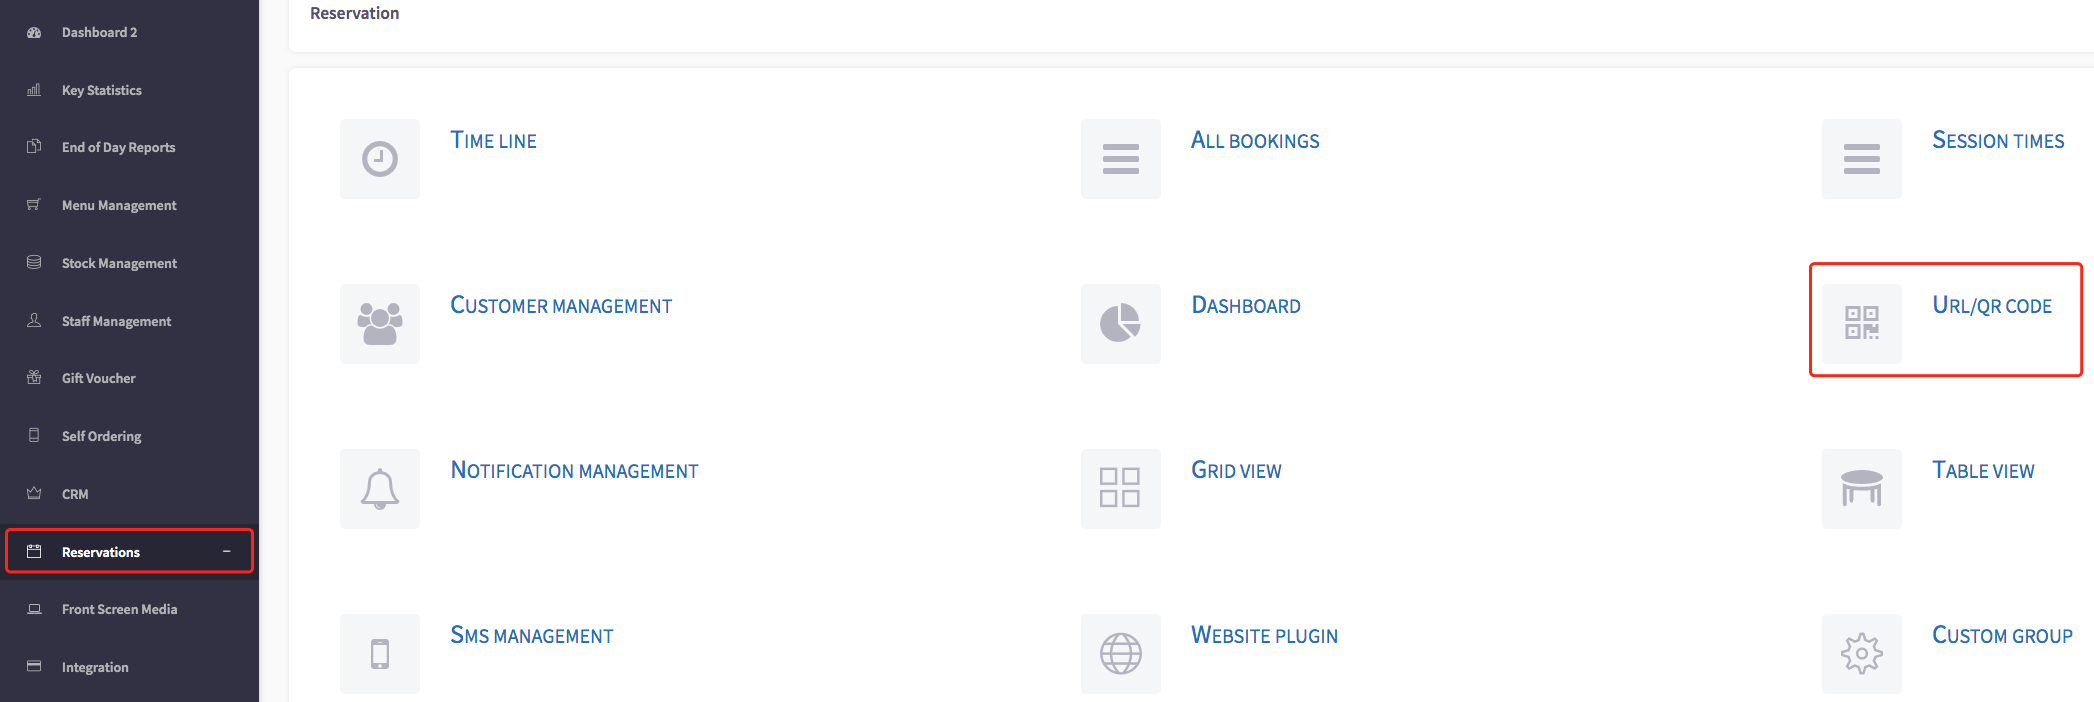
This will then display the Reservation URL/QR code page, shown here.
As you can see here, there is a reservation URL link, you can copy this link by pressing the green icon to the right, shown here.
You can paste this link into a new browser, shown here.
Then you will be able to view this link and create a reservation.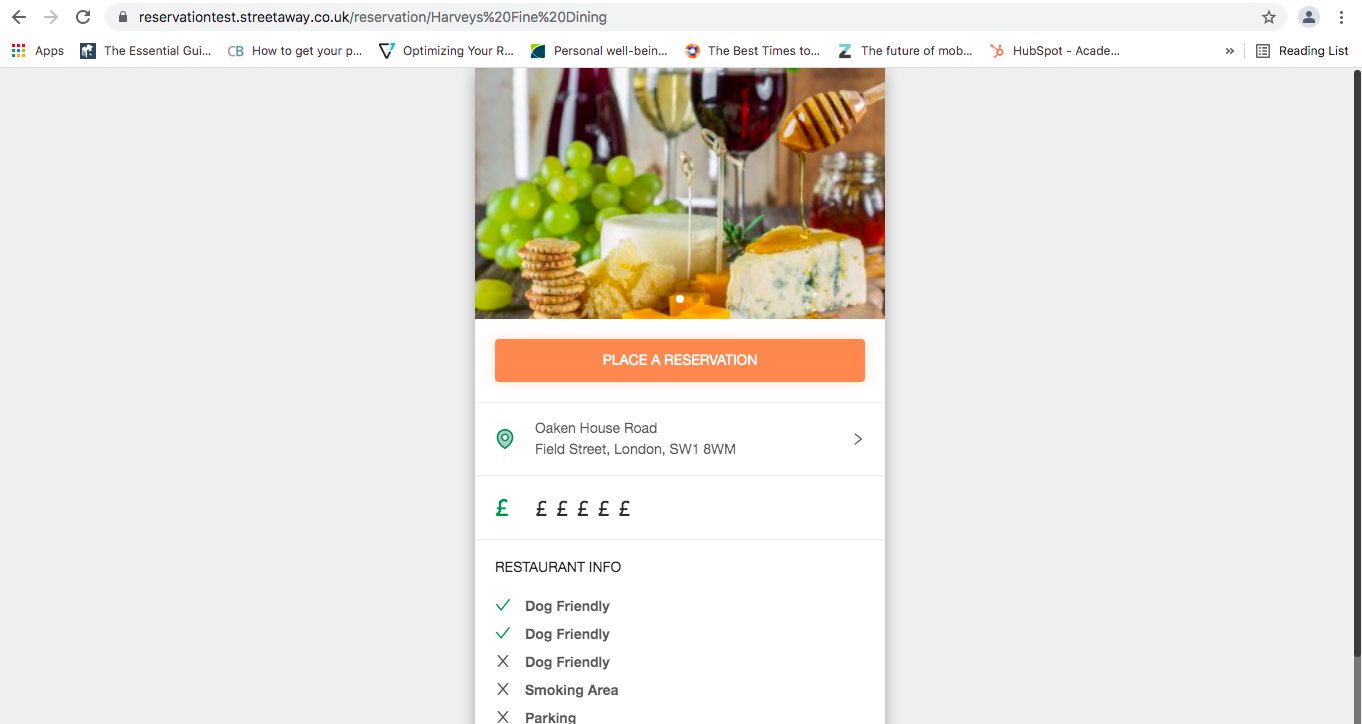
How to create a reservation using a QR code
This guide will show you how to create a reservation using a QR code.
Firstly, click on the 'Reservations', then the 'URL/QR code' option on the menu.
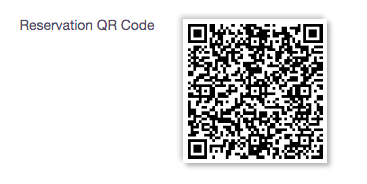
This will then display the Reservation URL/QR code page, shown here.
As you can see here, there is a reservation QR code. You can scan this code on a mobile device which will then take you to the reservation page so you can create your reservation.
How to create a reservation with the table view
This guide will show you how to create a reservation with the table view.
Firstly, click on the 'Reservations', then the 'Table view' option on the menu.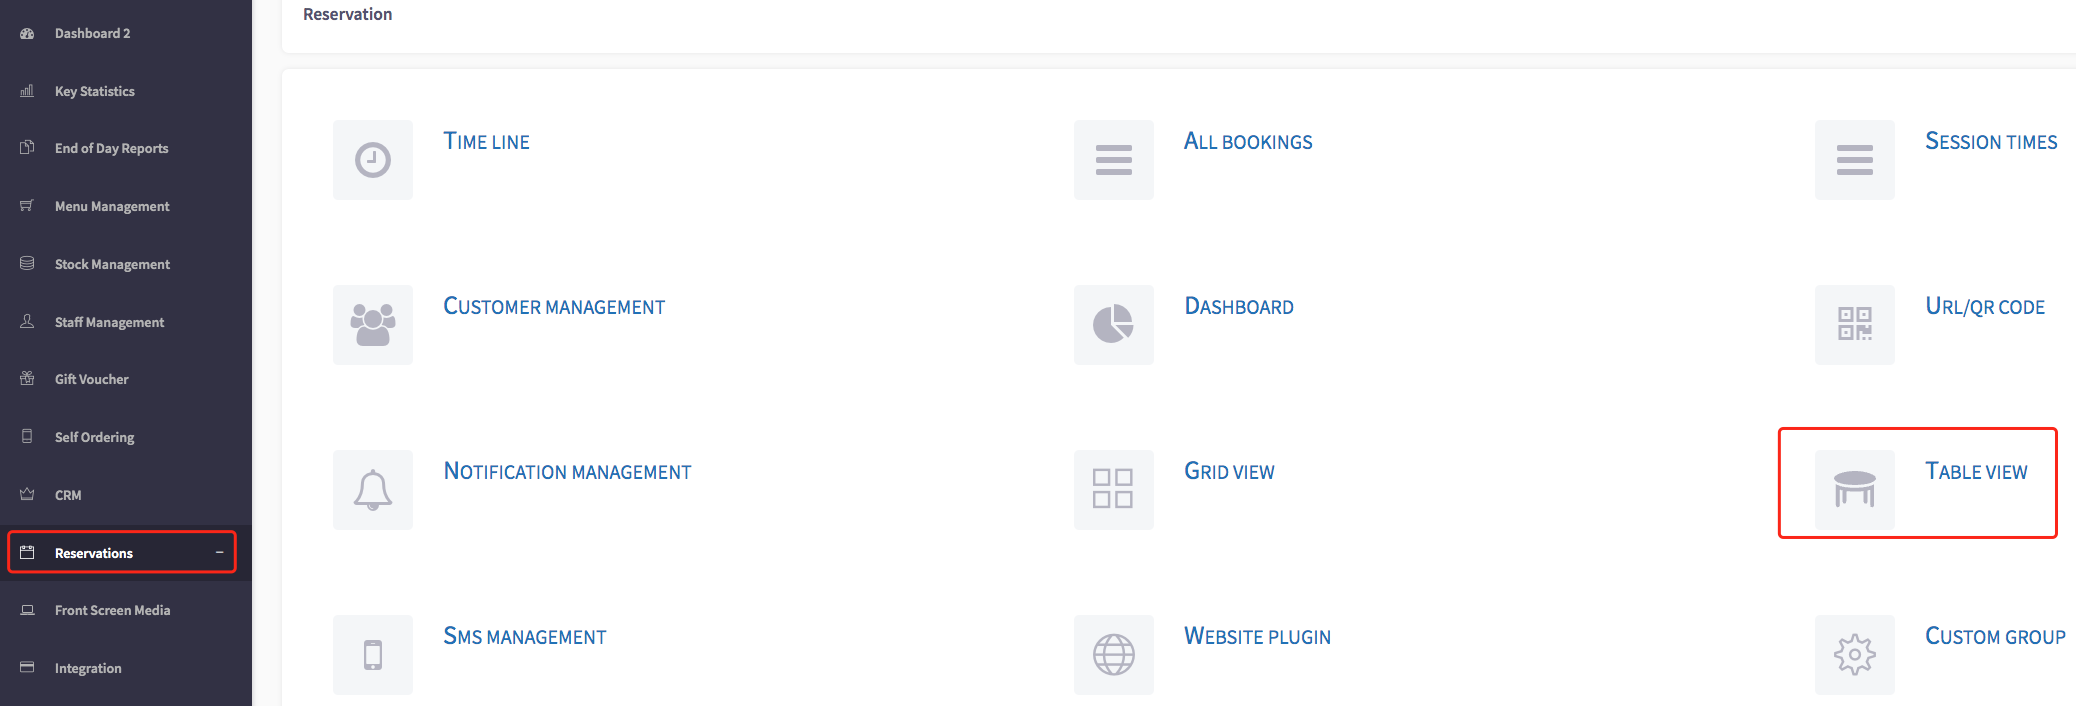
This will then display the table view, shown here.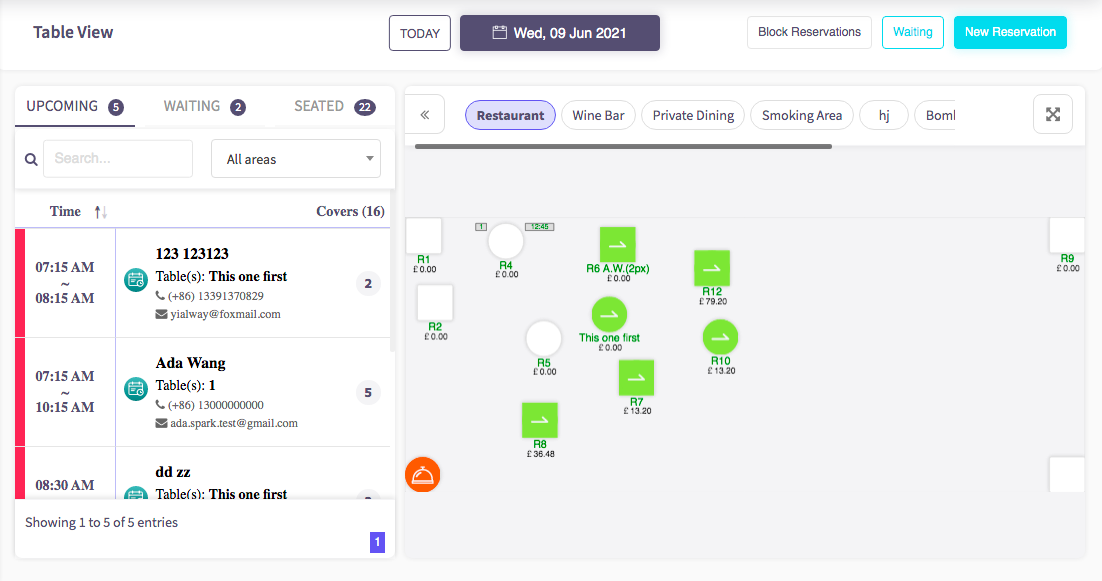
Secondly, click on the 'New reservation' button, shown here.
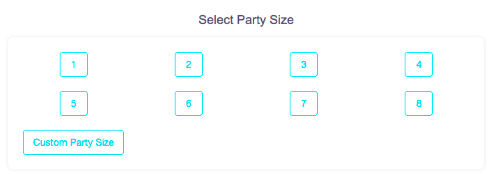
Then your page should look like this. Select how many people are in this reservation, or create a custom party size with the 'Custom party size' button below.

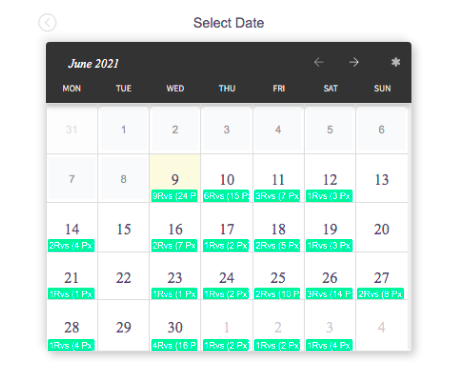
From here, select the date that the customer wants to book for.
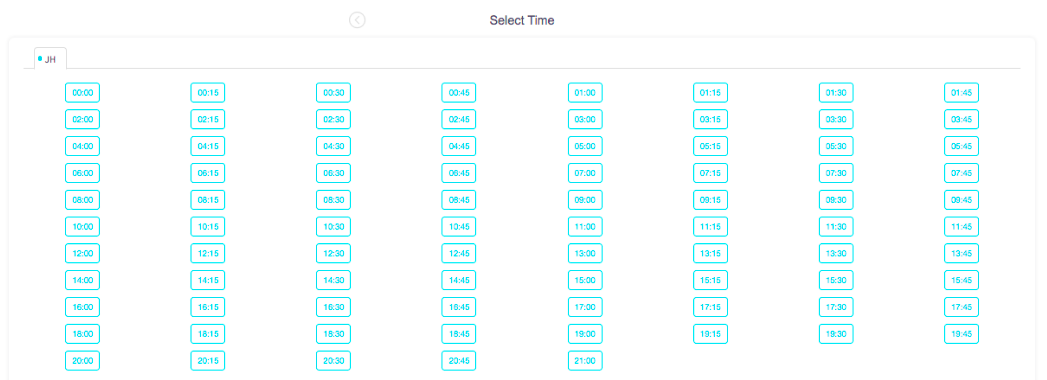
Then you can select the time they would like to book.

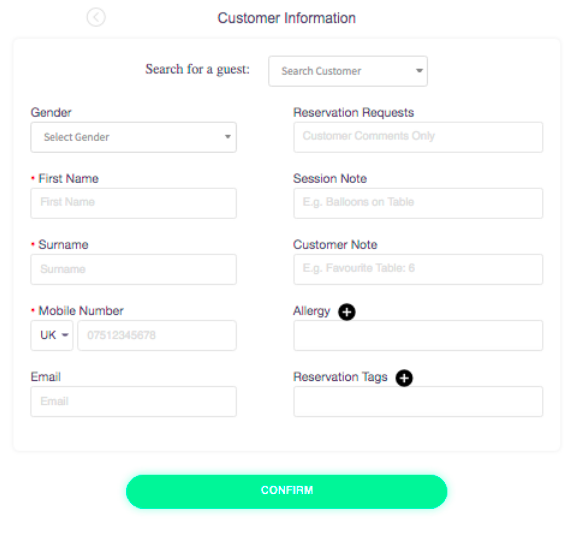
Now you can see the customer information form, where you can put in the customers details.

After this step, the reservation will be confirmed and the customer will receive a message confirming this.
How to create a reservation with all bookings
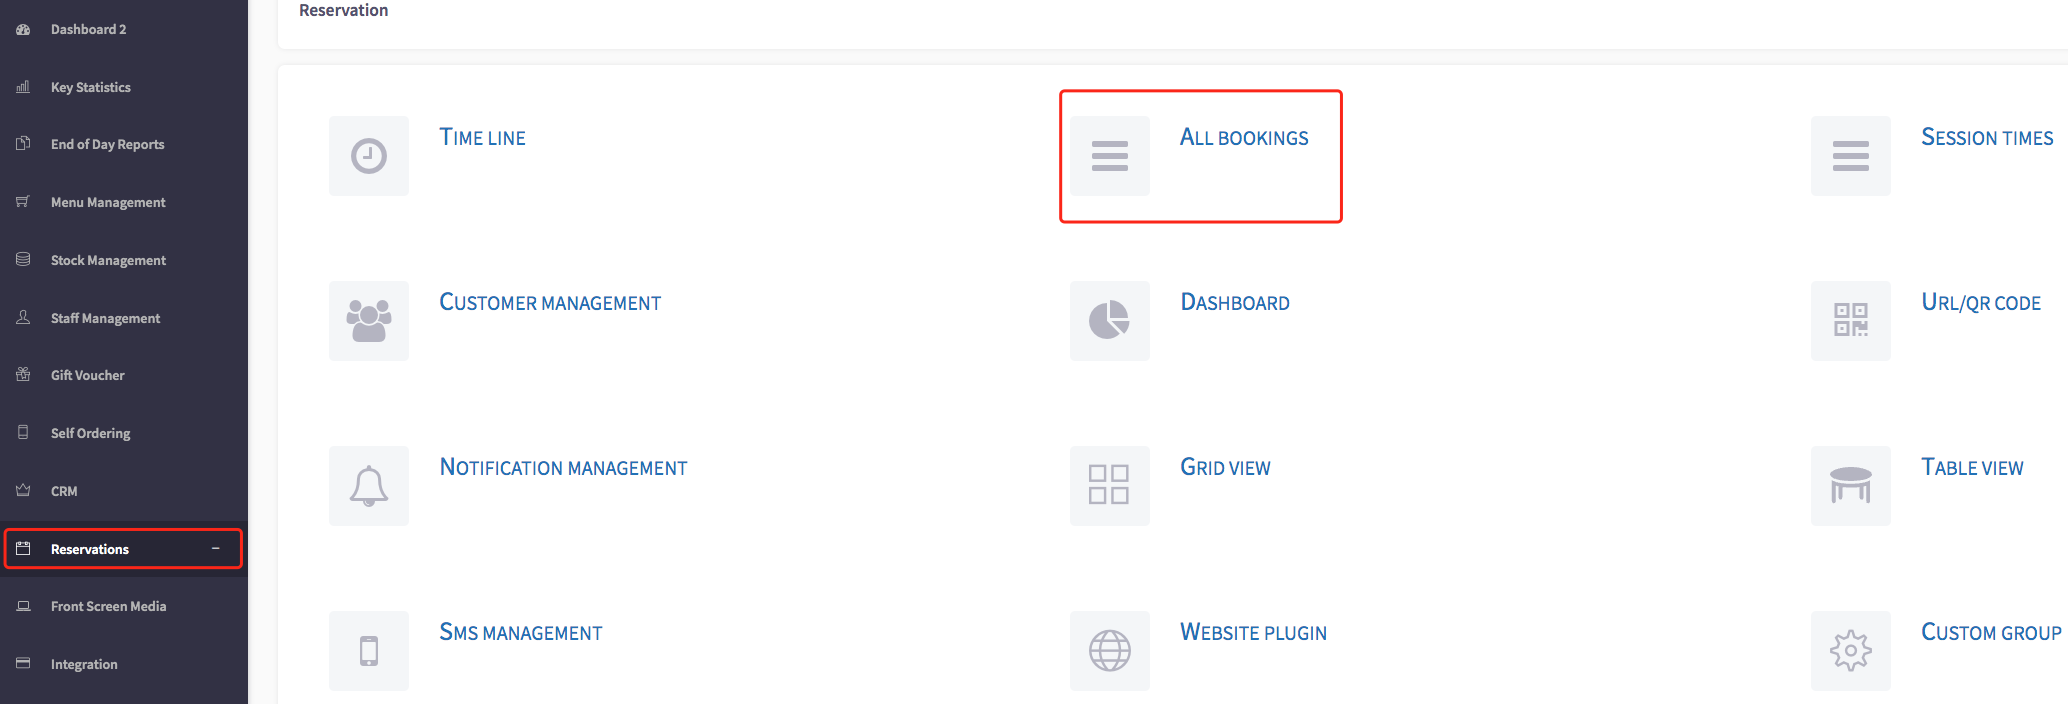
Firstly, click on the 'Reservations', then the 'All bookings' option on the menu.
This will then display all bookings, shown here.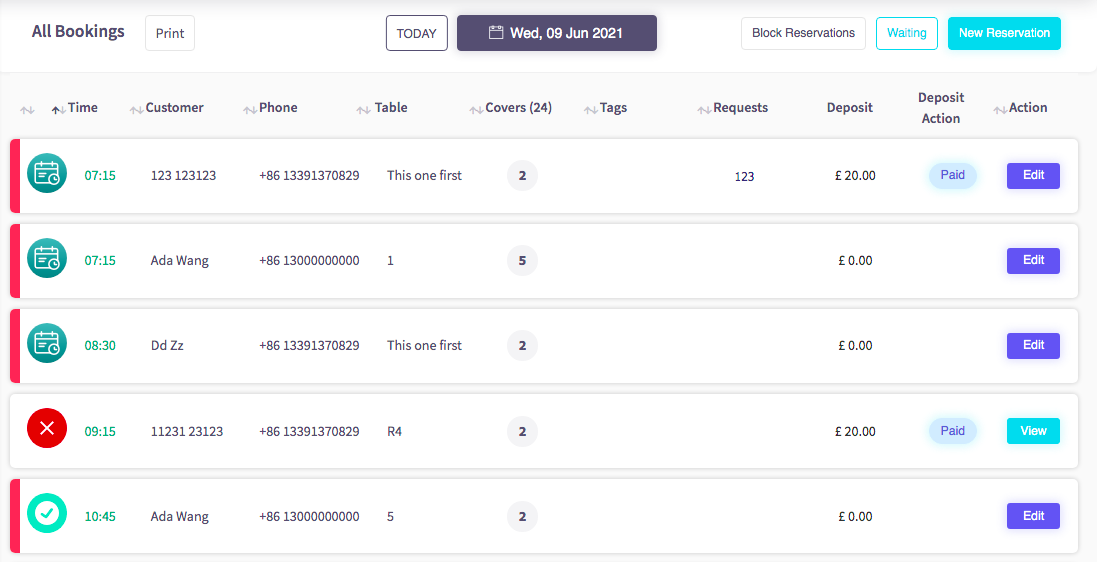
Secondly, click on the 'New reservation' button, shown here.
Then your page should look like this. Select how many people are in this reservation, or create a custom party size with the 'Custom party size' button below.

From here, select the date that the customer wants to book for.

Then you can select the time they would like to book.

Now you can see the customer information form, where you can put in the customers details.

After this step, the reservation will be confirmed and the customer will receive a message confirming this.
How to create a reservation with the grid view
Firstly, click on the 'Reservations', then the 'Grid view' option on the menu.
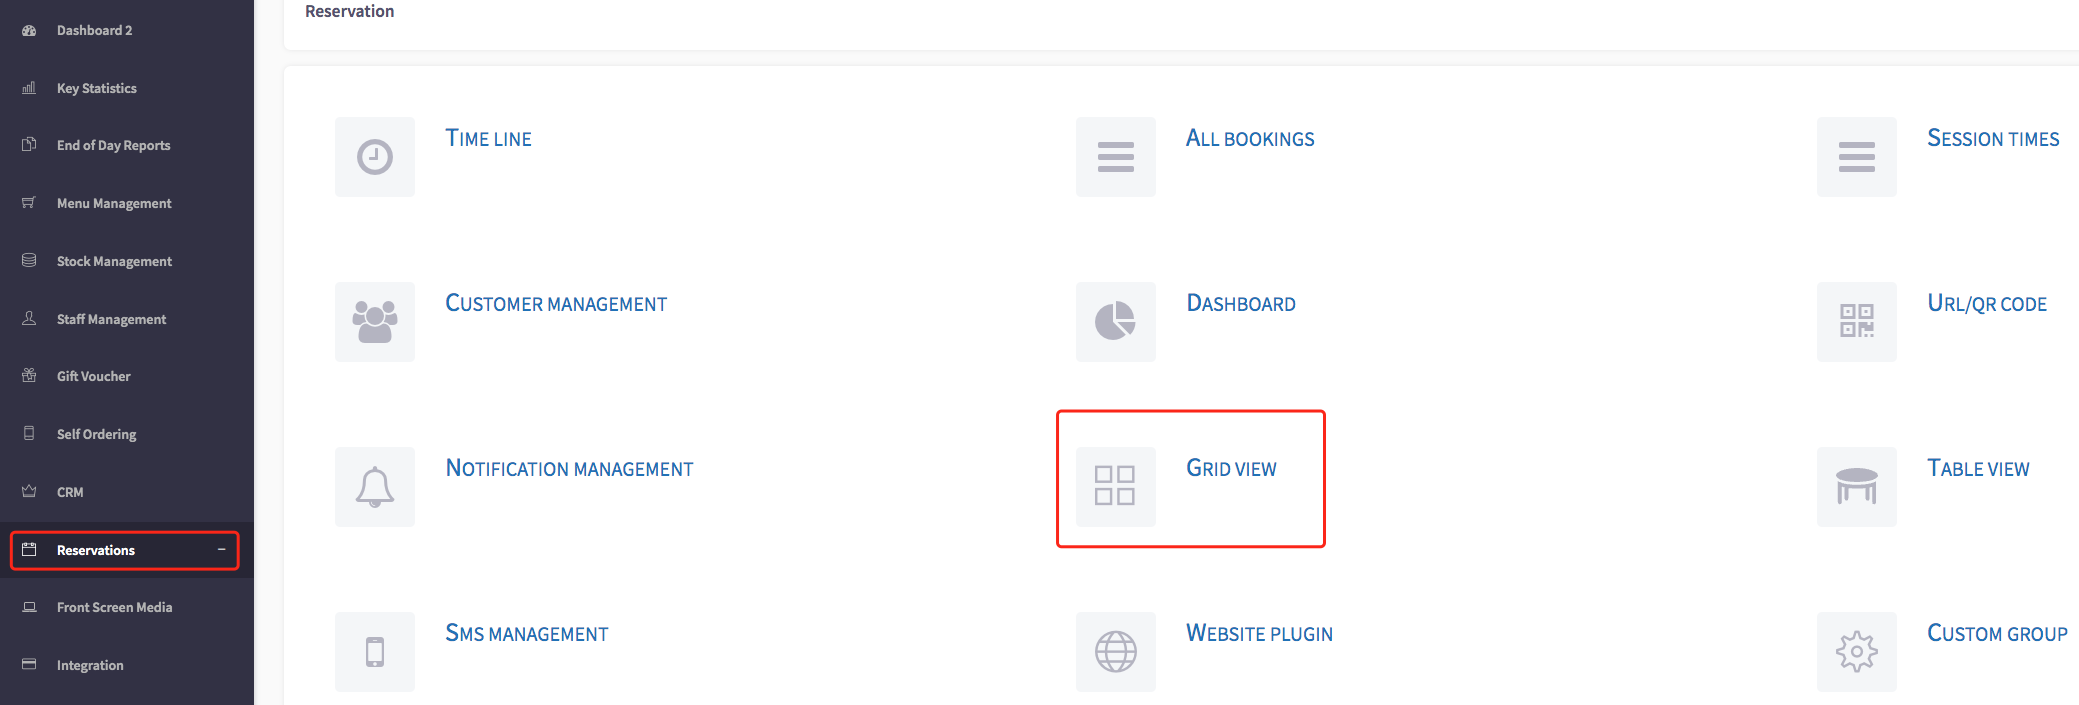
This will then display the grid view, shown here.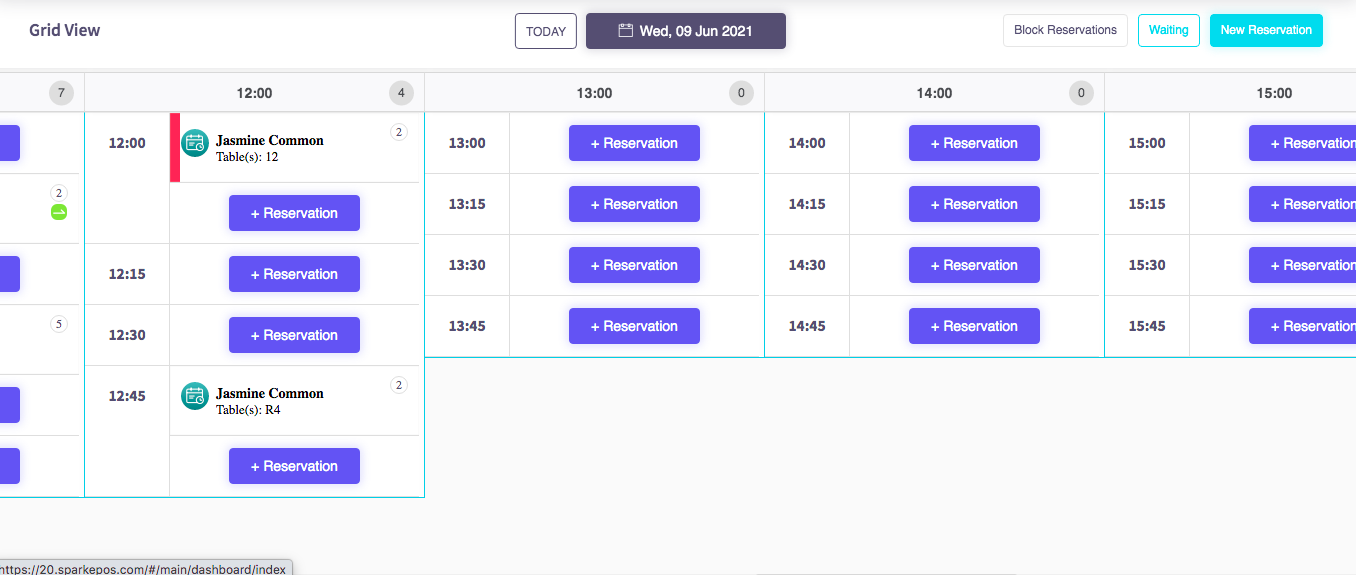
Secondly, click on the 'New reservation' button, shown here.
Then your page should look like this. Select how many people are in this reservation, or create a custom party size with the 'Custom party size' button below.

From here, select the date that the customer wants to book for.

Then you can select the time they would like to book.

Now you can see the customer information form, where you can put in the customers details.

After this step, the reservation will be confirmed and the customer will receive a message confirming this.
How to create a reservation with the timeline
This guide will show you how to create a reservation with the timeline.
Firstly, click on the 'Reservations', then the 'Timeline' option to the left hand menu.
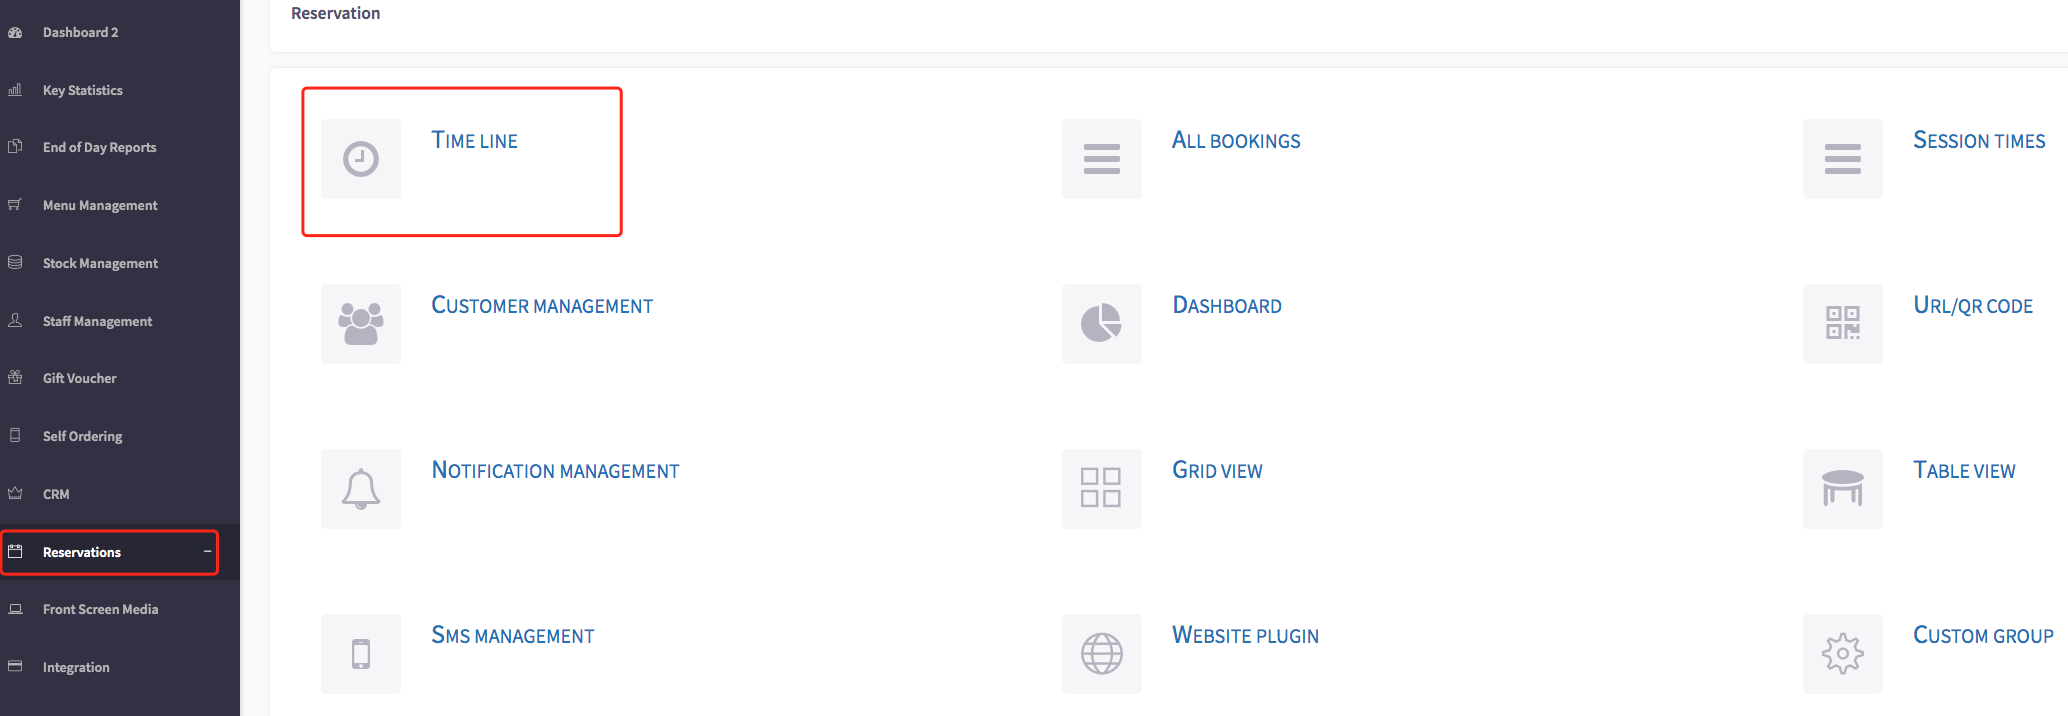
This will then display the timeline view, shown here.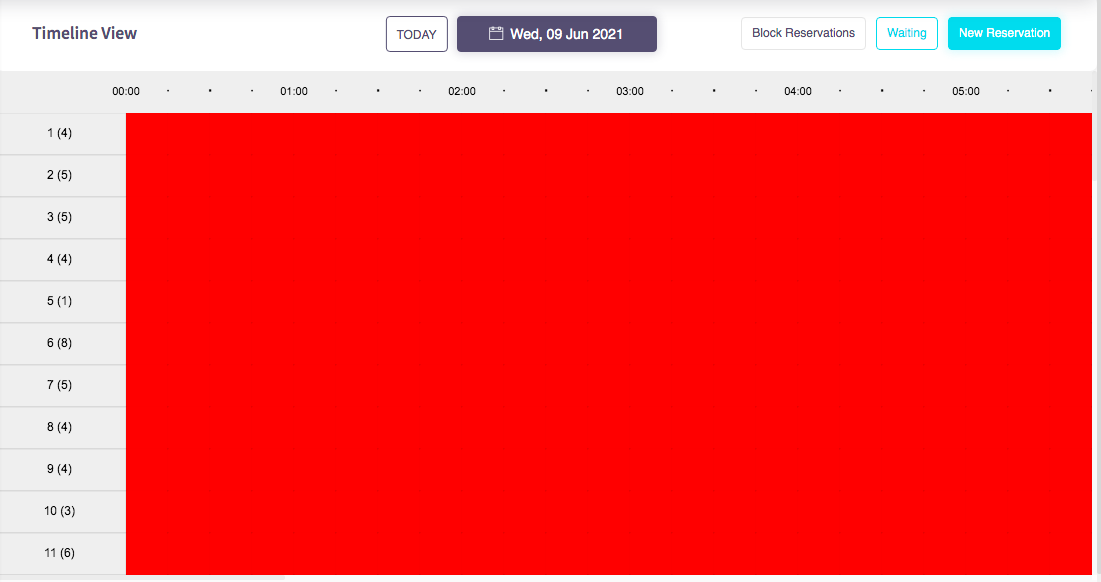
Secondly, click on the 'New reservation' button, shown here.
Then your page should look like this. Select how many people are in this reservation, or create a custom party size with the 'Custom party size' button below.
From here, select the date that the customer wants to book for.

Then you can select the time they would like to book.
Now you can see the customer information form, where you can put in the customers details.
After this step, the reservation will be confirmed and the customer will receive a message confirming this.