Before you do anything, make sure you login into your store account SparkEpos
How to add an open and close time
This guide will show you how to add an open and close time on your Cloud HQ.
Firstly, scroll down to click on the 'System Settings' on the left-hand side, then the 'Opening/Close Time Manager' option in the menu.
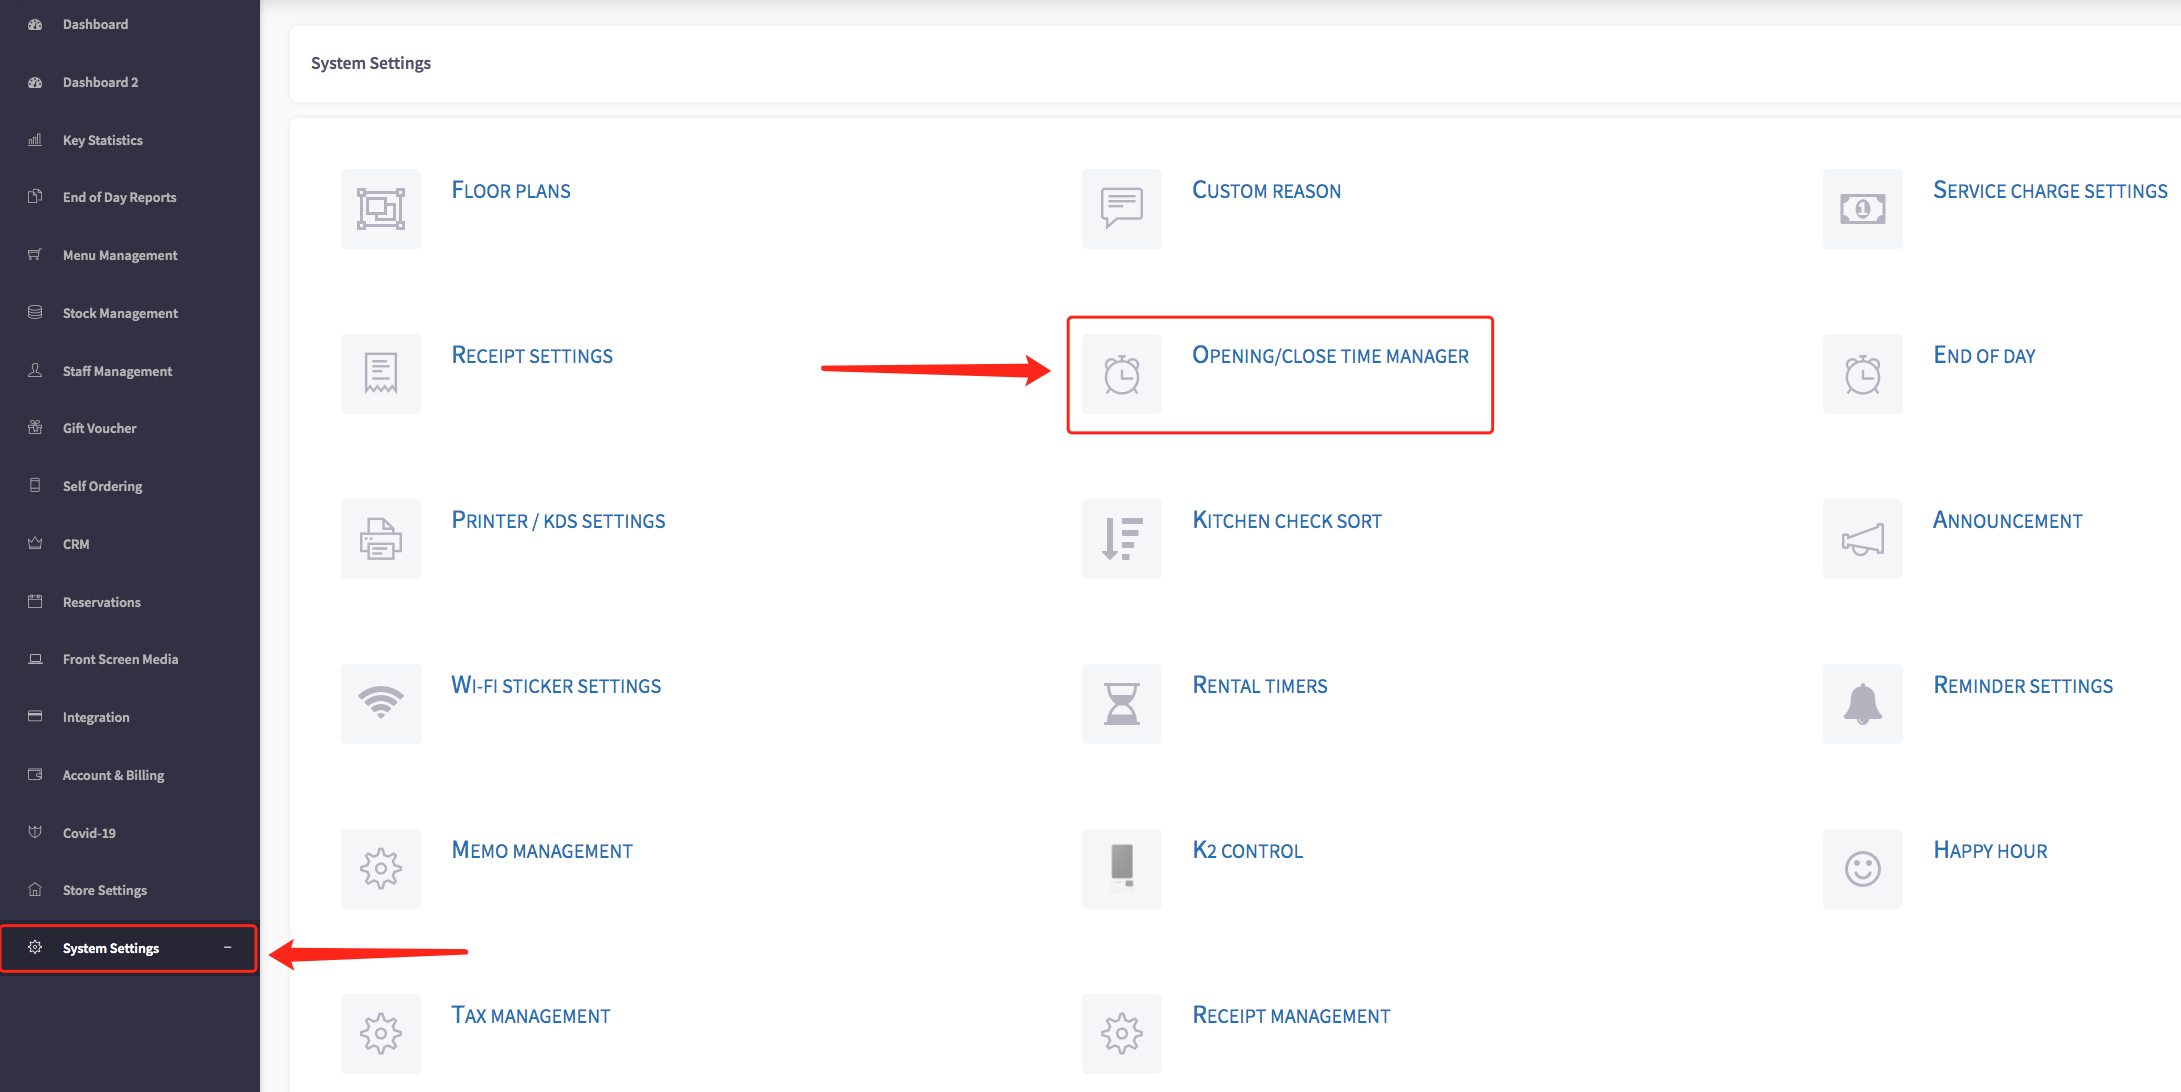
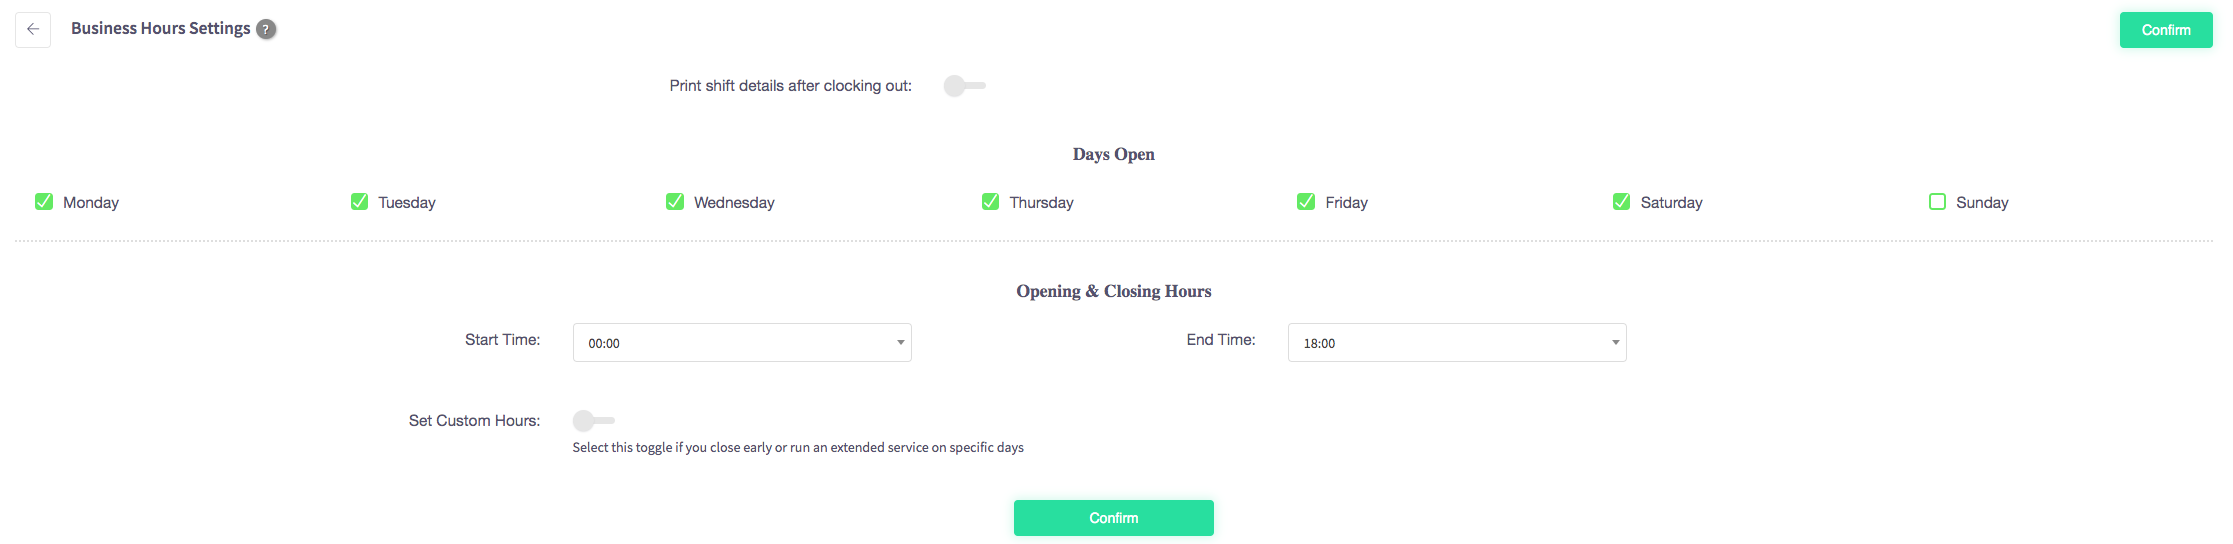
This will display business hours settings, shown below.

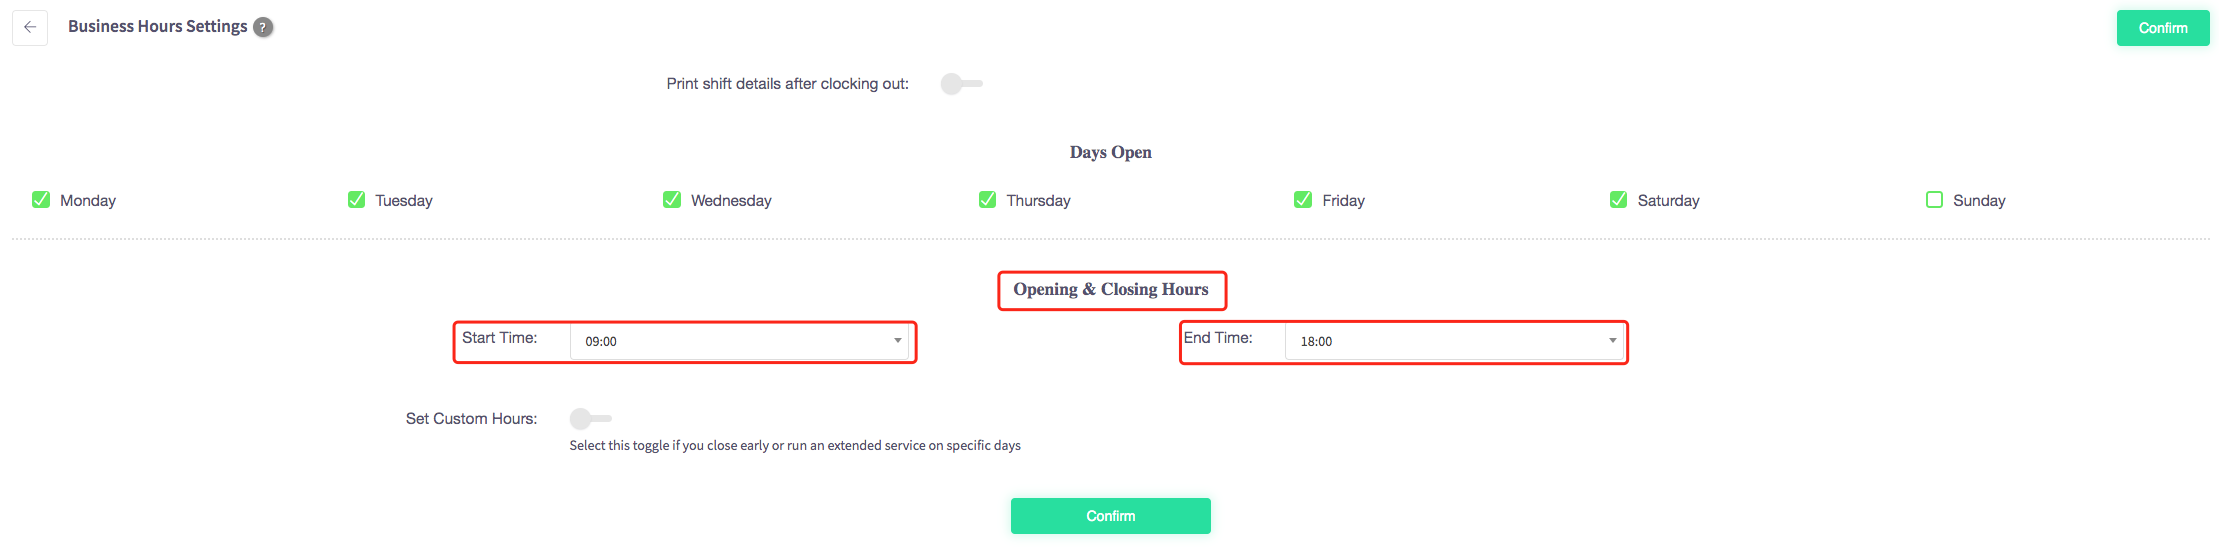
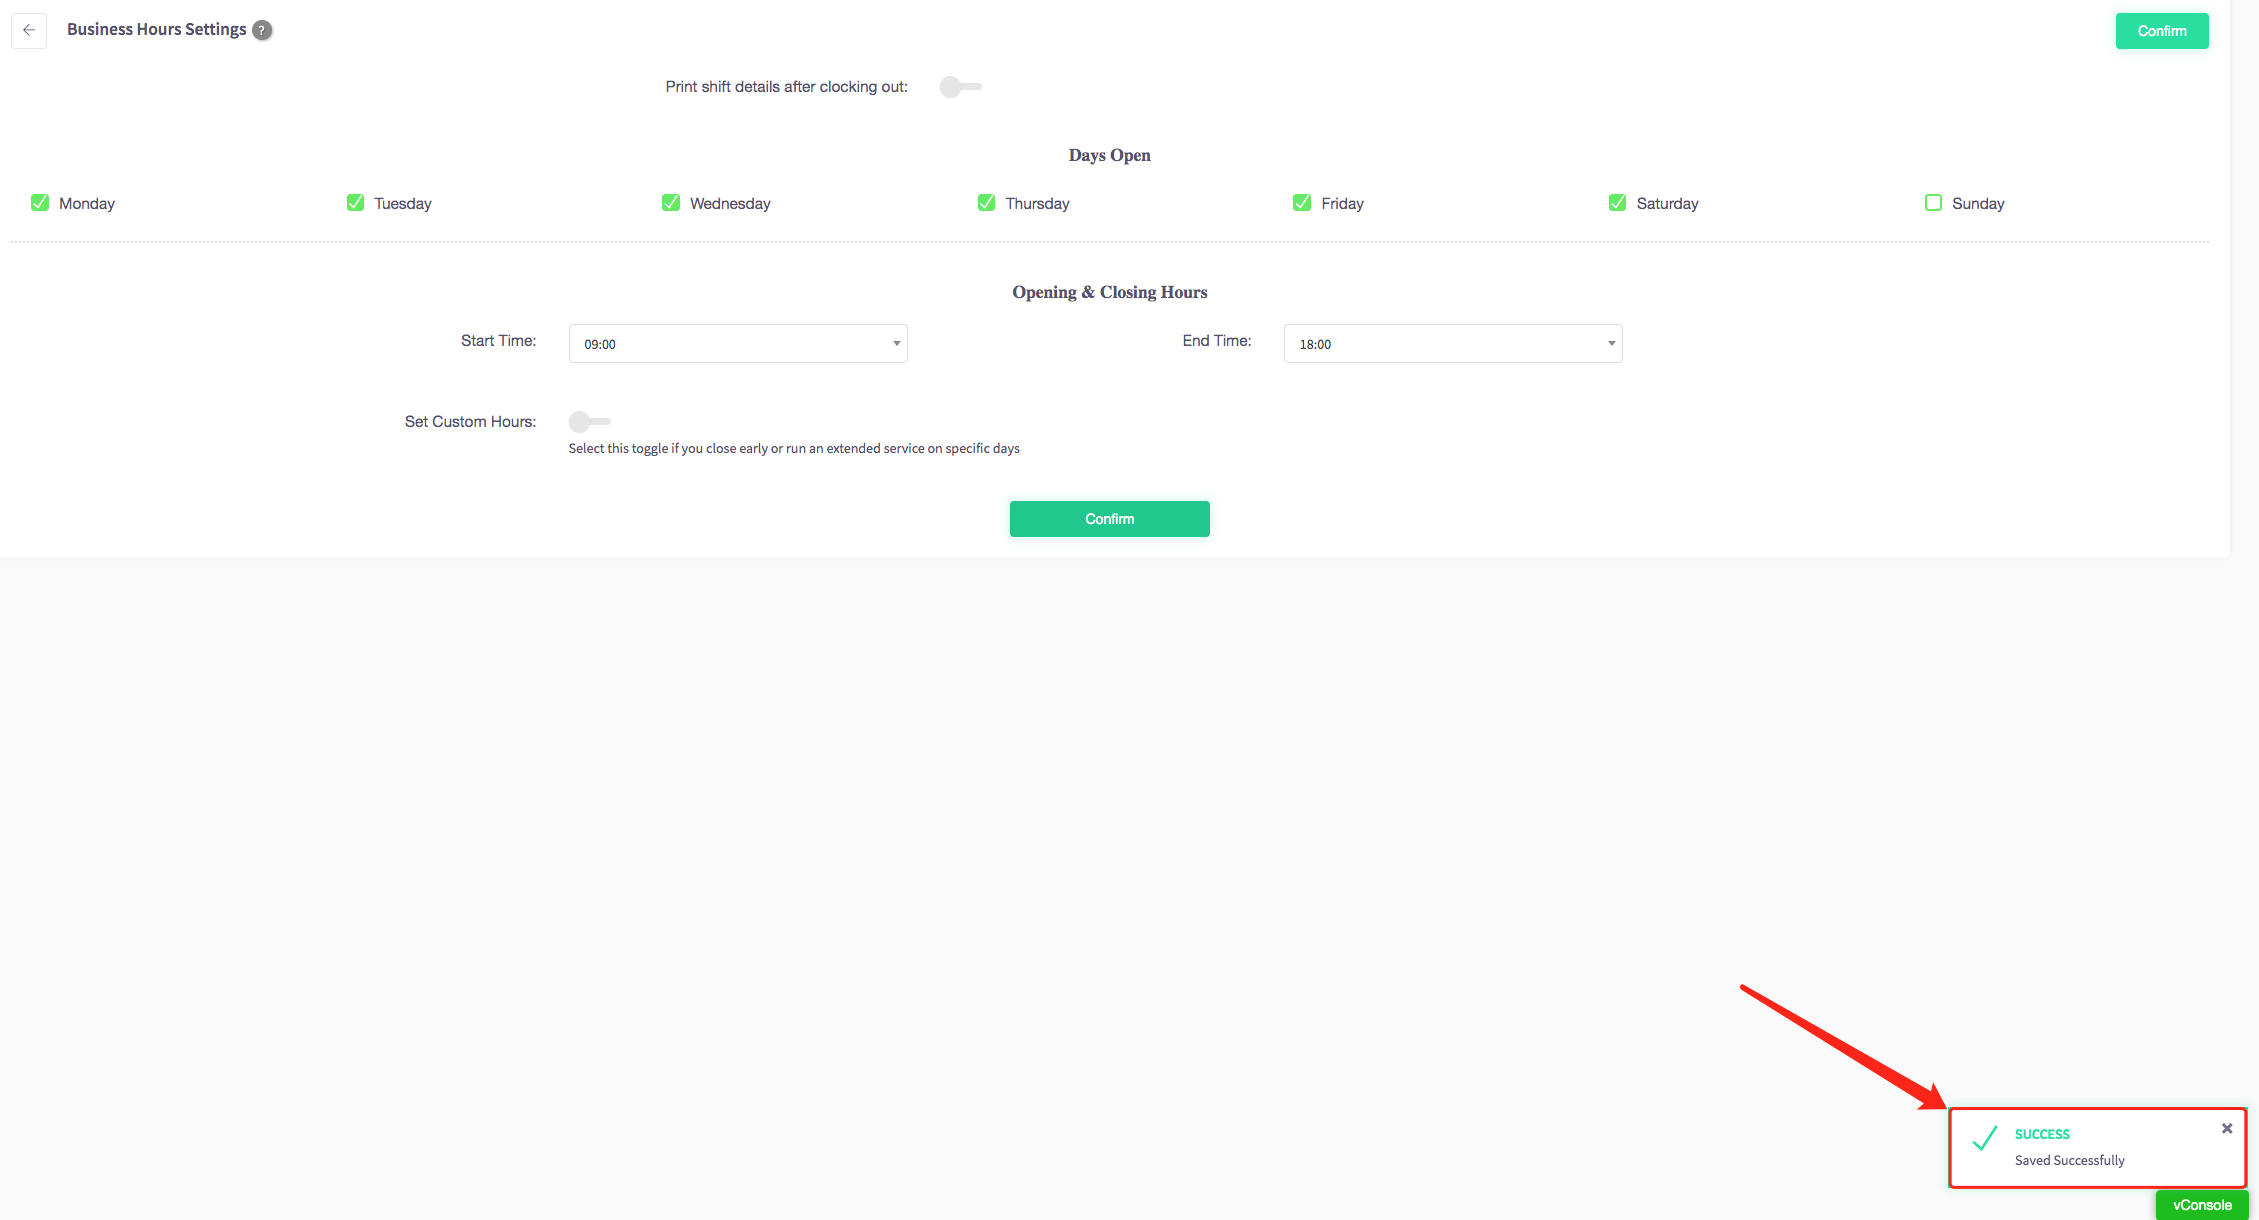
To add an opening and closing time for your venue, select the option that says 'Opening and Closing Hours'. Here you can use a drop-down list to select what time your business opens and what time it closes.
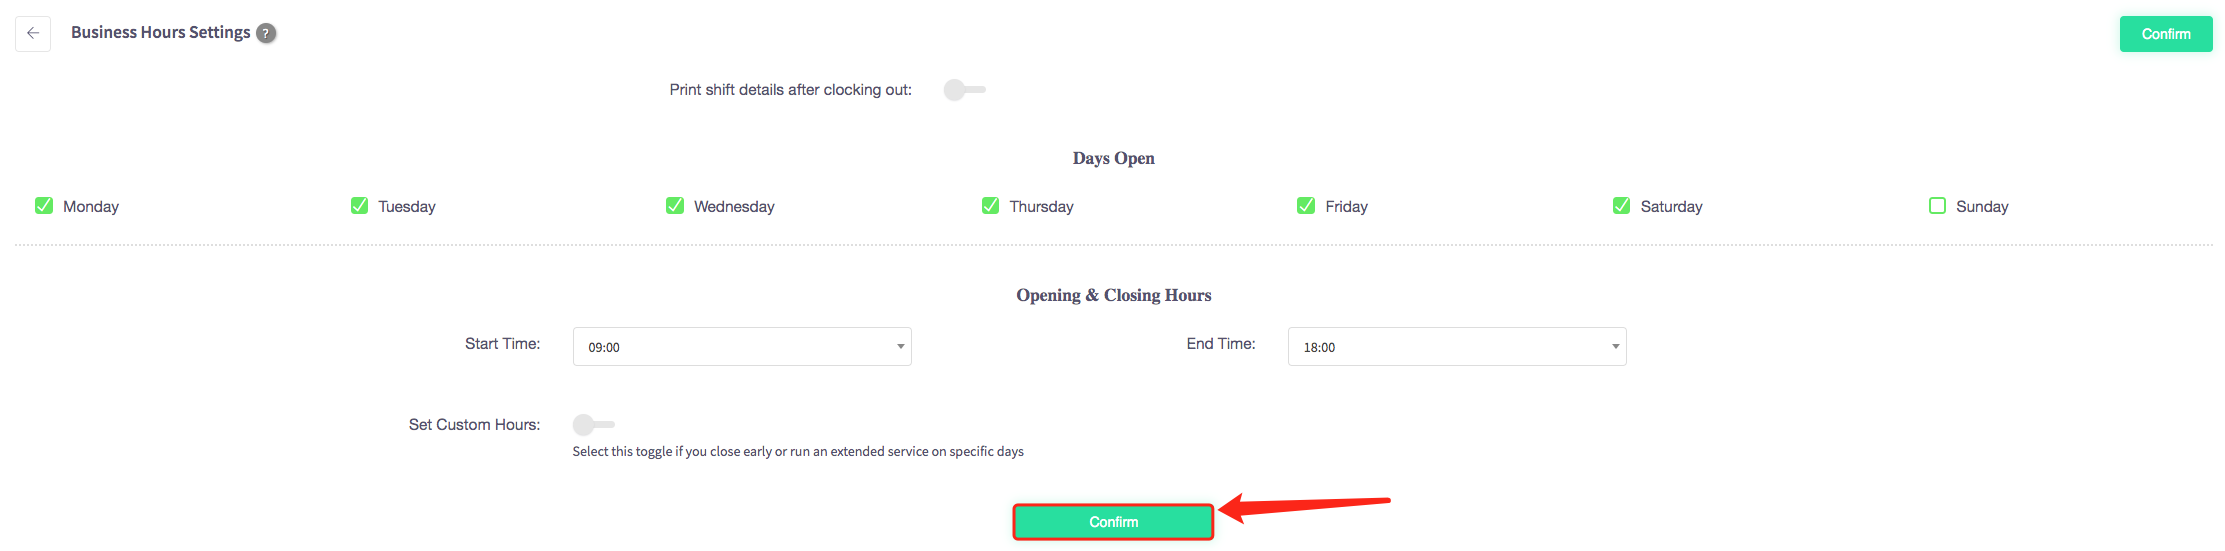
When you have decided on your opening and closing times press the 'Confirm' button at the bottom of the page.
Then a pop-up message will appear, confirming it has been "Saved Successfully".
How to set custom hours
This guide will show you how to select how many covers on your Cloud HQ.
Firstly, scroll down to click on the 'System Settings' on the left-hand side, then the 'Opening/Close Time Manager' option in the menu.

This will display business hours settings, shown below.
To select custom hours, click on the set custom hours toggle located under the opening and closing hours.
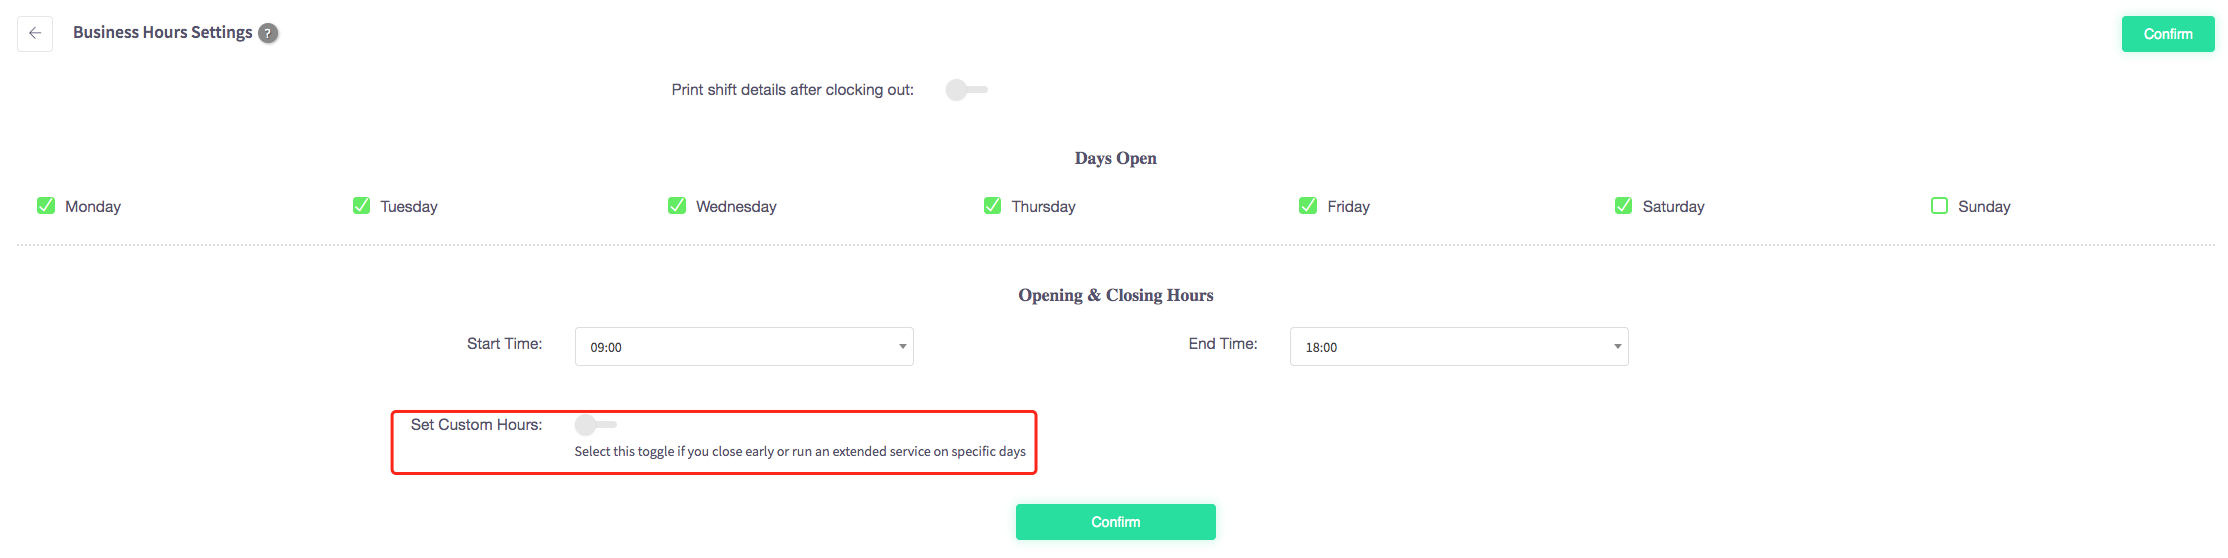
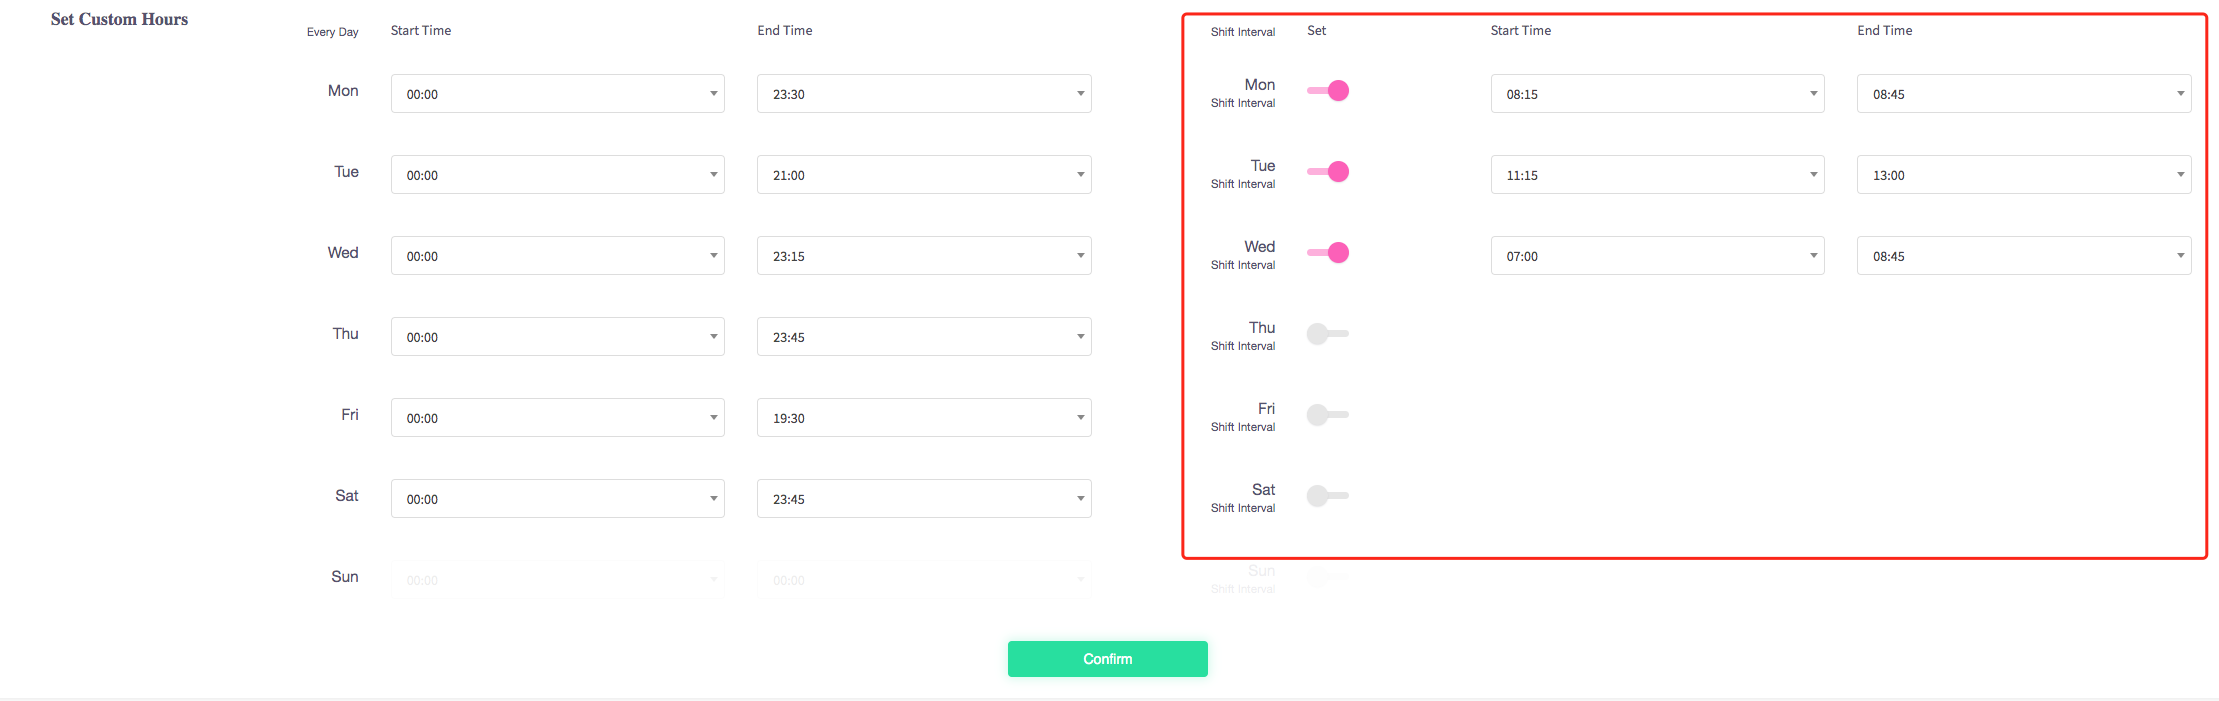
This menu will open, allowing you to set custom opening and closing times on different days.
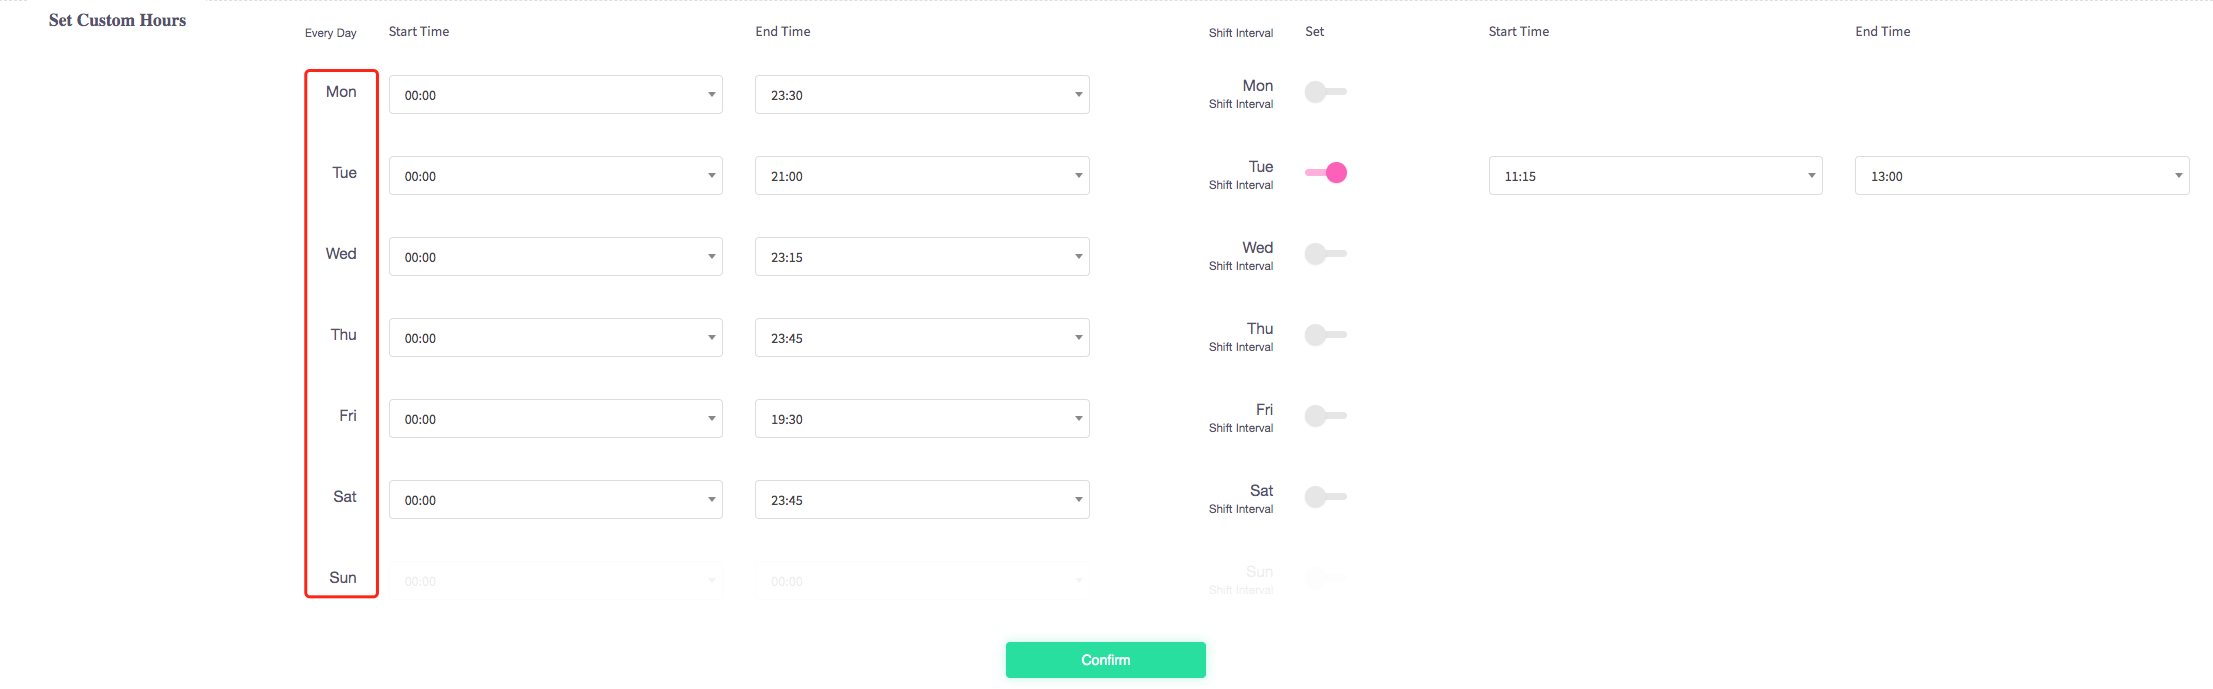
You can also set Shift Intervals meaning you can set timed breaks for your business. For example : 'Lunch Break for all employees'
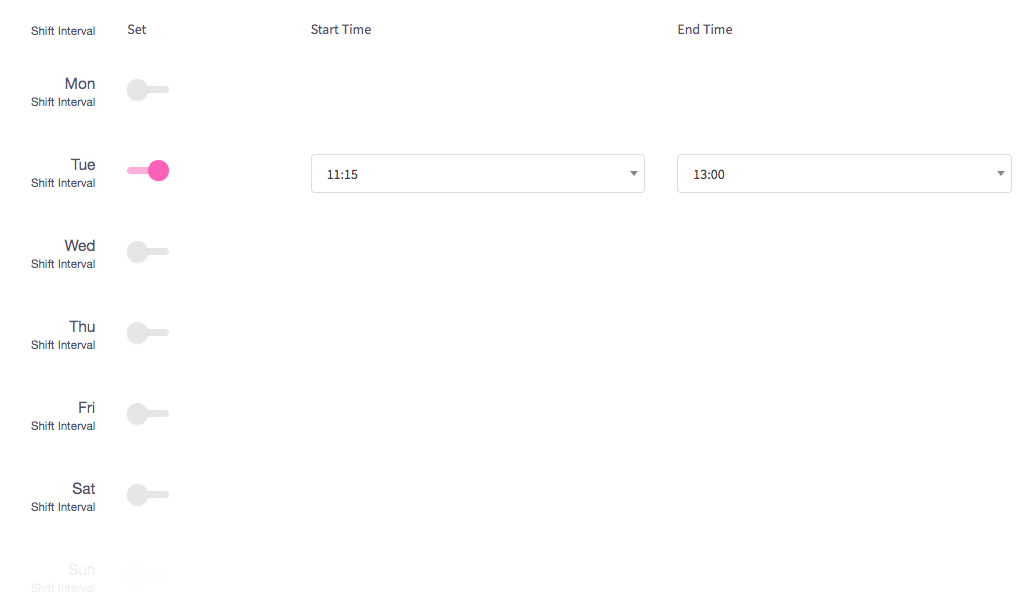
To turn on Shift Intervals for a specific day, simply click the toggle near the day you want to enable to have Shift Intervals. The  means the day has 'Breaks' enabled.
When you have set the custom hours your business is open press the green confirm button at the bottom of the page.
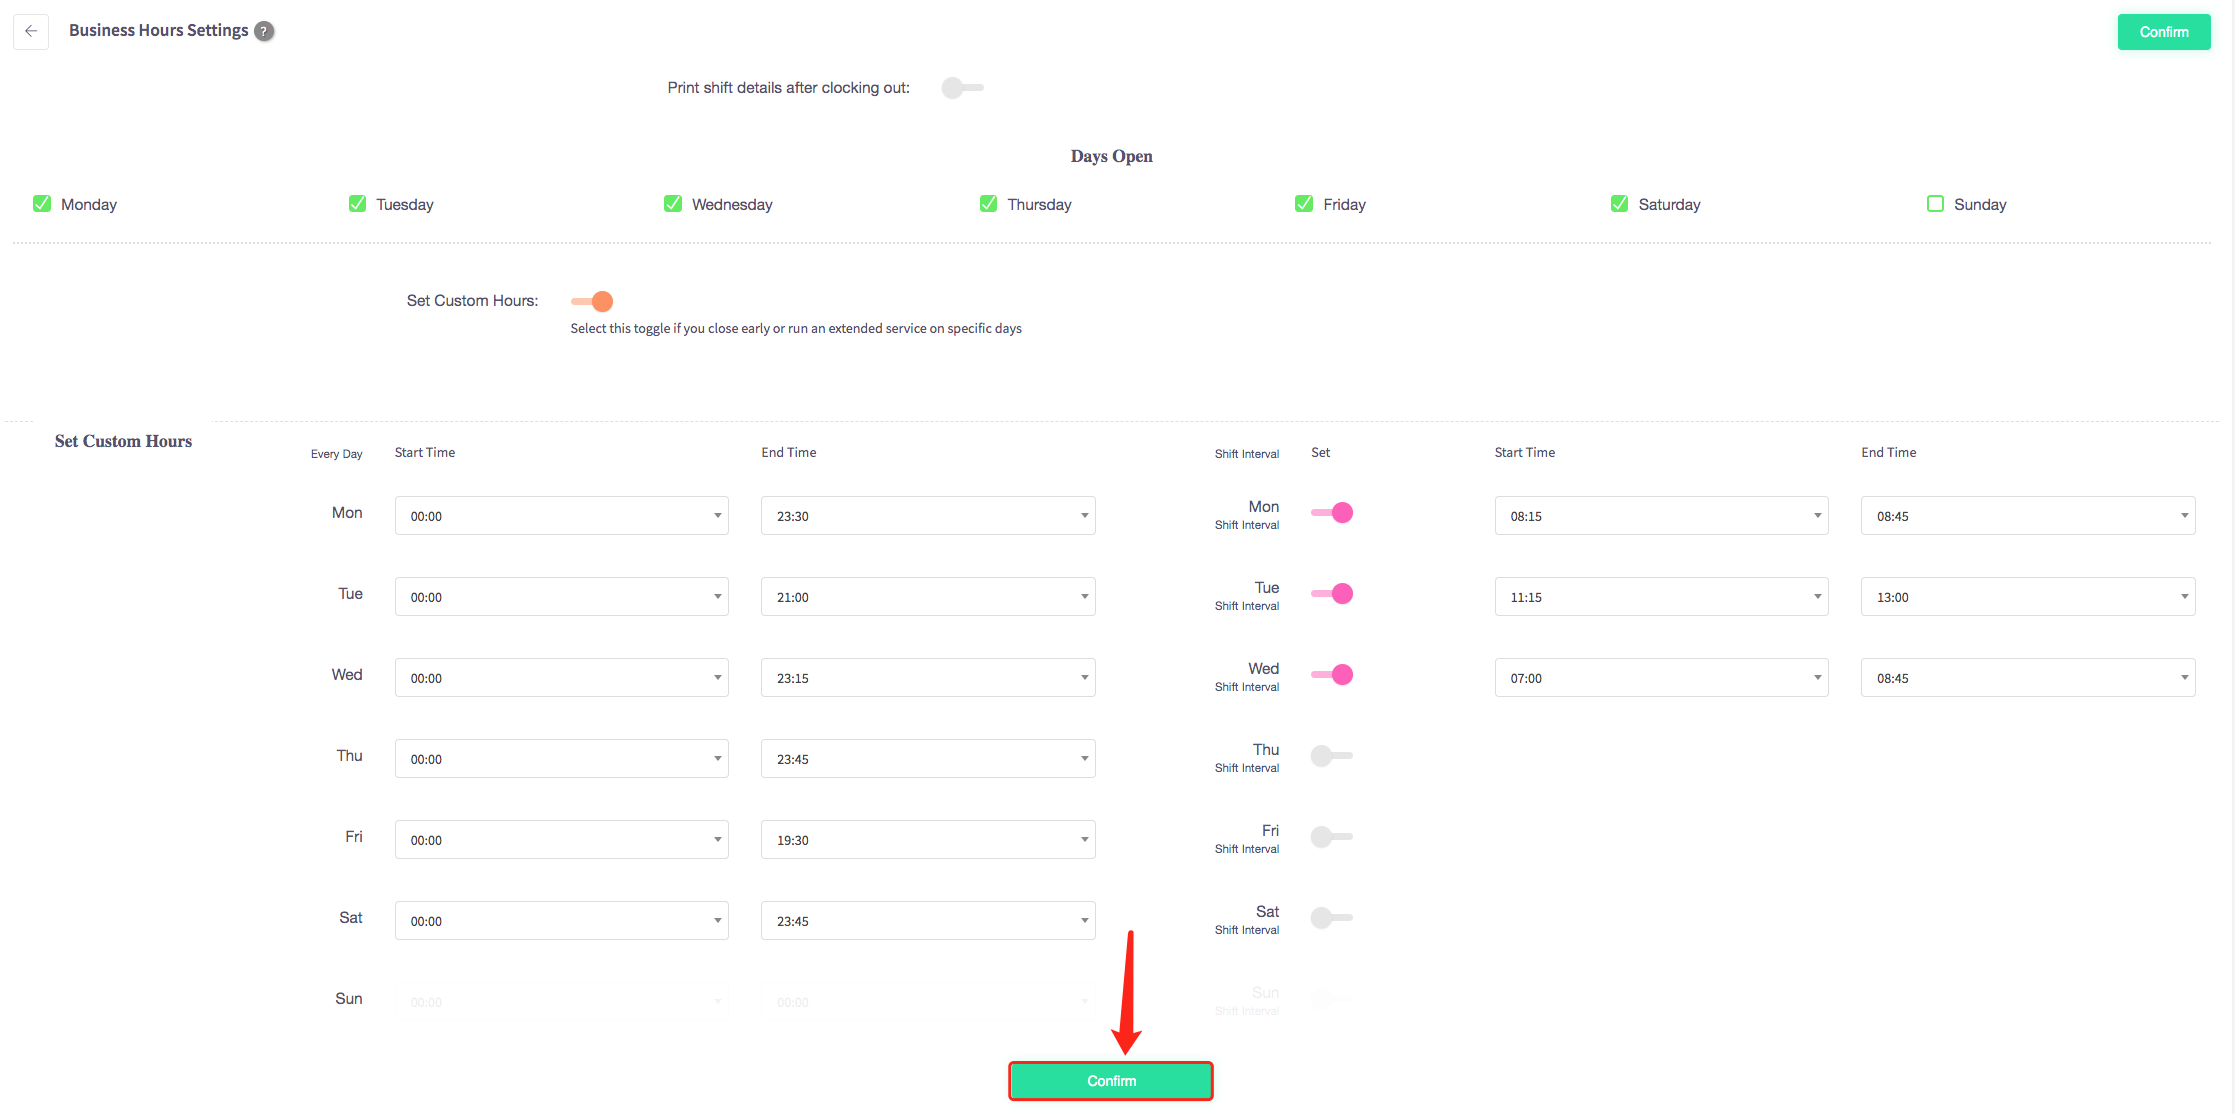
Then a pop-up message will appear, confirming it has been "Saved Successfully".
How to print shift details
This guide will show you how to print shift details on your Cloud HQ.
Firstly, scroll down to click on the 'System Settings' on the left-hand side, then the 'Opening/Close Time Manager' option in the menu.

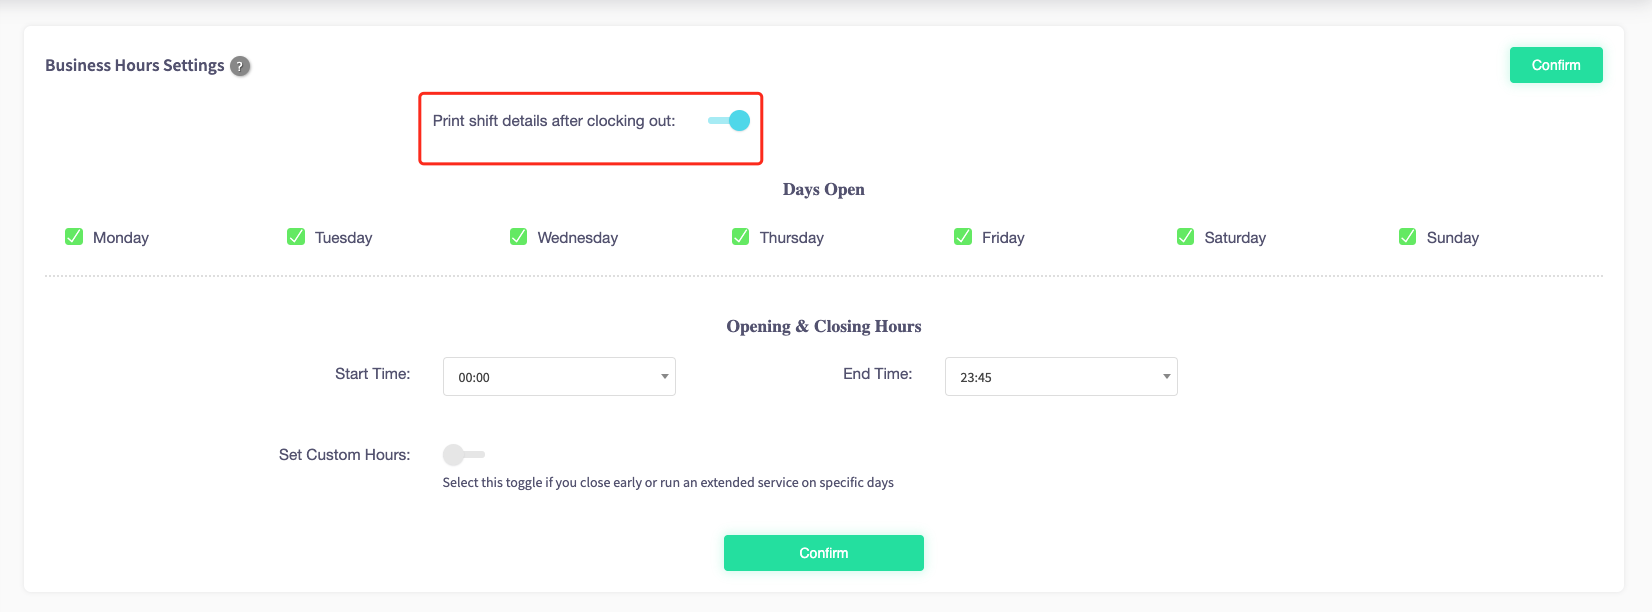
This will display business hours settings, shown below.
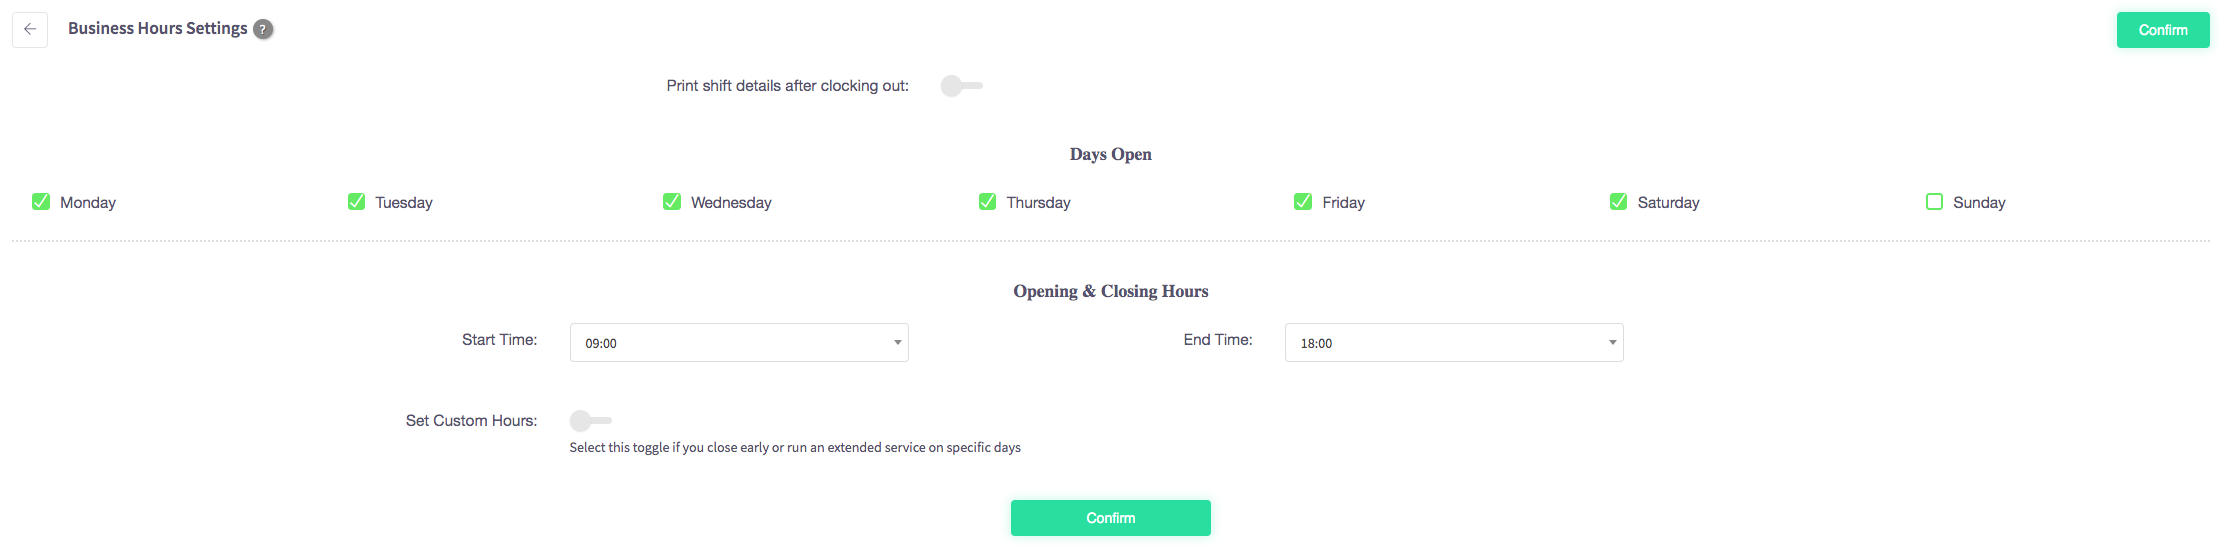
To add print shift details, simply make sure the toggle next to print shift details after clocking out is enabled this will be shown by the toggle being blue.