This guide will show you the basic getting started steps on the Cloud HQ's Menu Management.
- How to create a classic menu
- How to enable the Challenge 25
- How to add preference groups
- How to add preferences into preference groups
- How to add an upsell group
- How to add a single upsell
- How to add categories to a menu
- How to add a set menu
- How to add fast menu items
- How to add a multiple-choice menu
- How to add menu items
- How to change the display order of your categories
How to create a classic menu
This guide will show you how to create a classic menu.
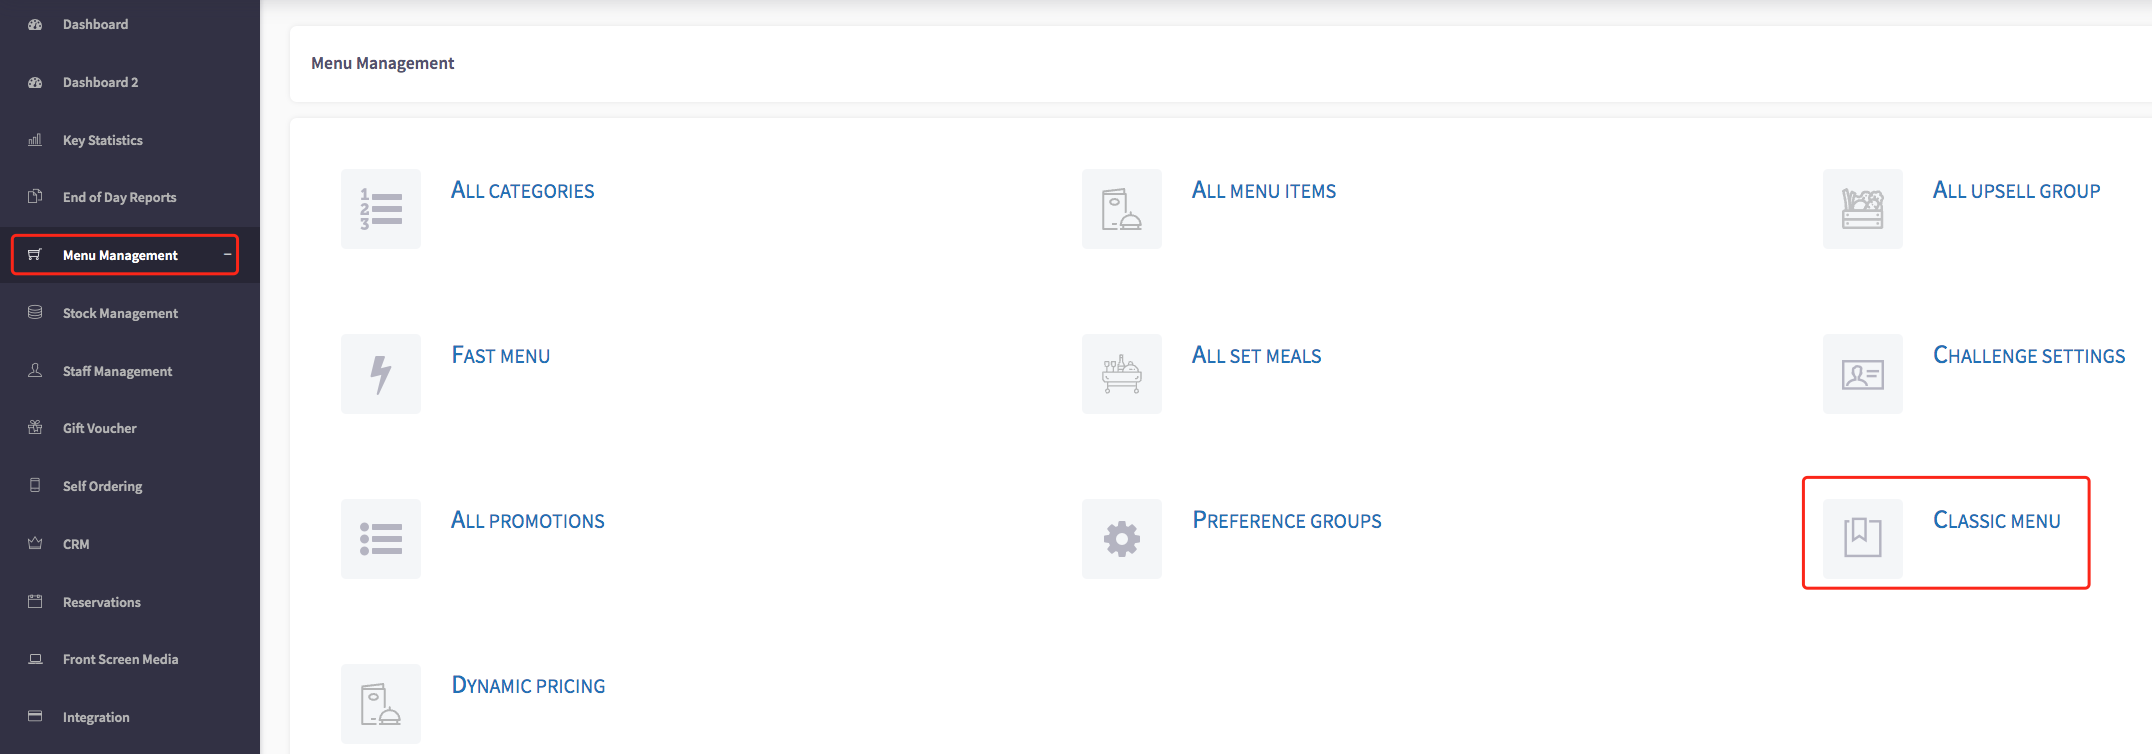
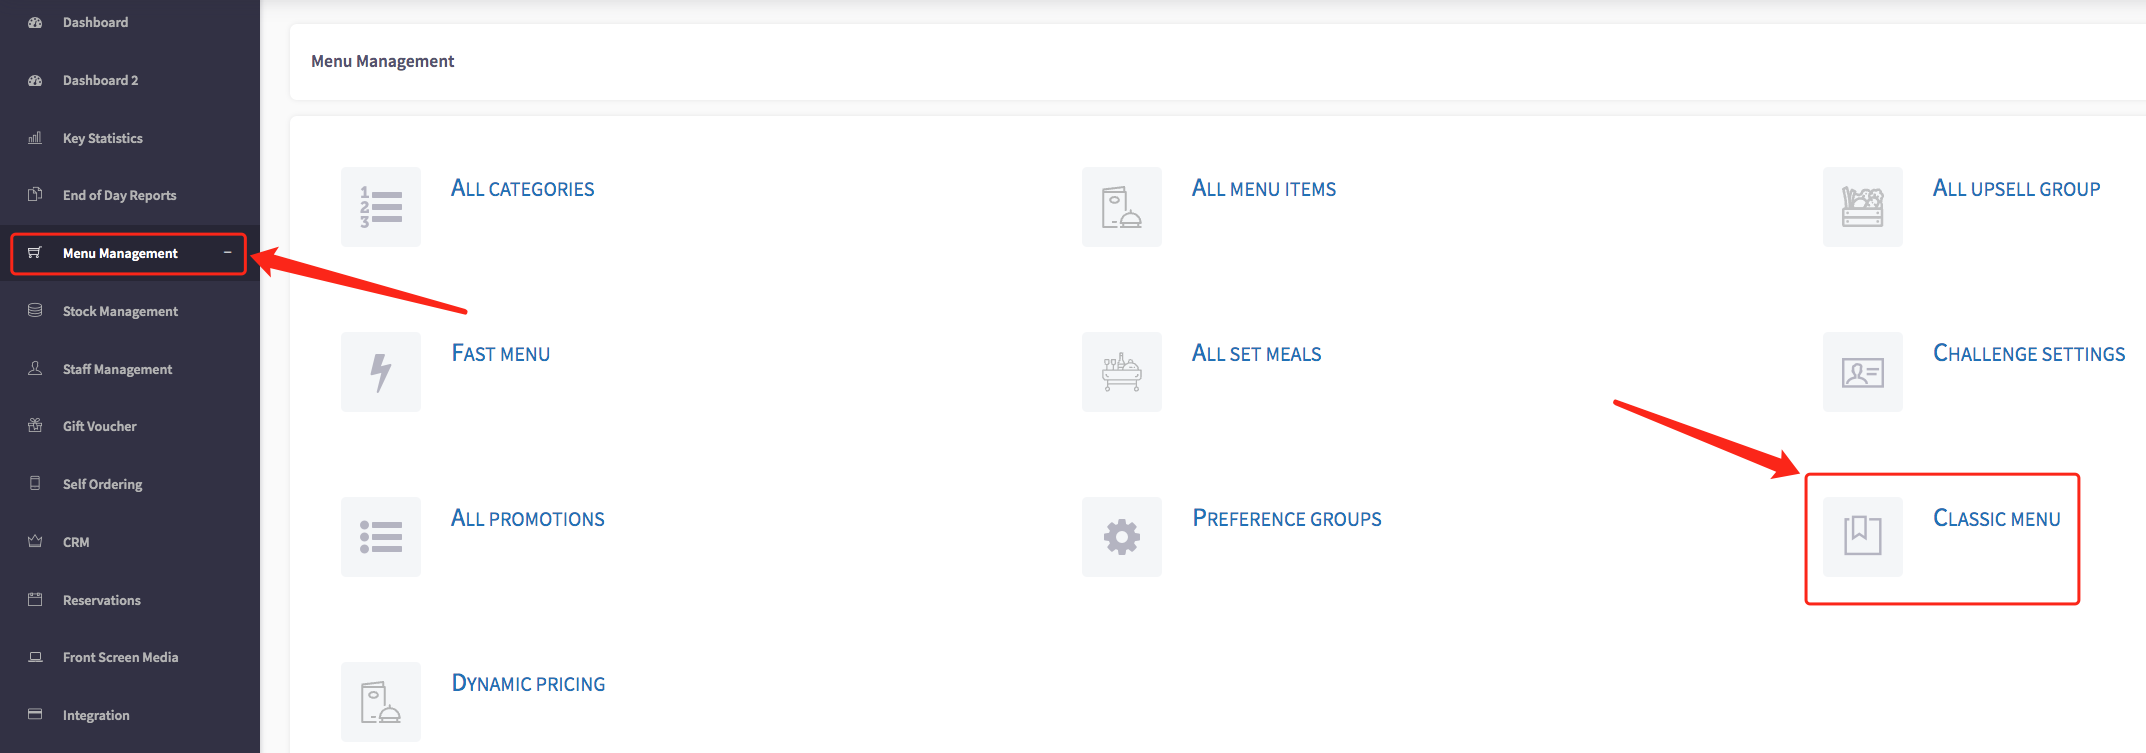
Firstly, click on the 'Menu management' option, then select 'Classic menu'.
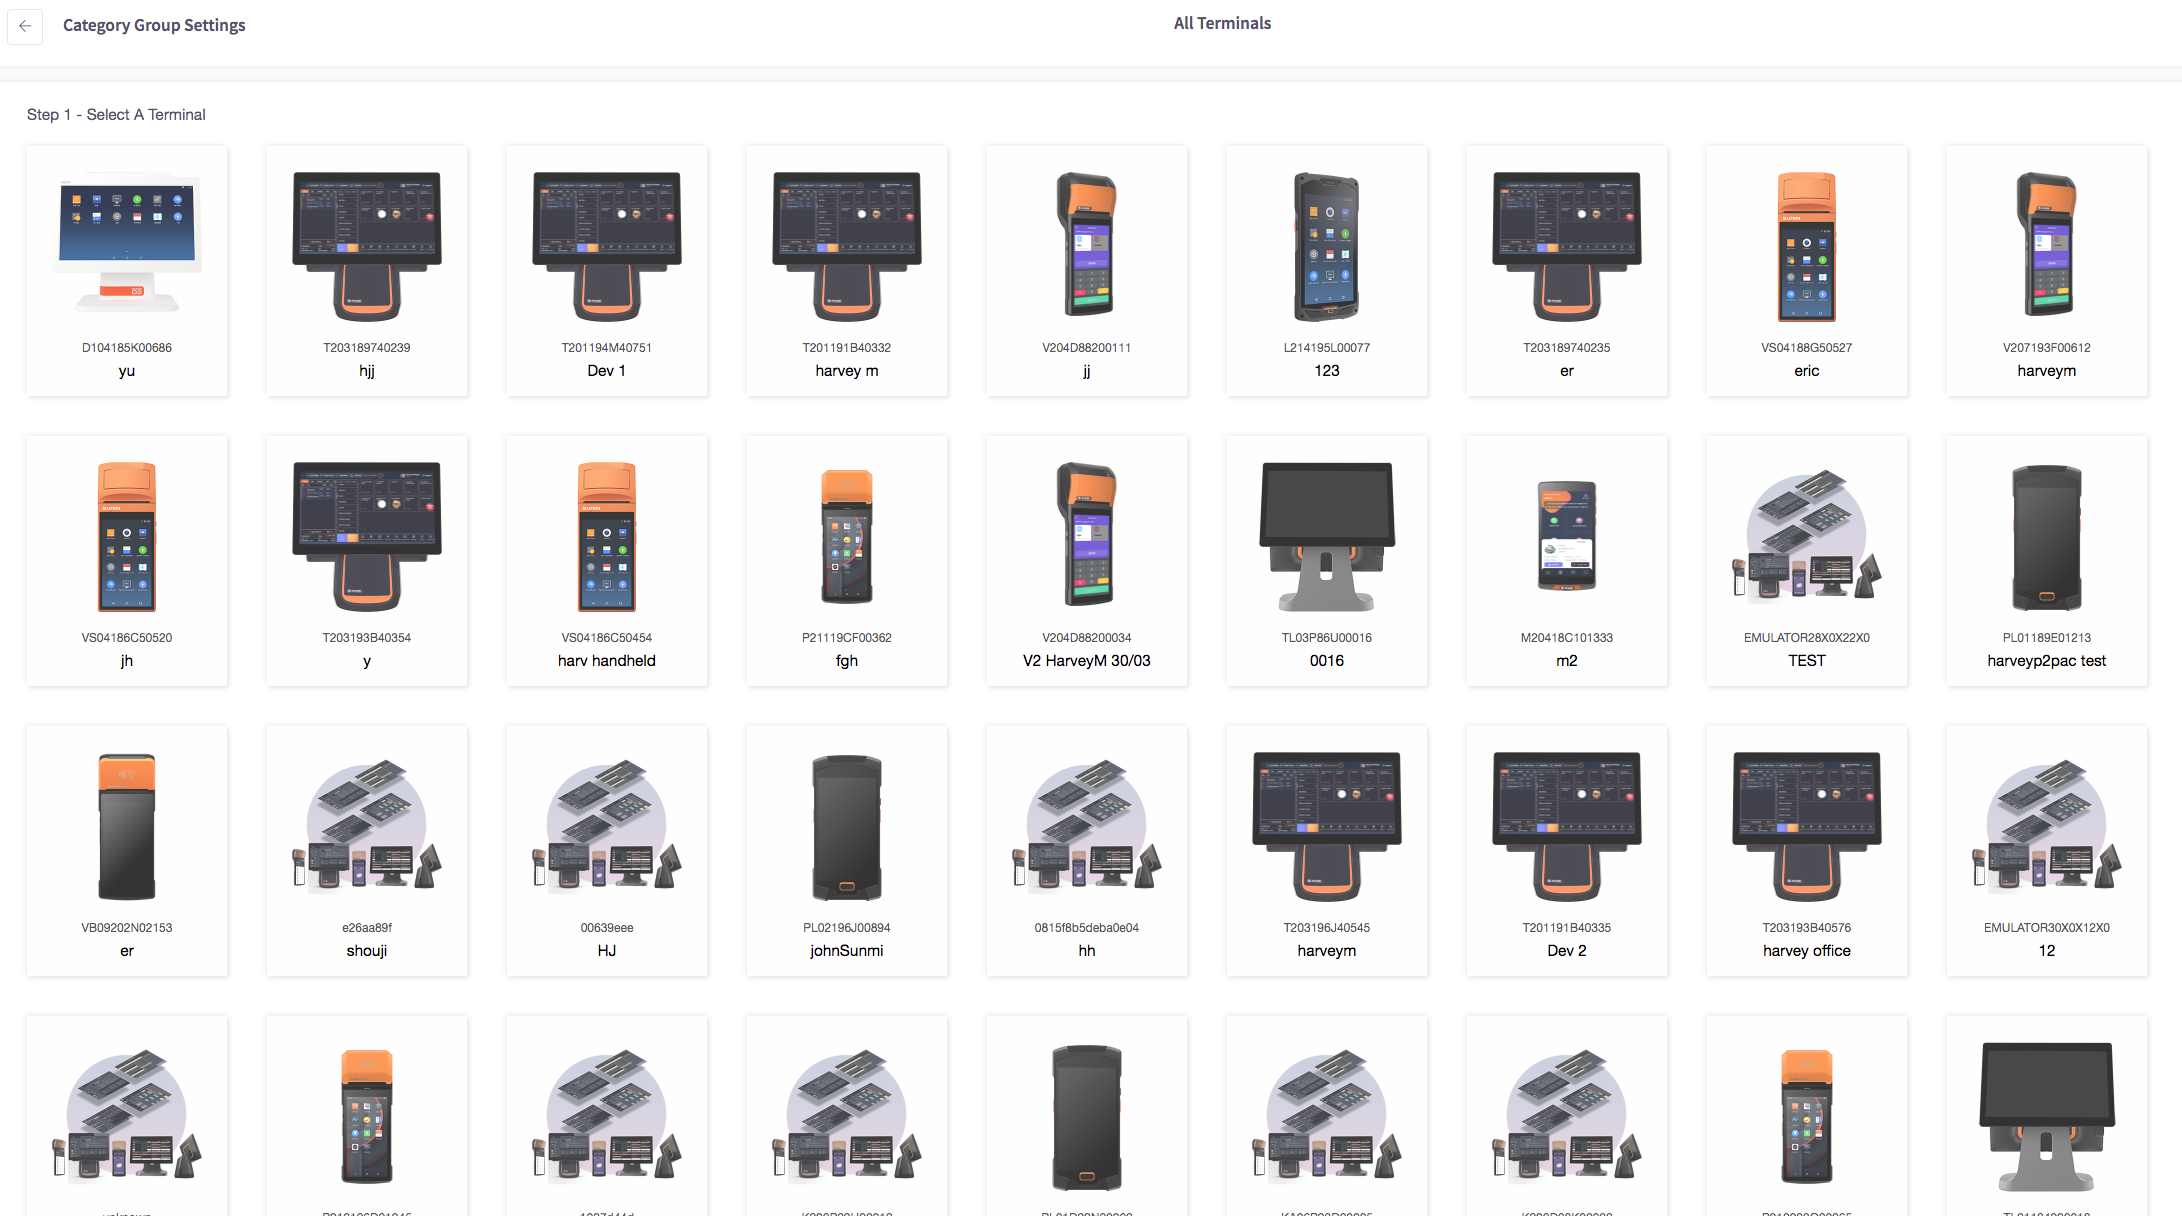
This will then direct you to this page, shown here. As you can see here, the first step is to select what device you would like this to apply for.
Simply click on the device you would like to select.
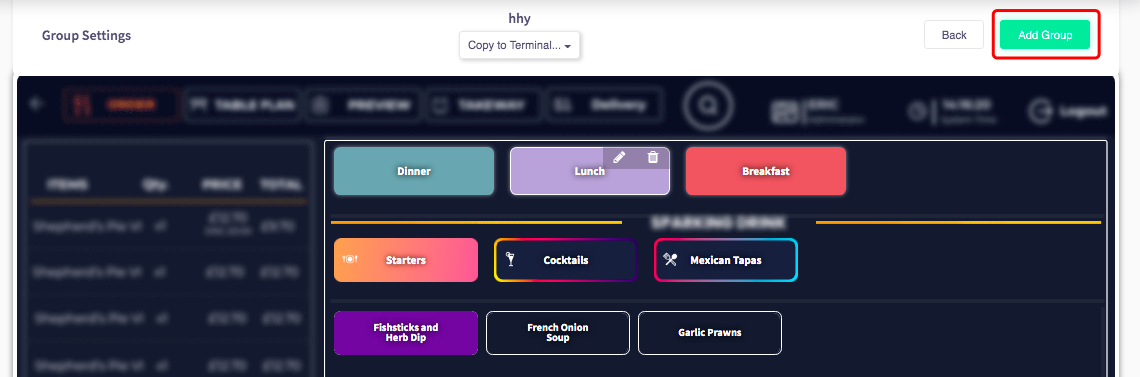
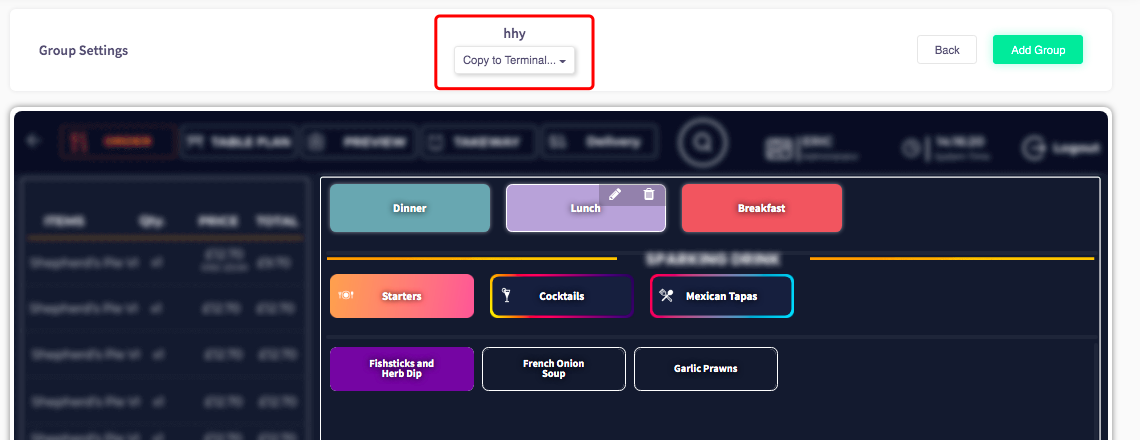
Once selected, you are shown the group settings. This is where you can change the options that are shown.
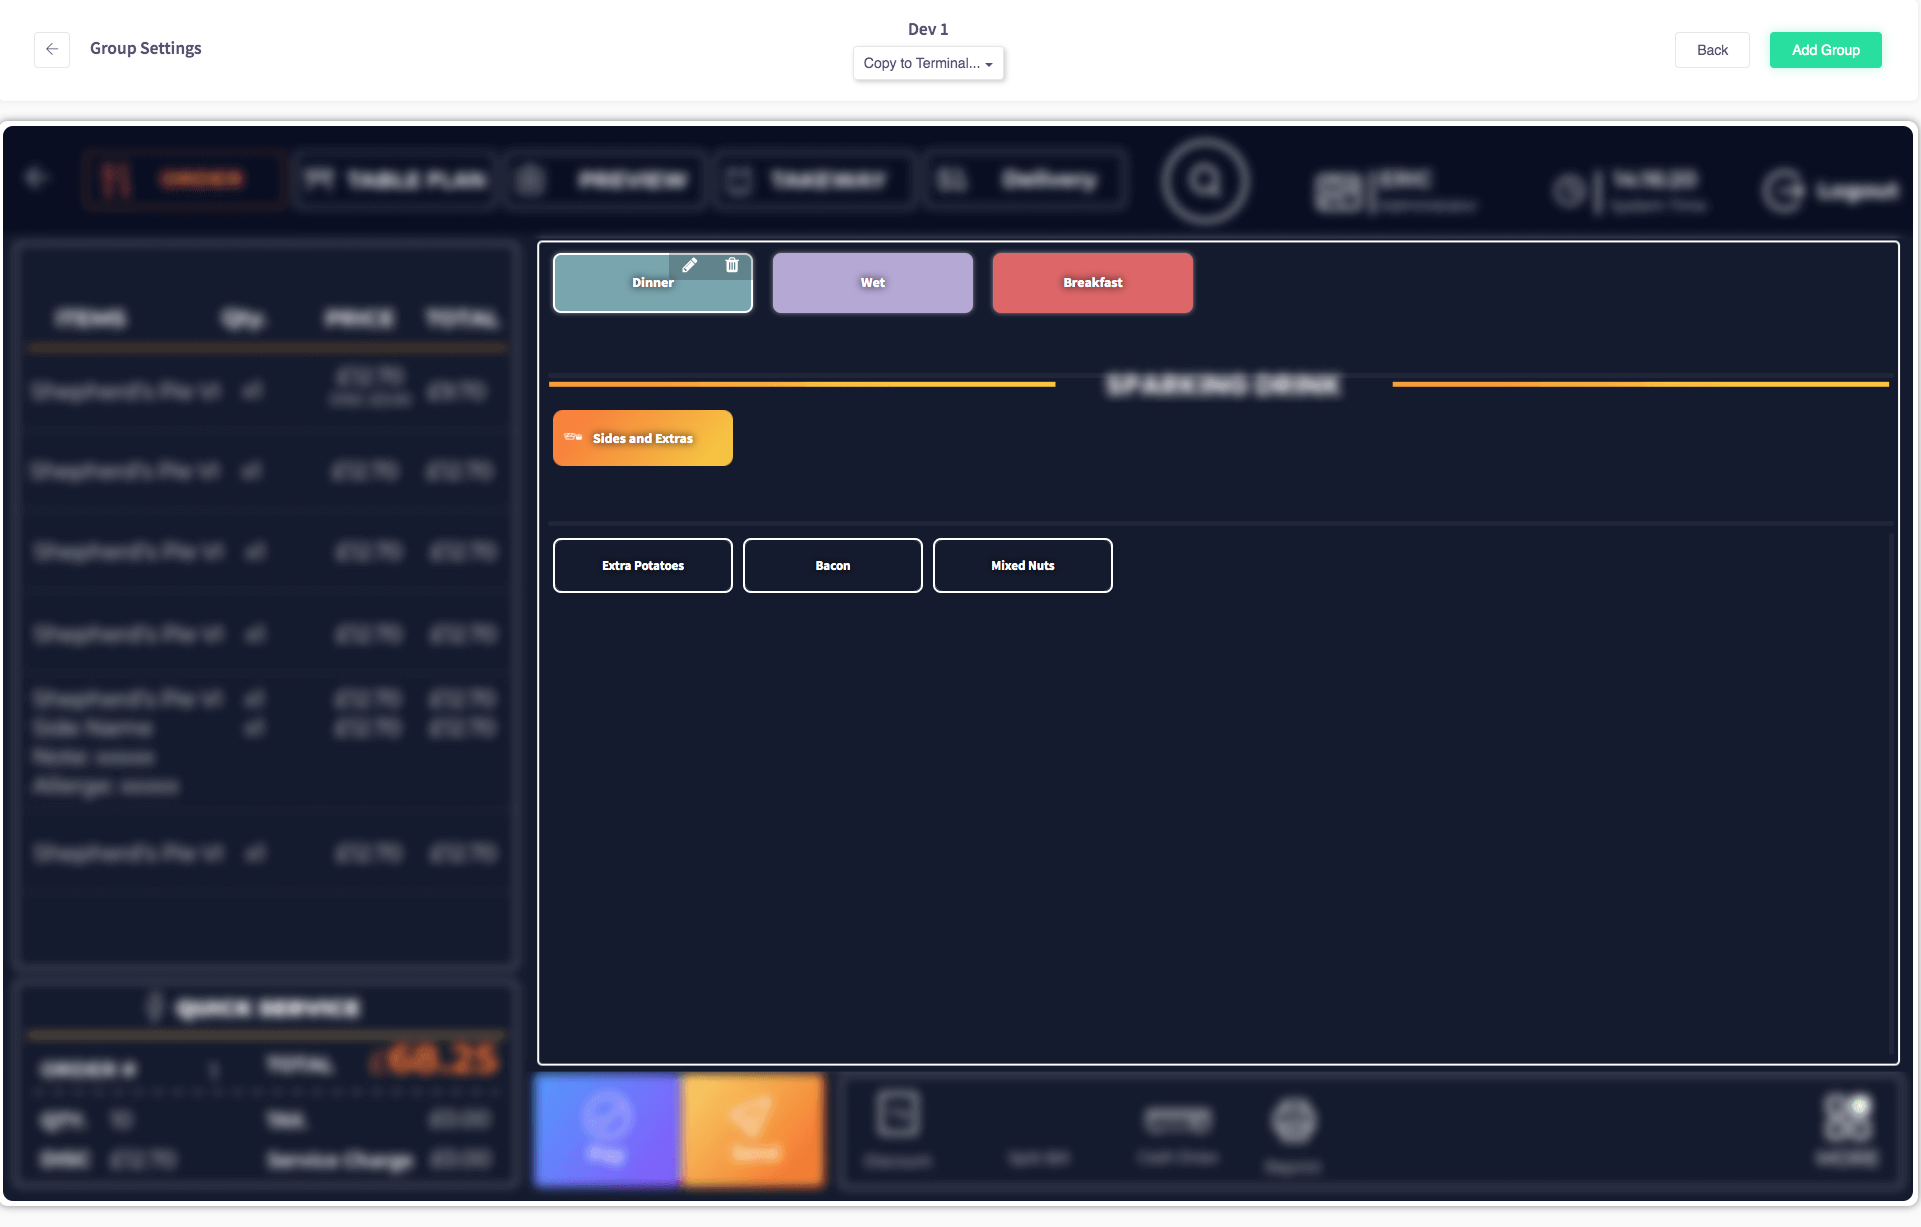
For example, 'Dinner' is currently showing sides and extras, extra potatoes, bacon and mixed nuts. If you click on the 'Lunch' button, this will show you what is currently on there.
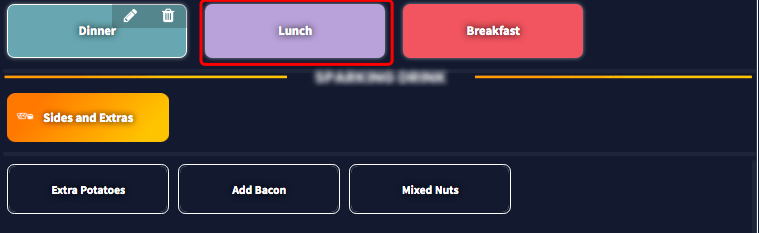
Now you can see all of the available options for lunch.

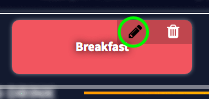
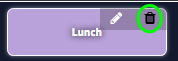
If you would like to edit one of the buttons, you can click on the pencil icon, shown here.
Now you can edit the group name and the group colour. You can also select groups that you would like this to apply for.
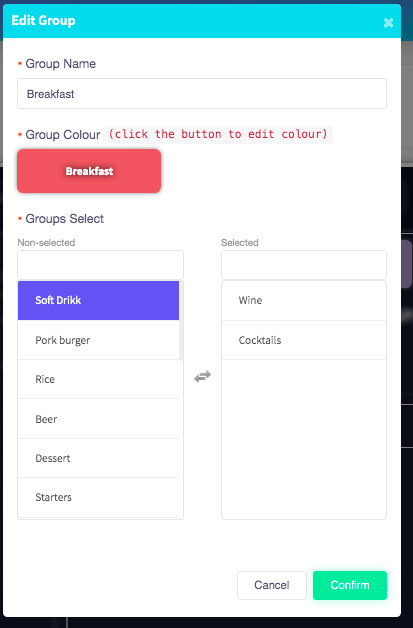
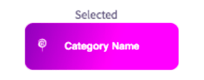
For example, if you wanted to add rice, you can select this by clicking on the 'Rice' option, shown here.
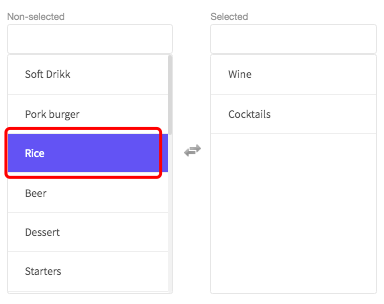
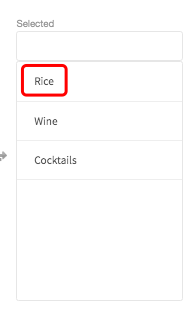
This will then move over to the 'Selected' section.
When you have made all of the changes you would like to do, you can click 'Confirm'.

If you would like to delete one of the options, you can do so by clicking on the bin icon, shown here.
This will then delete this button.
If you want to make a new group, you can click on the 'Add group' button in green, shown here.
This will take you to the page where you can add the group name, select a group colour and add items to the group.
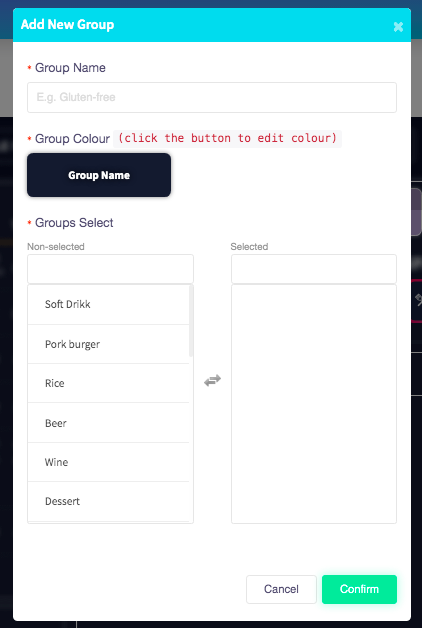
Once you have completed this, you can click the green 'Confirm' button in the bottom right, shown here.

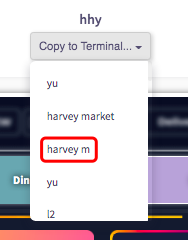
On the group page, you can copy the changes you have made onto other devices if you would like to, by clicking the section shown.
For example, if you wanted to change it to 'Harvey M', you can select this option just by clicking on it.
Then you will be notified that it has saved successfully and it will have been copied.
How to enable Challenge 25
This guide will show you how to enable the Challenge 25 token.
Firstly, click on 'Menu management', then the 'Challenge settings' option.
This will then load the 'Challenge settings', shown here.
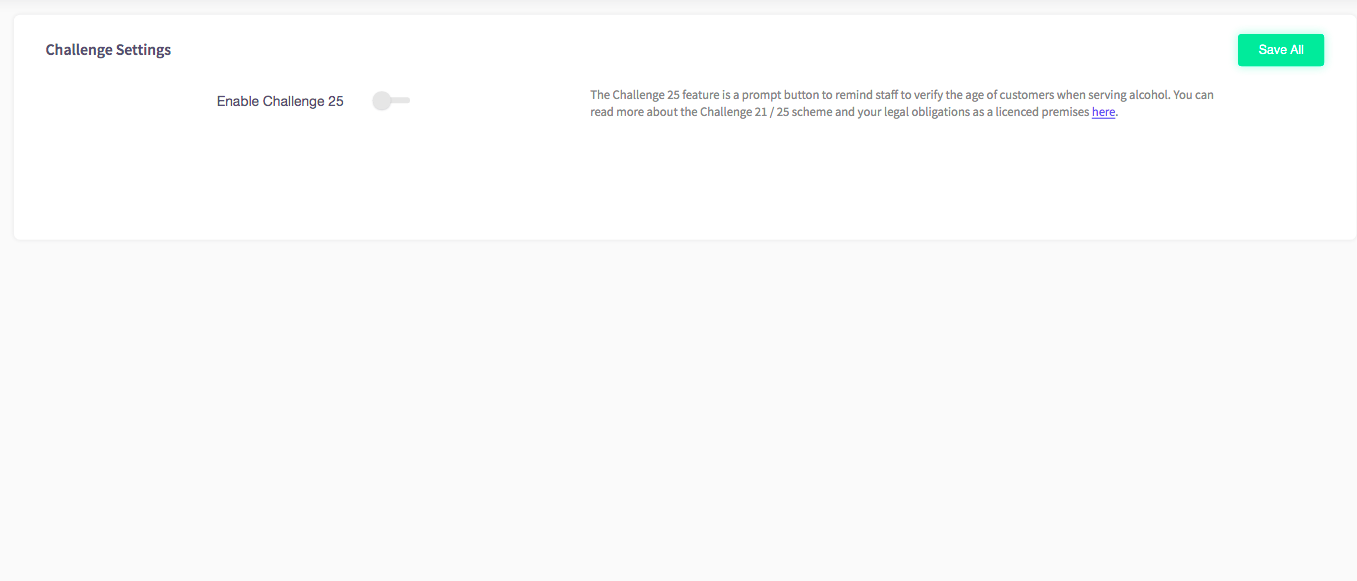
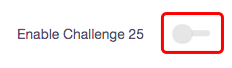
To enable Challenge 25, you can click on the 'Enable Challenge 25' toggle, shown here.
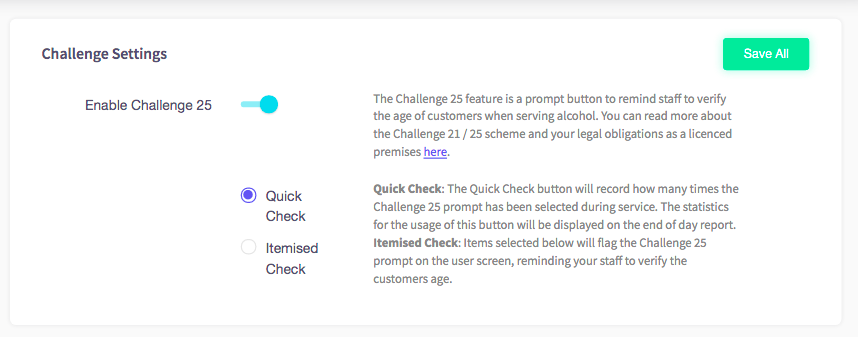
This toggle will now appear as blue, as Challenge 25 has been enabled.
How to add preference groups
This guide will show you how to add preference groups.
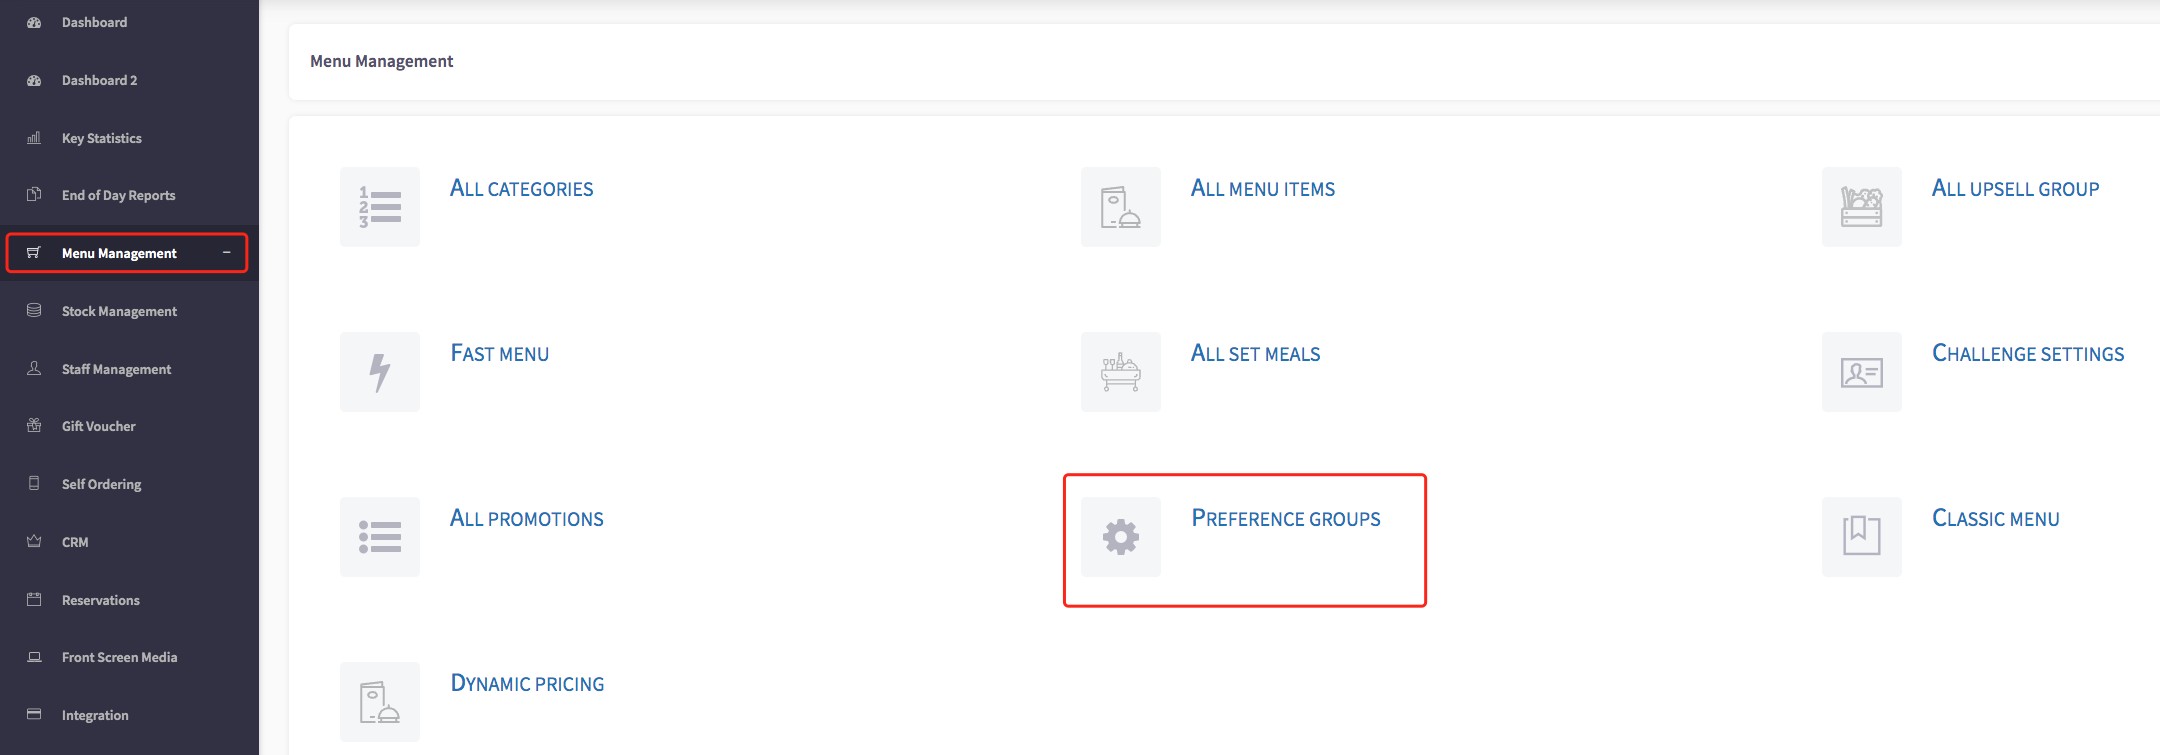
Firstly, click on 'Menu management', then 'Preference Groups'.
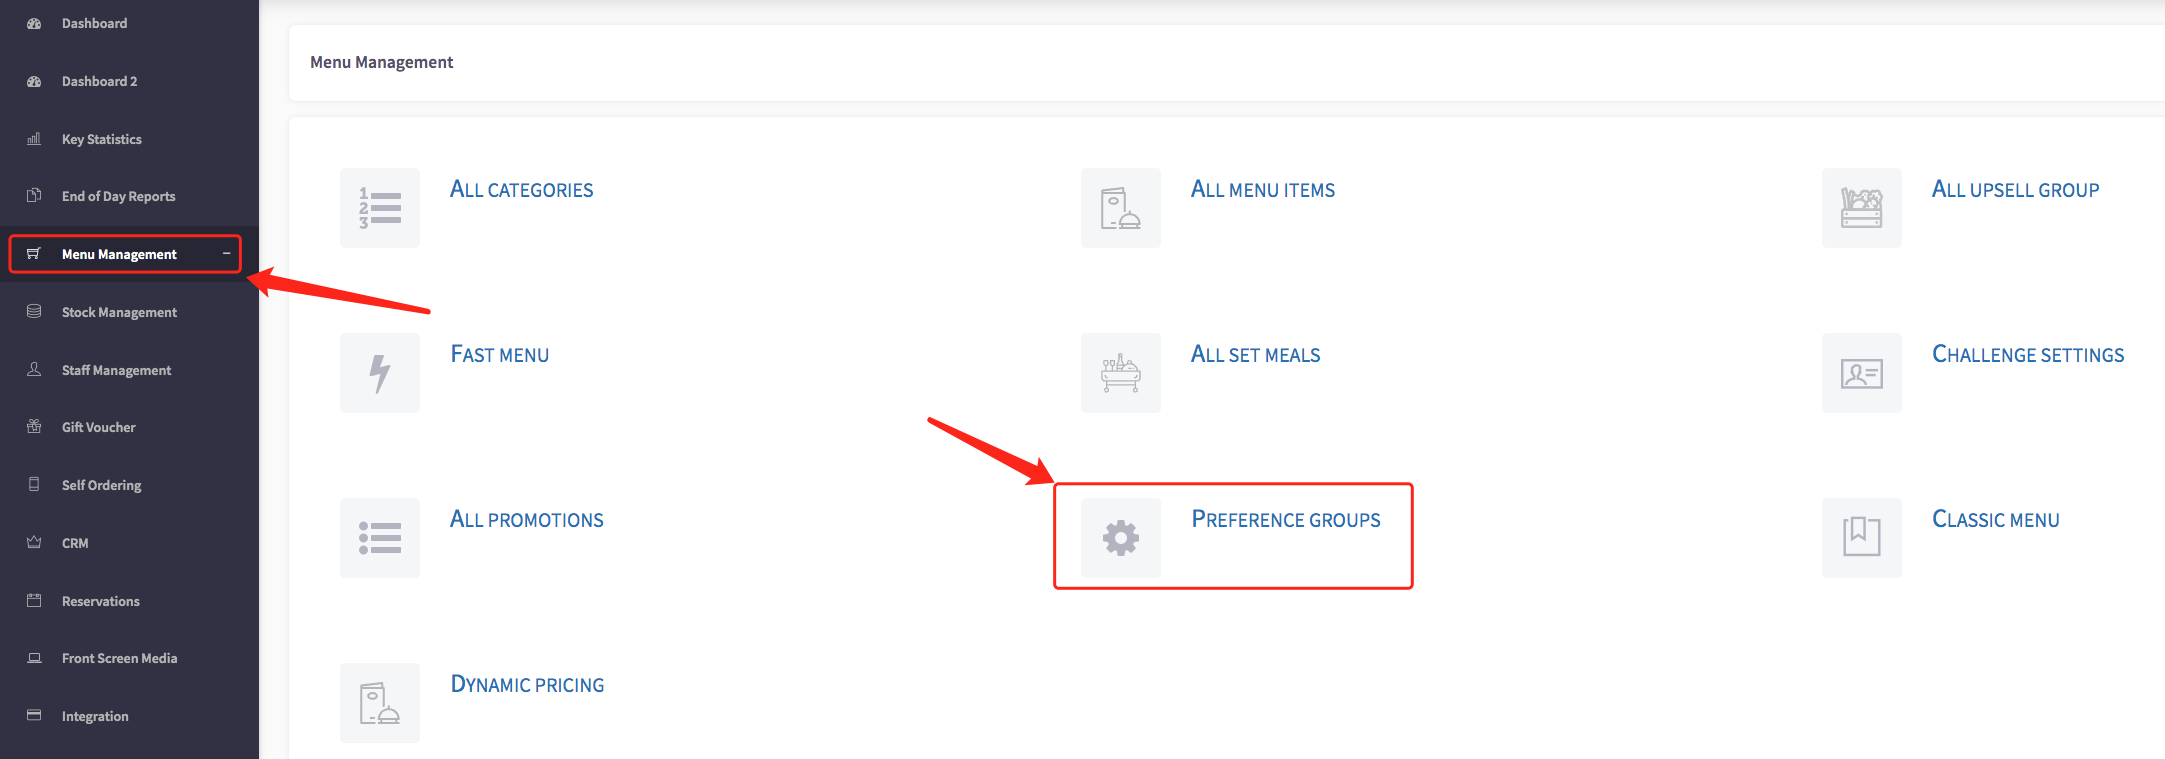
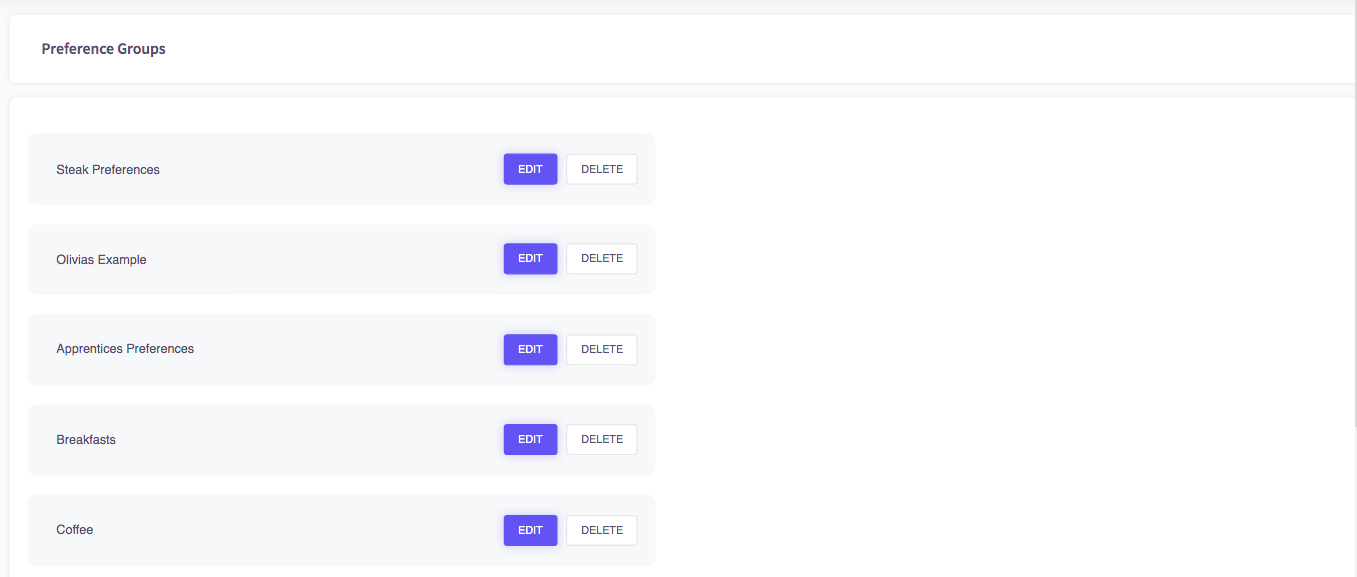
Then you will be able to view the preference groups page, shown here.
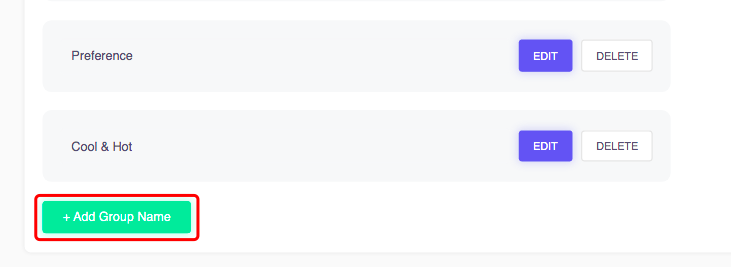
On this page, if you scroll down to the bottom you will see the 'Add group name' button. You can click on this to add a preference group name.
When you go back to the top of the page, a box will appear where you can add a group name.
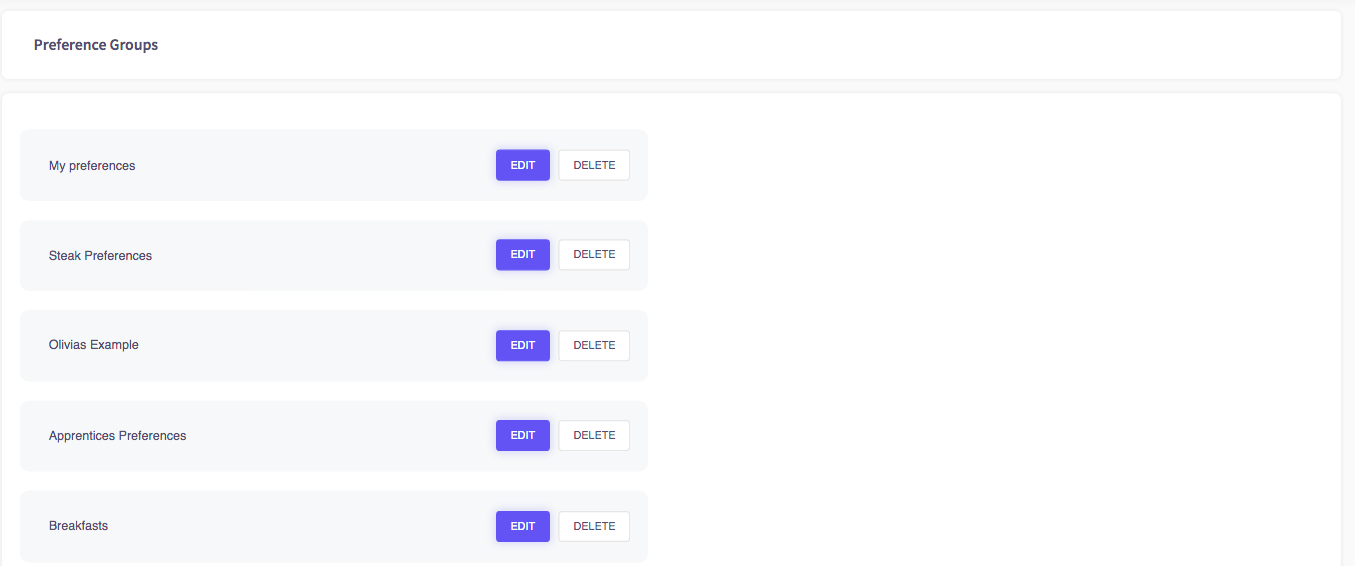
For example, I will name this group 'My preferences'.

The group has now created and will appear like this.

How to add preferences into preference groups
This guide will show you how to add preferences into preference groups.
Reminder: This step can only be done after you have created a preference group.
To get to your Preference groups, click on 'Menu management', then 'Preference groups'.
This will then display your preference groups, shown here.
Click on the preference group you will like to add to, by pressing the edit button, shown here.

This will take you into your preference settings for that group, and show you your current preferences.
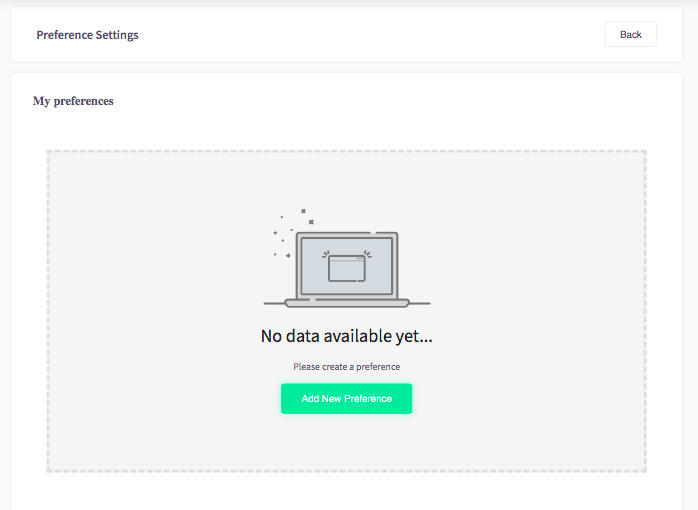
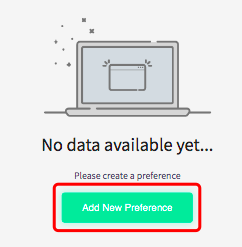
To add a preference, click on the green 'Add new preferences' button, shown here.
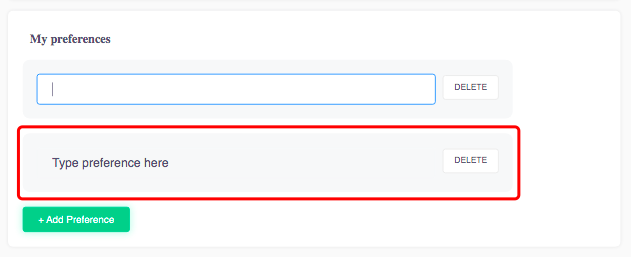
You can then type in the preference you would like to add in the box shown here.
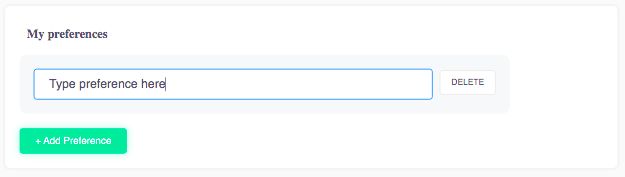
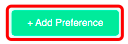
From here, you can click the add preference button, to add your preference.
You can then see your preference here, which is now added to the preference group.
How to add a single upsell
If you would like to know how to add a single upsell, click here.
How to add categories to a menu
This guide will show you how to add categories to a menu.
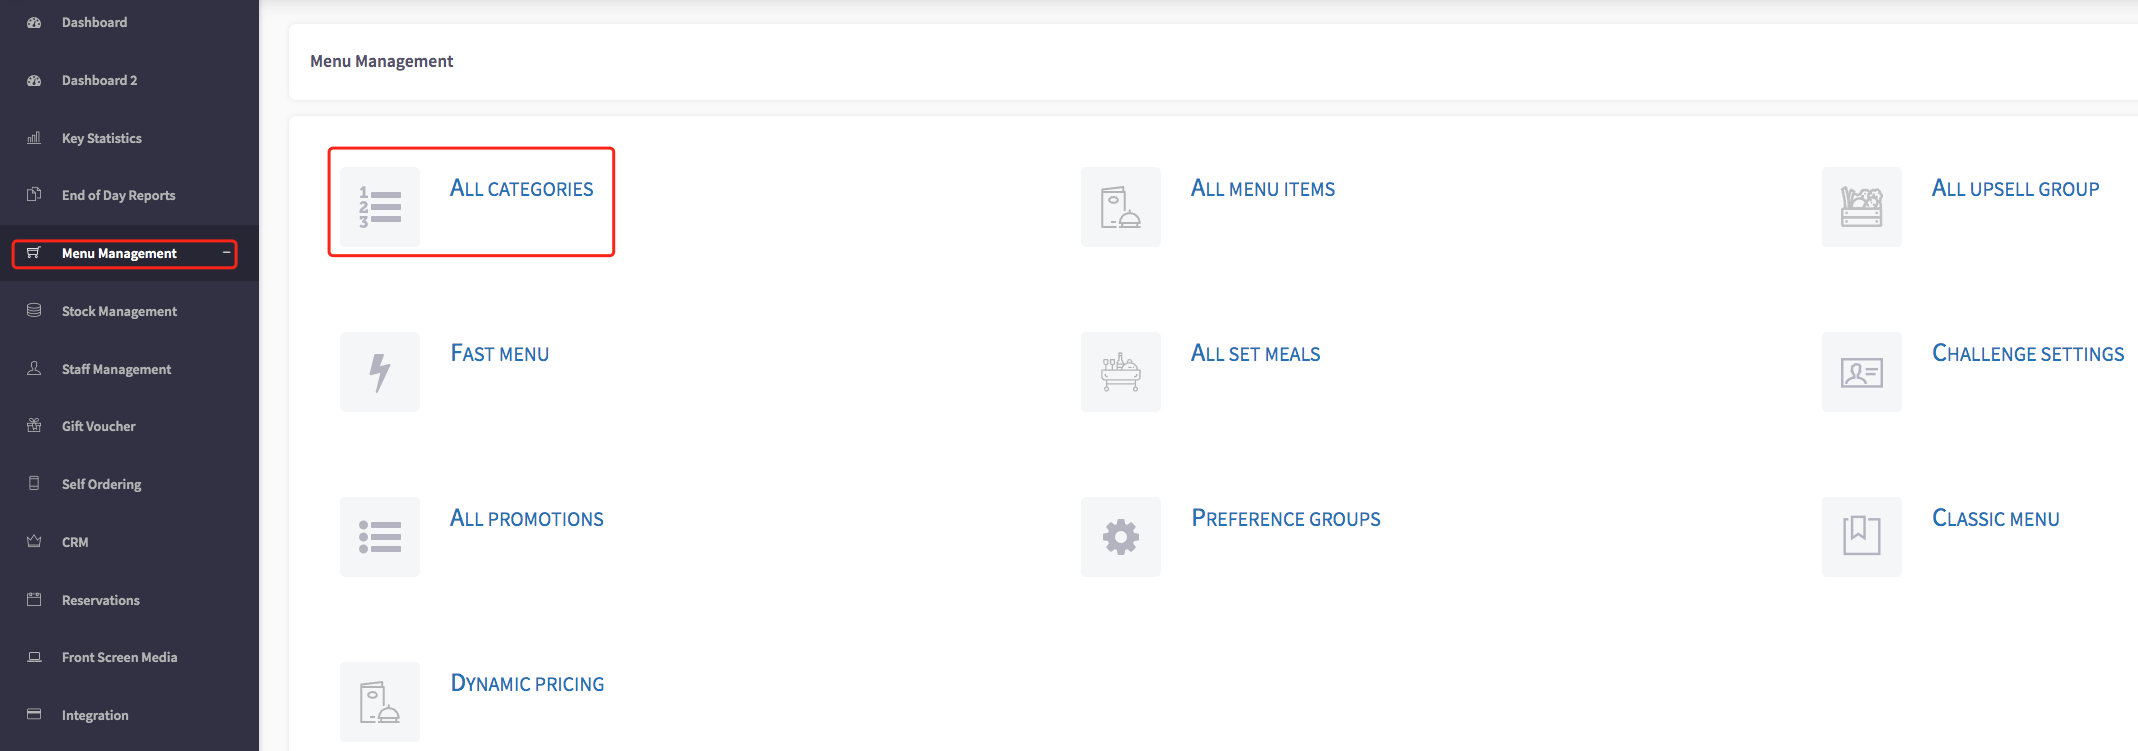
Firstly select 'Menu management', then click on 'All categories'.
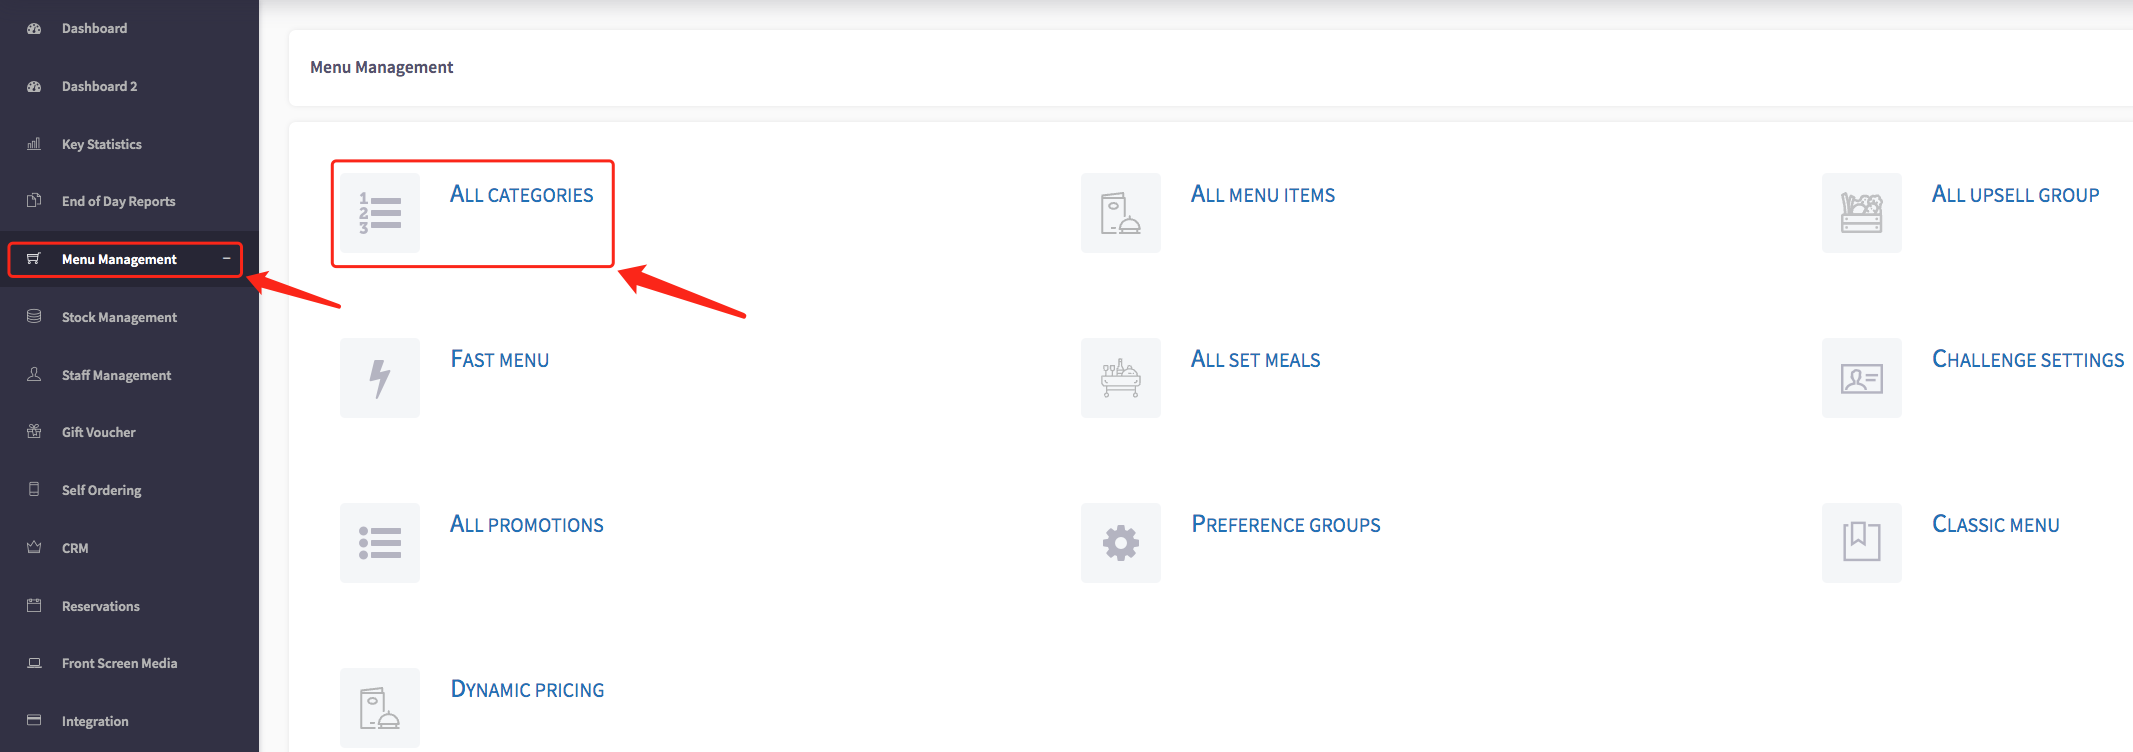
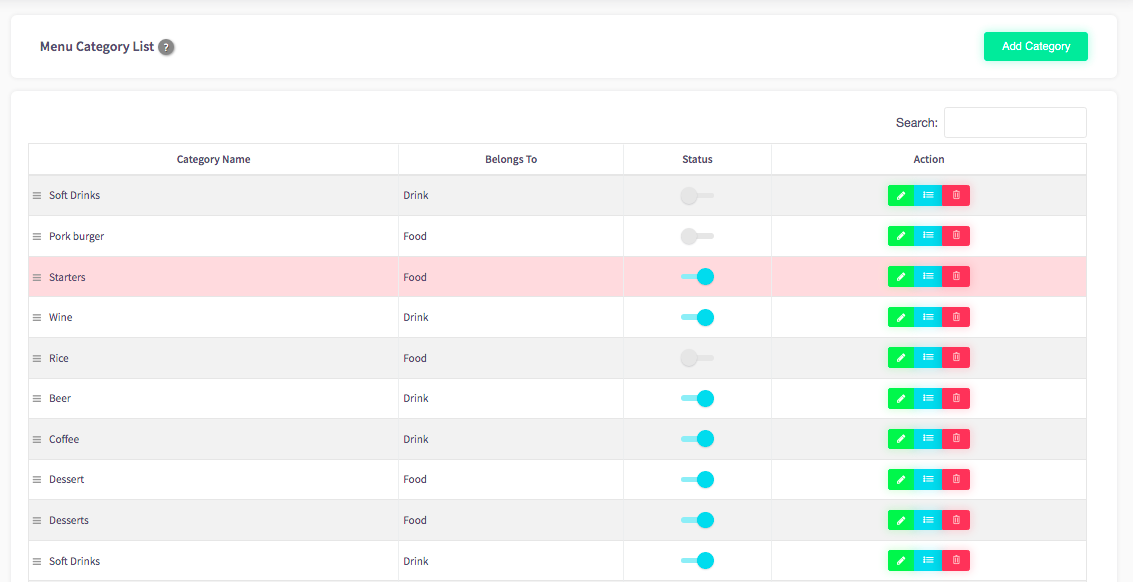
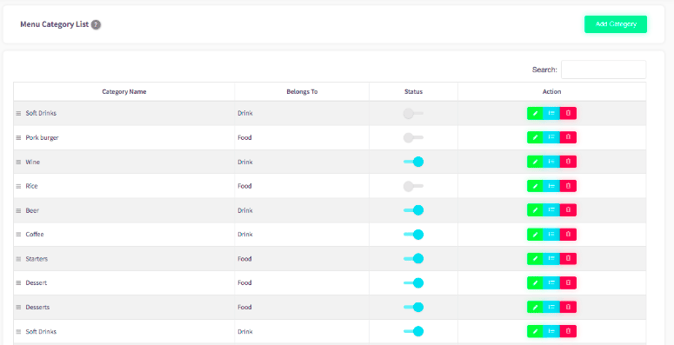
This will then take you to the menu category list, shown here.
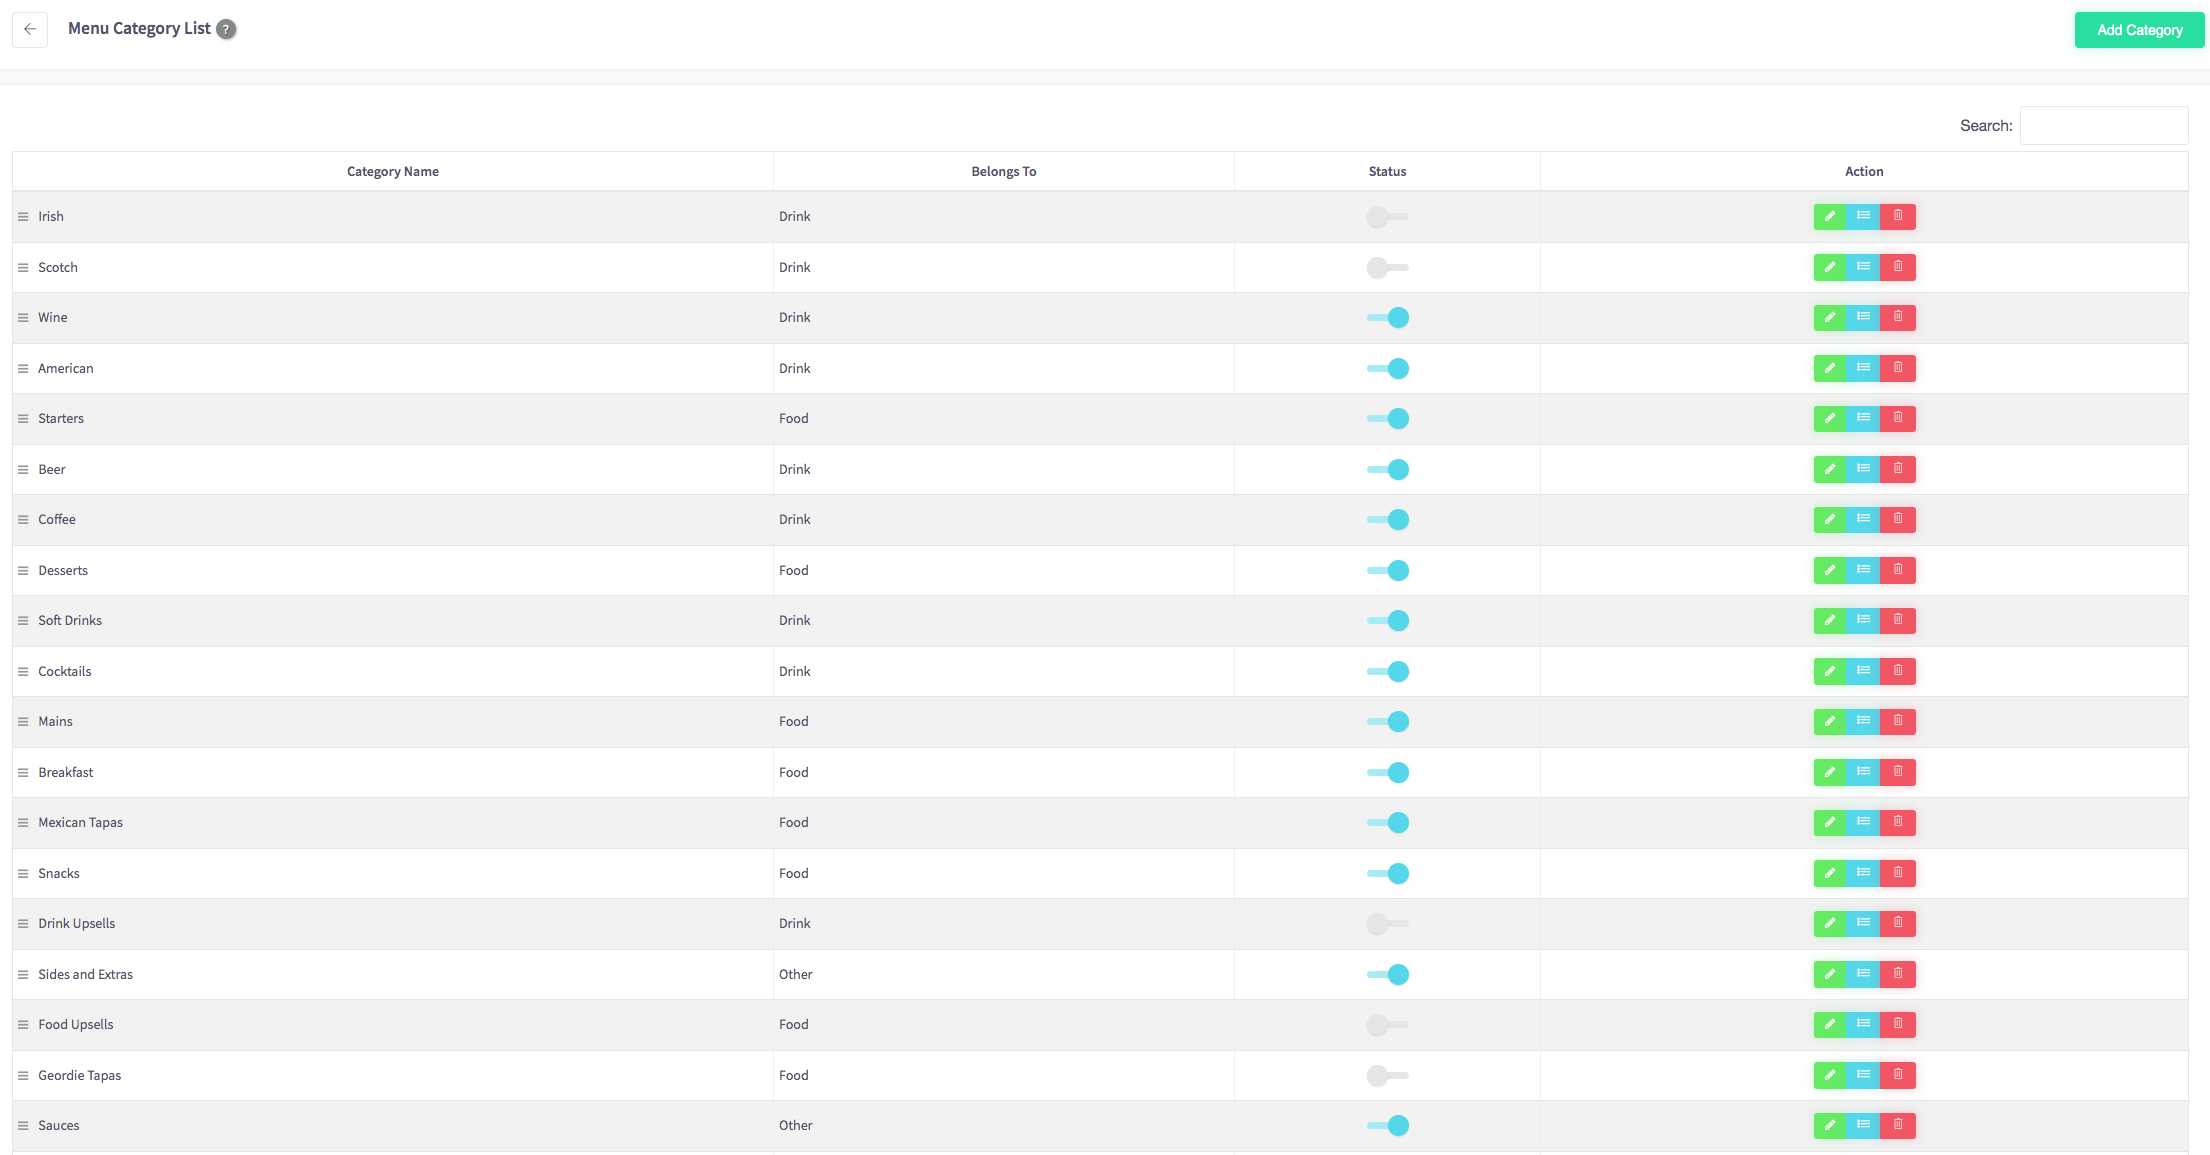
To add a new category, you can click the 'Add category' button in the top right.

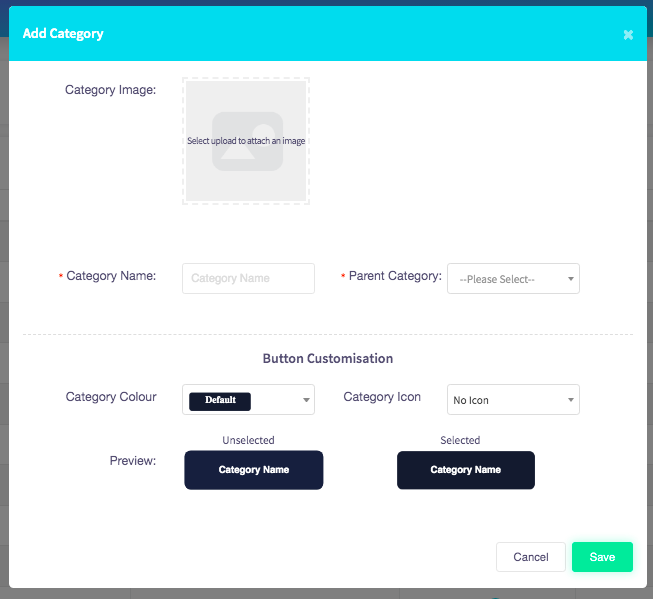
Once you have clicked this button, you will be able to add a category image, category name, and select a parent category.
You can also customise the button by changing the colour, and create a category icon.
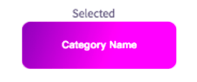
Underneath here, it shows you a preview of what the bottom would look like.
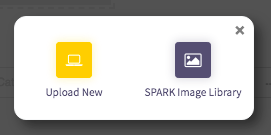
To attach an image, all you need to do is hover your mouse over the icon, shown here.

If you click on 'Upload' you will be able to upload an image and select it from your documents. You can upload a new image, or upload from a previous library.
When selecting the drop-down menu for the colour, you can see all of the colours that are available to use. To select a colour, all you need to do is click on the colour.
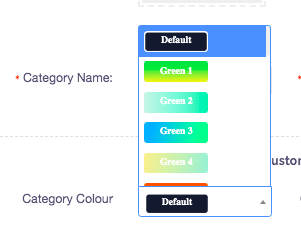
I am going to click on 'Purple 1' as shown here.

This has changed the colour to purple.
When selecting the drop-down menu for the category icon, you can see the list of available icons. I am going to choose the ice lolly icon by clicking on it, as shown here.
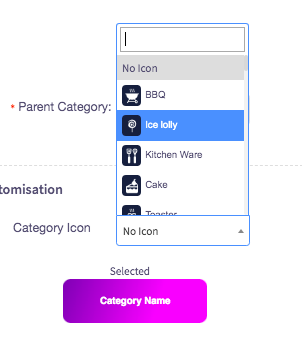
Now you can see the icon is on the button.
Once you have created your category, you can click on the "Save" button at the bottom.

This category will then be added to your category list.
How to add a set menu
This guide will show you how to add a set menu.
Firstly, select 'Menu management', then 'All set meals'.

This will then show you a list of set menus (if there are any).
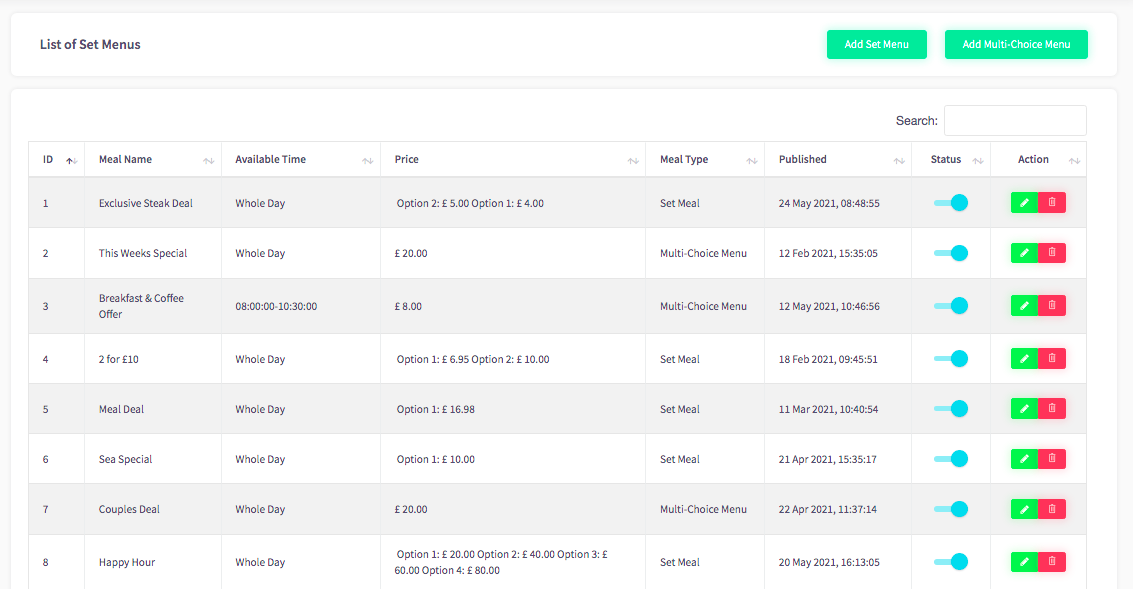
To add a set menu, you can click on the 'Add set menu' button, shown here.

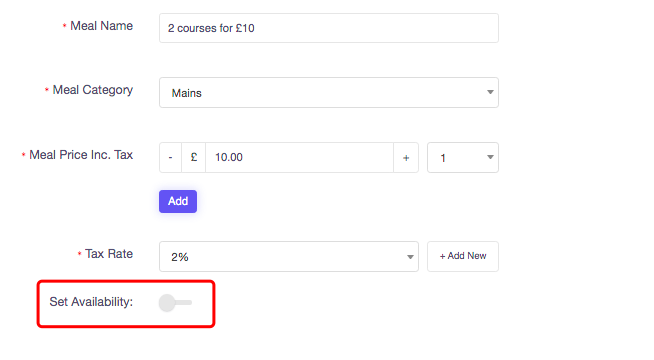
This will then give you 3 steps to complete this process. The first step is to add the meals basic information.
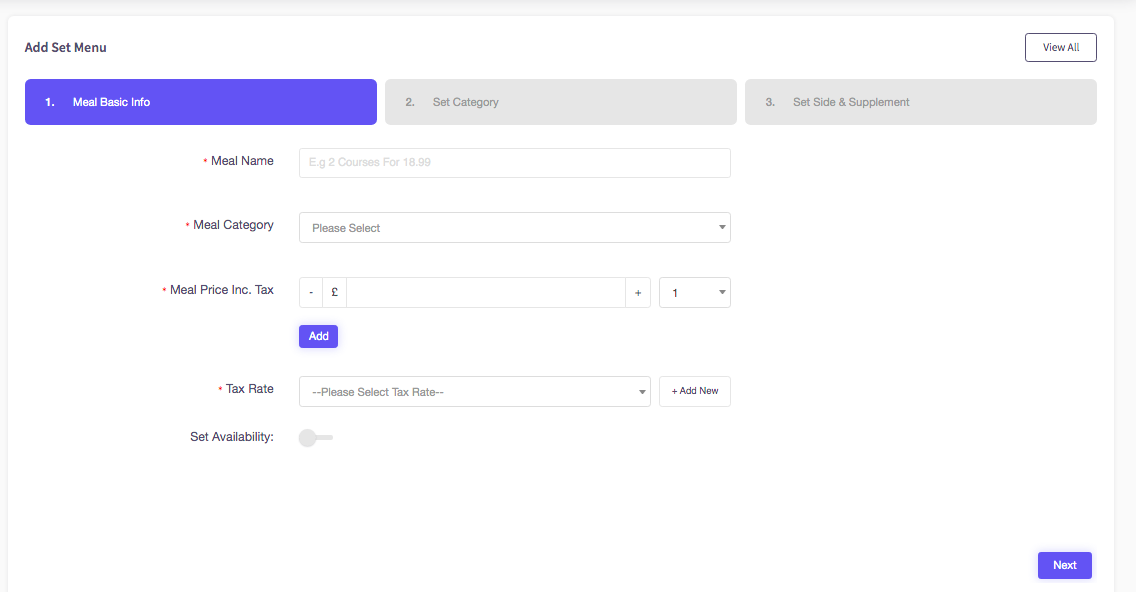
This is where you will add the meal name, category, price including tax, the tax rate and availability.
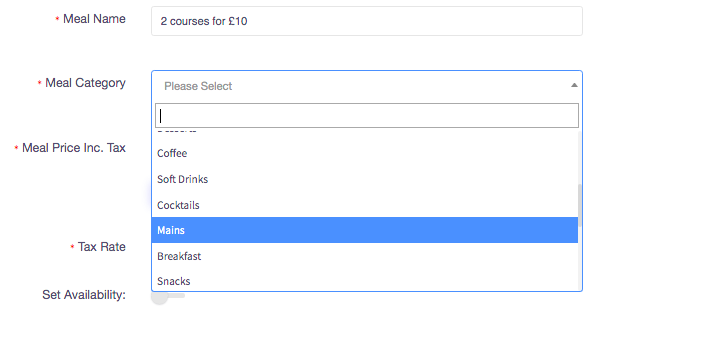
When adding a meal category, you could choose 'mains'. You can do this by clicking on the box here to select the category.

Then clicking on the 'mains' option, shown here.
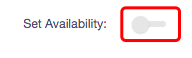
Once you have entered the details for this section, you can set the optional availability. This will mean that this set menu can be available at certain times. To set this, you can click the toggle, shown below.
You will then get these options below where you can set your start time and end time.
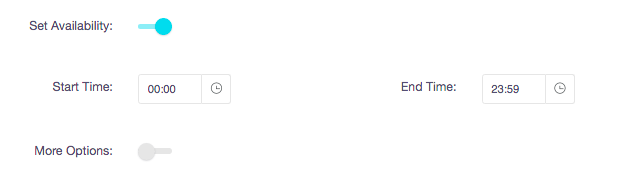
You can do this by clicking on the text box, or you can click on the clock.
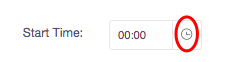

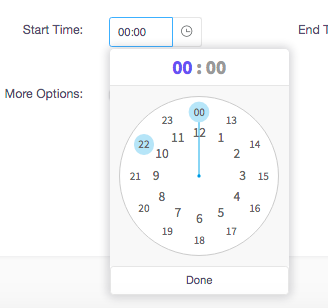
Both ways will show a bigger clock, which you can use to add the time in if you wish.
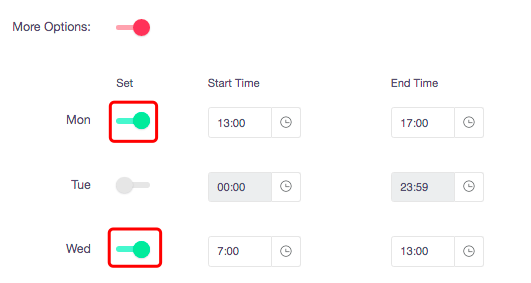
If you would like more options, you can click on this toggle shown here.
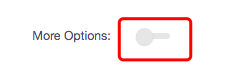
The more options toggle will allow you to be more specific with times, meaning you can set different times for different days if you wish.
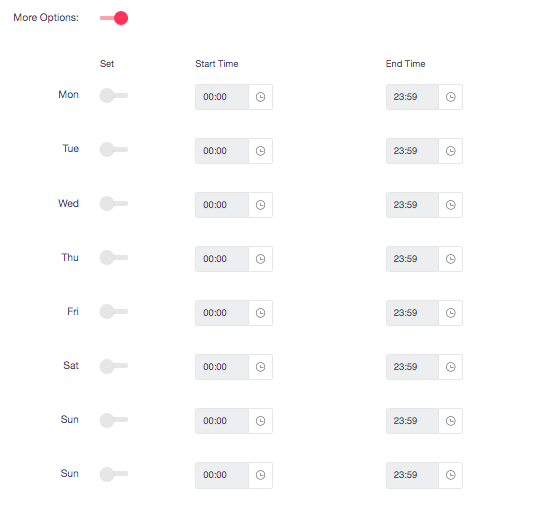
For example, you could set a time for 3 pm till 10 pm on Monday, and a time for 10 am till 4 pm on Wednesday.
To set the time, you need to click on the toggle next to the day you would like to set it. This means that you could have the set menu on a Tuesday, but leave all of the other days out.

When you are finished with making changes, you can click the next button at the bottom right.

Now you can add a meal category, which you can type in this box highlighted red.
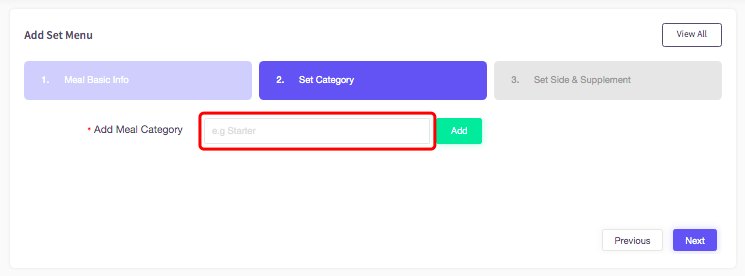
Once you have done this, you can click the 'Add' button.

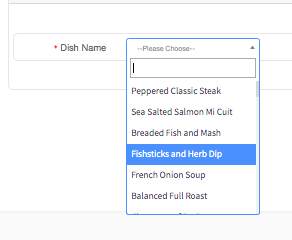
It will then take you to this, where you can choose a dish name and the dish option.
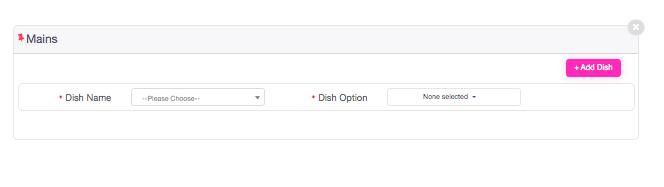
To choose a dish name, you can select the box shown here.

This will then give you a few options. If you wanted to select 'Fishsticks and herb dip' you can click on this option to add it, shown here.
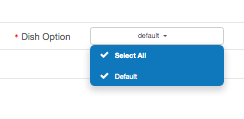
To choose a dish option, you can select the box shown here.
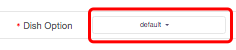
This will then show you options, to select the option, click on the option you would like to choose.
You can also add a dish if needed, by selecting the 'Add dish' button here.
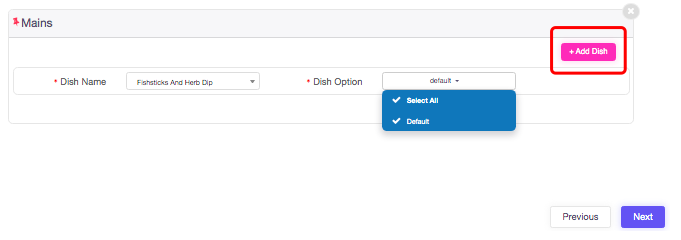
Once you have finished with this section, you can click the next button, shown here.

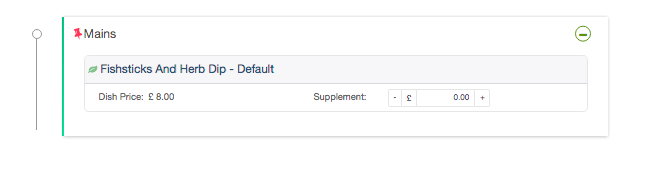
This last option now allows you to see the price of the dish, and add a price for the supplement.
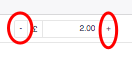
You can add a price by using the + and - buttons on either side, shown here.
Once you have added this, you can click the save button below.
Now you can see the set menu here.

How to add fast menu items
This guide will show you how to add fast menu items.
Firstly click 'Menu management', then 'Fast menu'.
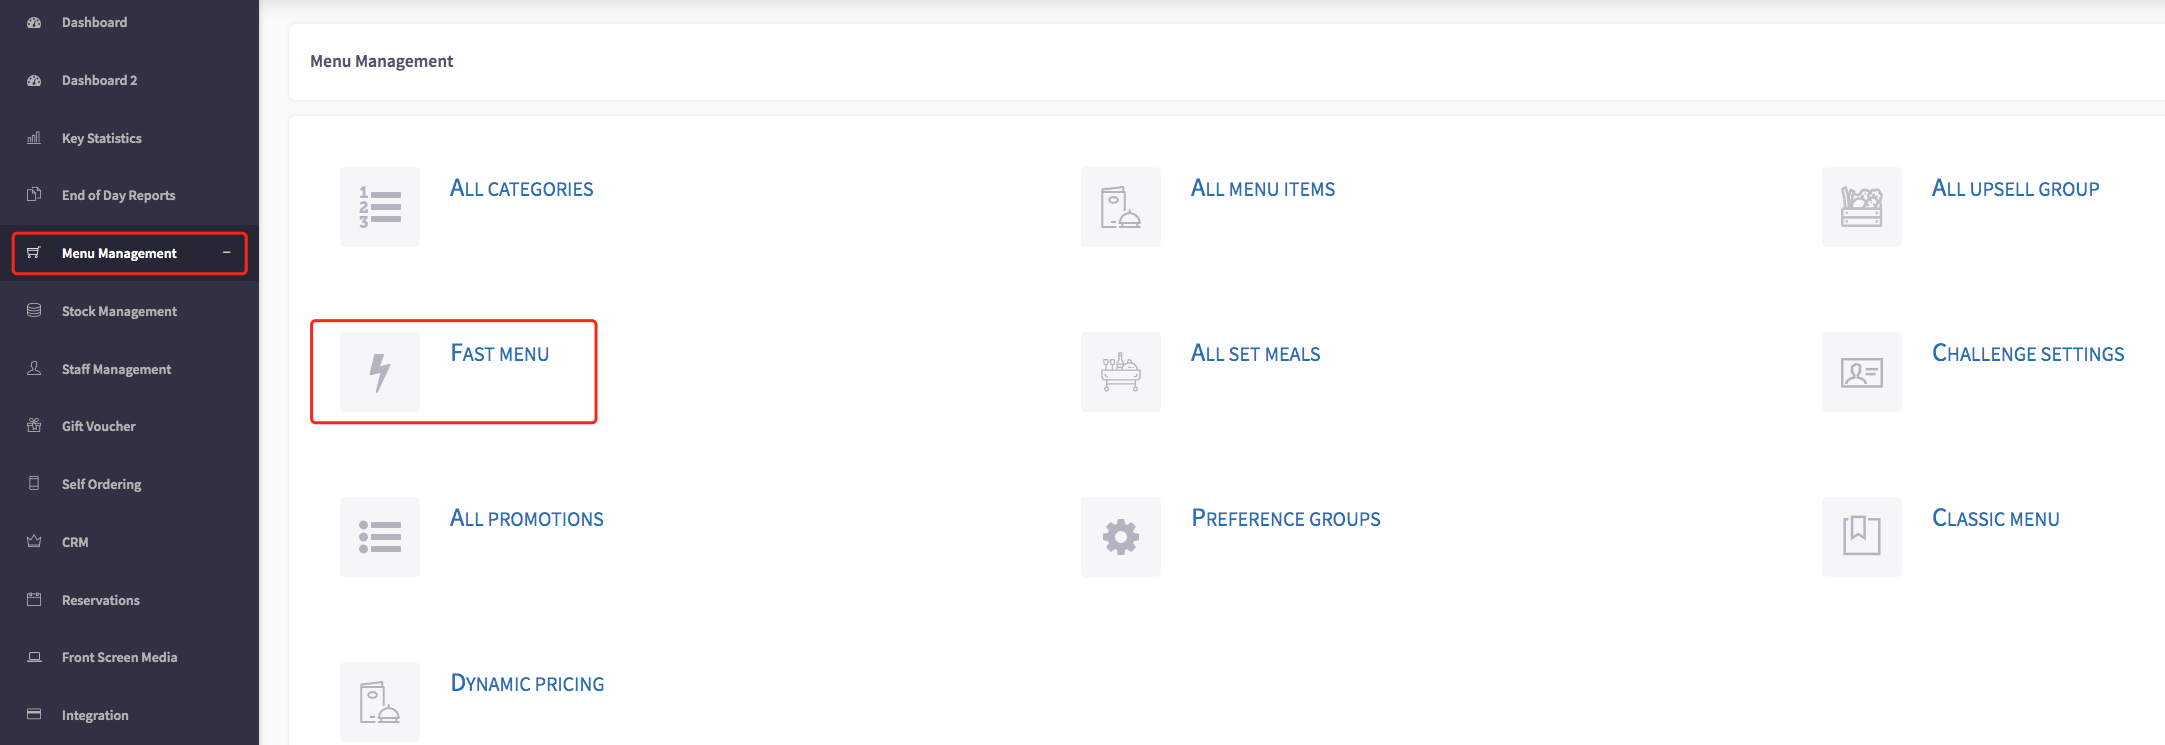
This will then take you to the fast menu settings page, shown here.
This page will allow you to select which device you would like the fast menu to apply on.
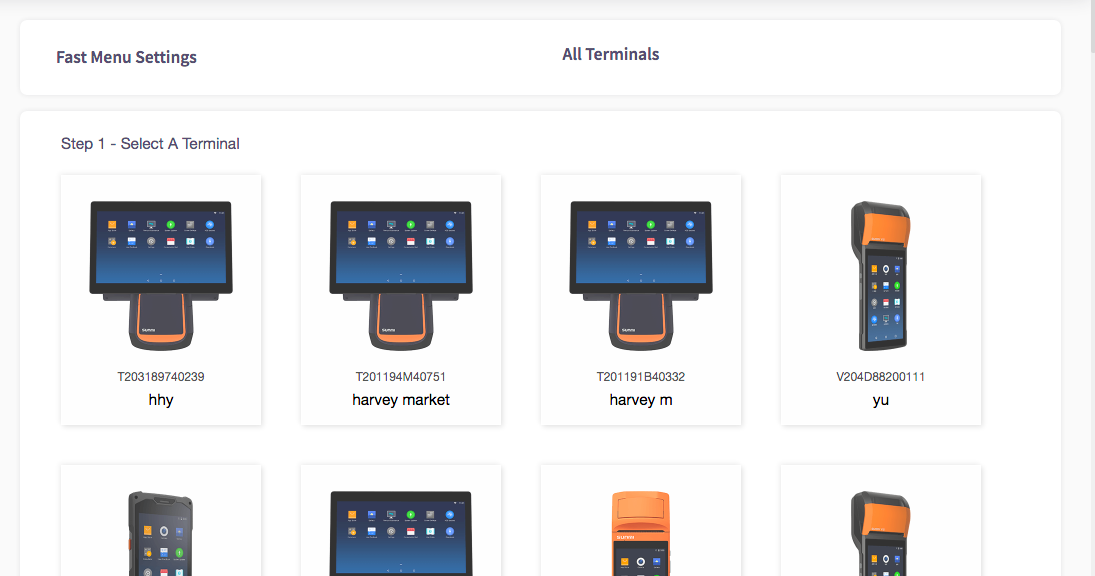
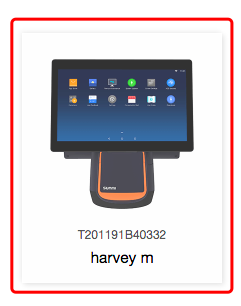
Simply click on the device you would like to use, for example, you can click on 'harvey m' to use 'harvey m'.
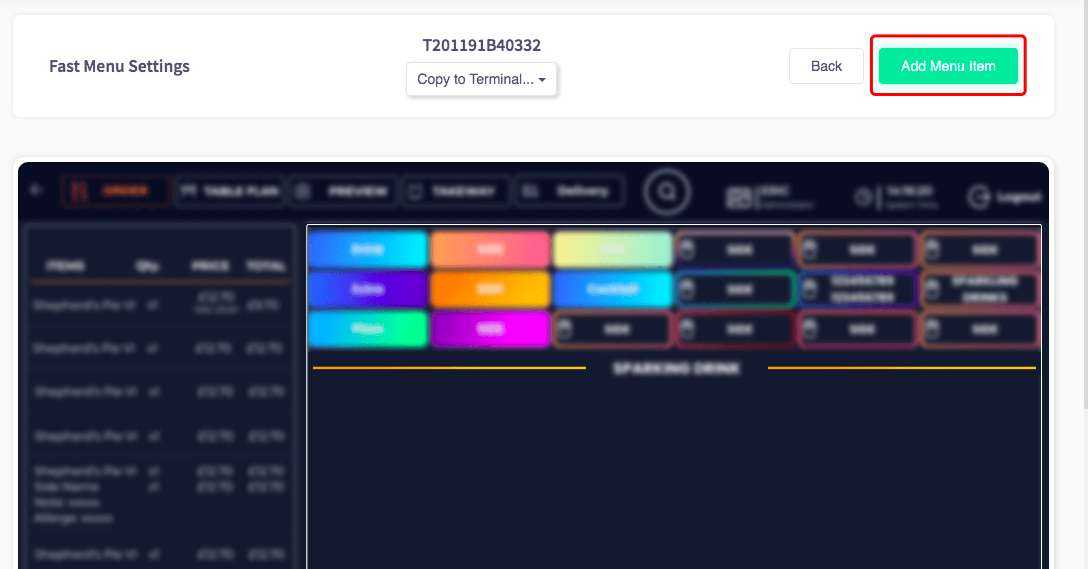
Now it will show you your fast menu settings, where you can add a fast menu item by clicking on the 'Add Menu item' button.
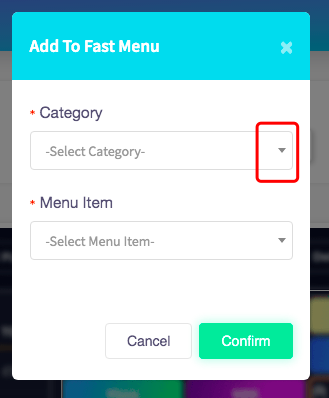
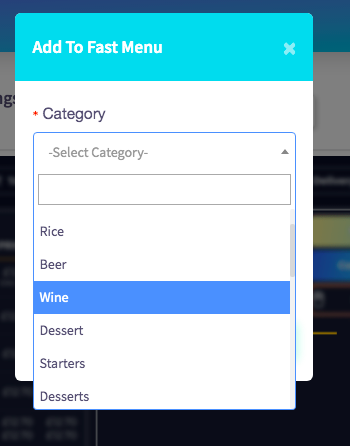
This will then take you to this window where you can add a menu item to the fast menu.
To select a category, you can click on the bar, shown here.
You will then be able to see all of your categories.
Let's say you want to click on the 'Wine' category. To do this, you can hover your mouse over the 'Wine' section and click on it.
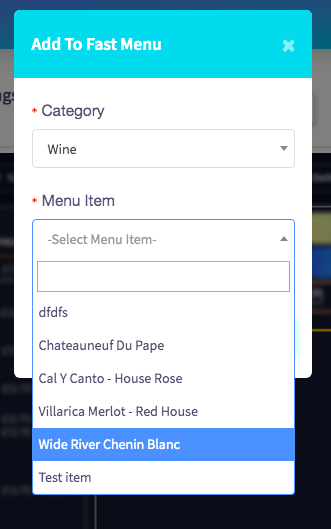
You can then do the same steps for the menu item. Click on the bar, shown here to view your menu items.
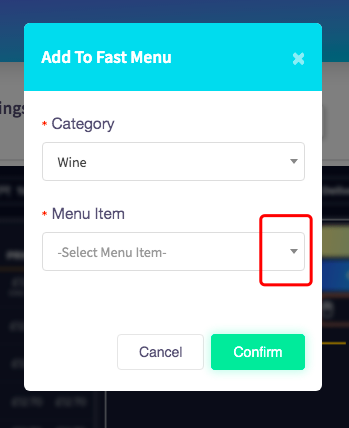
Now you can click on the menu item you would like to add to the fast menu.
Once you have done this, you can click the 'Confirm' button below.
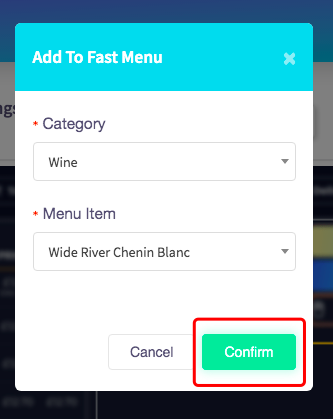
This item will now be added to your fast menu, shown here. As you can see here, the changes have been successfully made.

How to add a multiple-choice menu
This guide will show you how to add a multiple-choice menu.
Firstly select 'Menu Management', then 'All set meals'.
This will then show you a list of set menus, shown here.
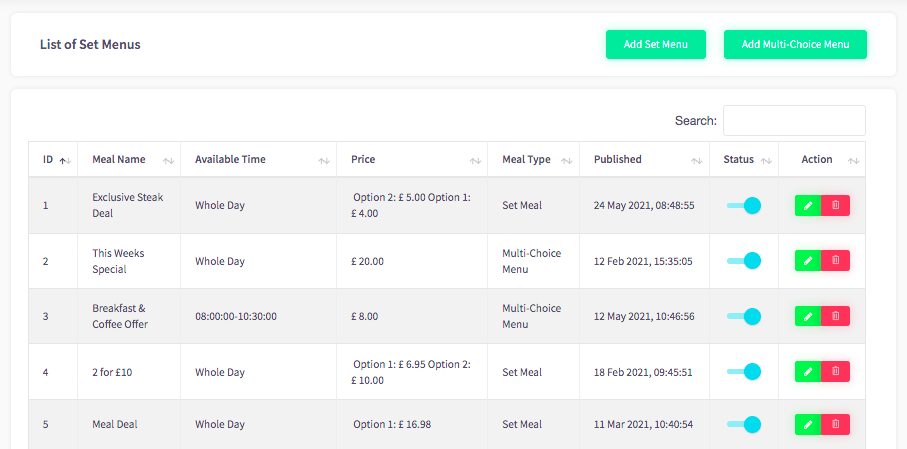
To add a multiple-choice menu, you can select 'Add multi-choice menu', shown here.

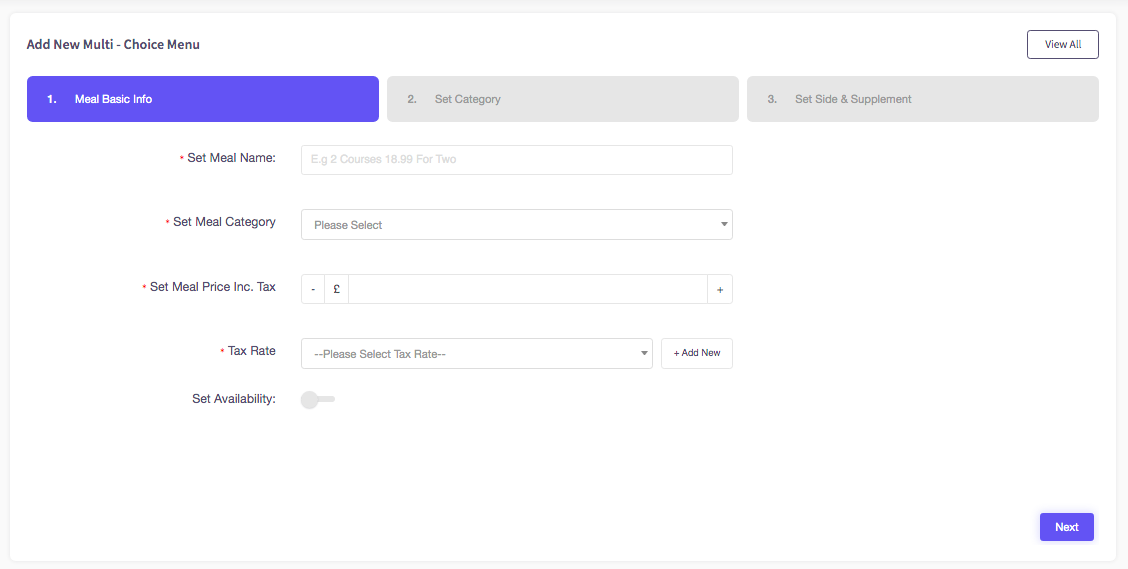
This will then take you onto a new page where you can add a new multi-choice menu. To add a multi-choice menu, you can follow the steps provided.
Step 1 is the 'Meal Basic Information'. This is where you will set a name for your meal, the category, the set price, the tax rate, and set availability.
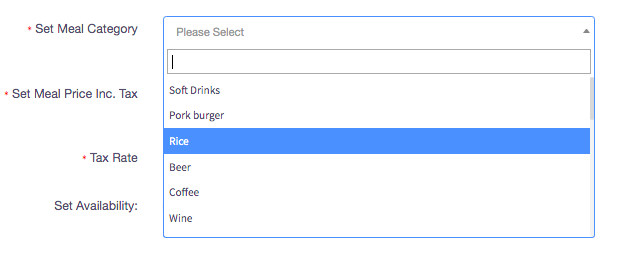
To set a meal category, you can click on the dropdown tool, shown here.

This will show you the categories you can choose from.
If you wanted to select 'Rice', scroll to the rice option and click on it, shown here.
For the 'Set Meal Price' option, you can click on the + or - buttons to change the price.

You can also use the box in the middle, to type in an amount, shown here.

To select a 'Tax Rate' option, you can click on the dropdown tool, shown here.

If you wanted to select '20%', you can click on this option, shown here.
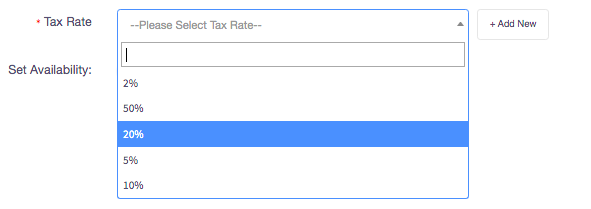
You can also add a new tax rate. This can be done by pressing the button shown here.

You can add a new tax rate in the blue box, simply by typing the numbers into it.
Once you have done this, you can click the confirm button, shown here.

To set availability, you can simply click on this toggle.
This now enables you to set a start time and end time. You can do this by clicking on the clock icons, shown here.
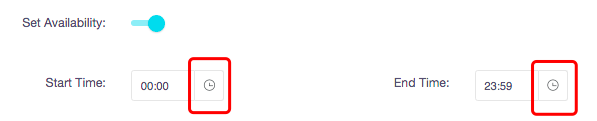
Or you can manually type it in the box, shown here.

For to select more options, you can click the toggle, shown here.
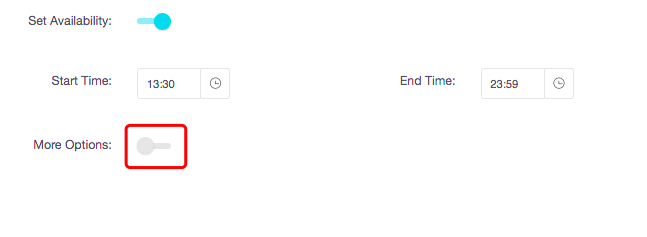
The more options toggle will allow you to be more specific with times, meaning you can set different times for different days if you wish.
For example, you could set a time for 1 pm till 5 pm on Monday, and a time for 7 am till 1 pm on Wednesday.
To set the time, you need to click on the toggle next to the day you would like to set it. This means you can select whatever days you like, you don't have to select them all.
Once you have done all of the changes you want to do, you can click the 'Next' button, shown here.

Now you can add a set meal category, to do this you can click on the box highlighted in red, and type your set meal category here.
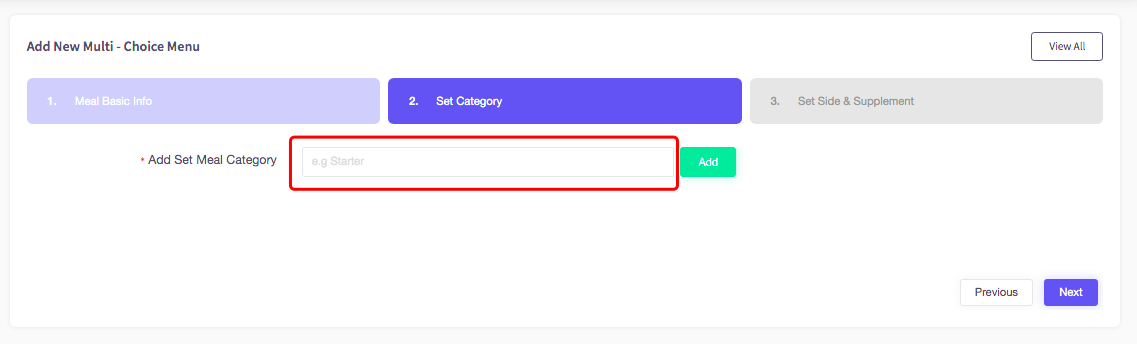
Once you have done this, you can click on the 'Add' button, shown here.

How to add menu items
This guide will show you how to add menu items.
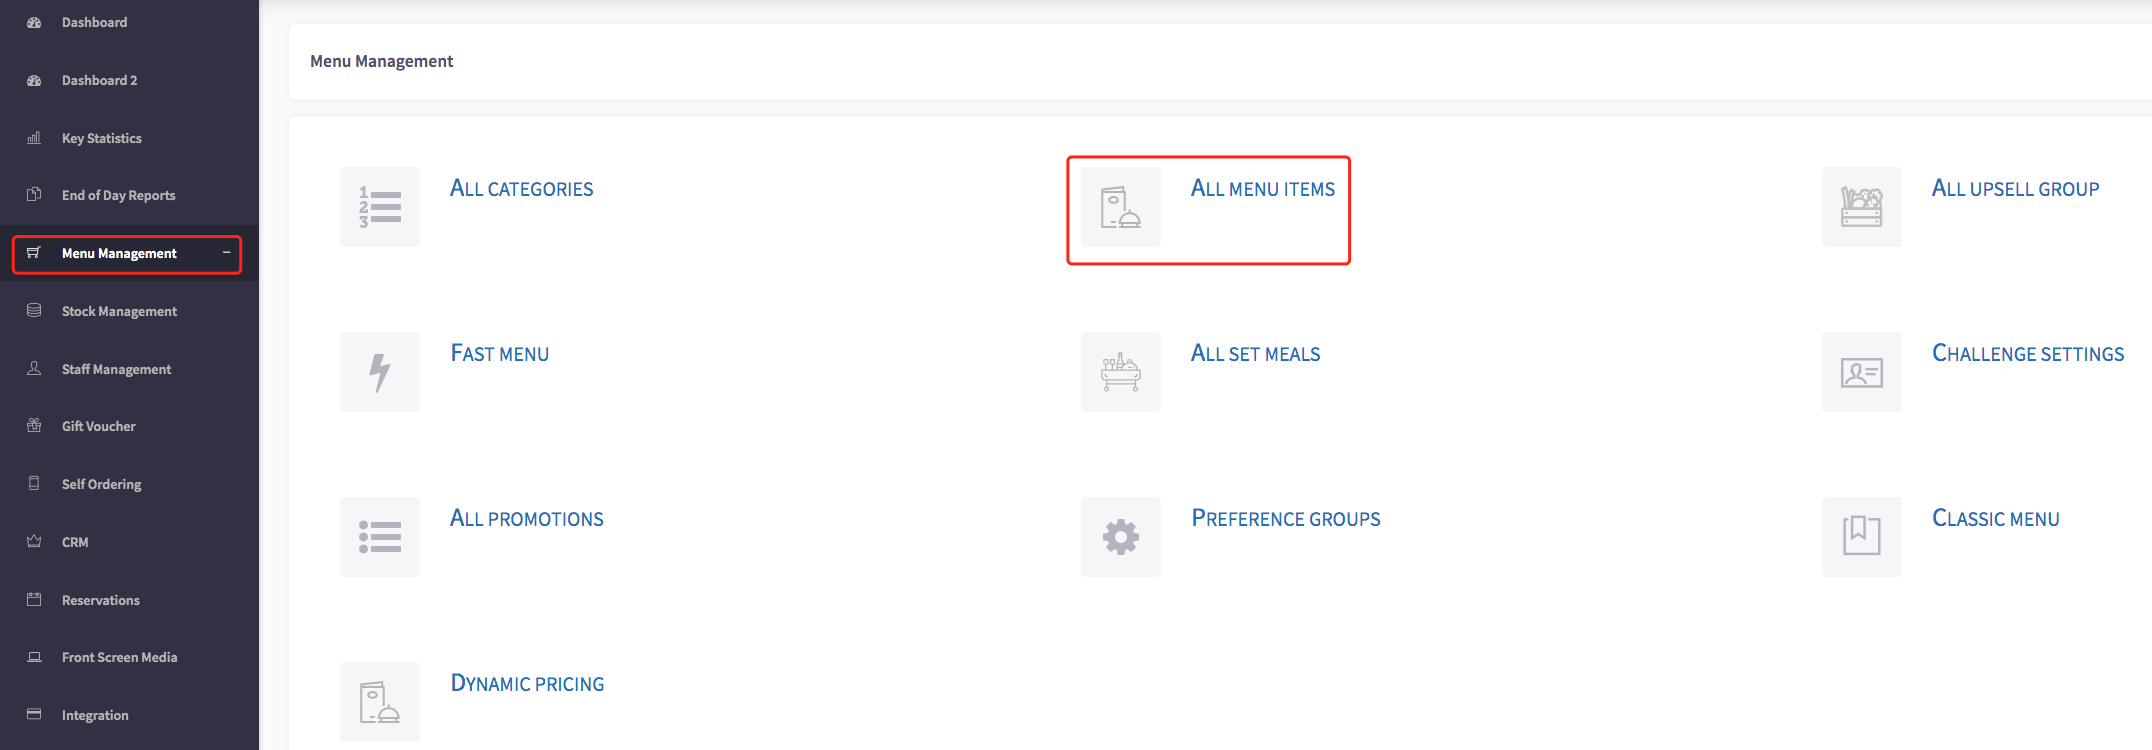
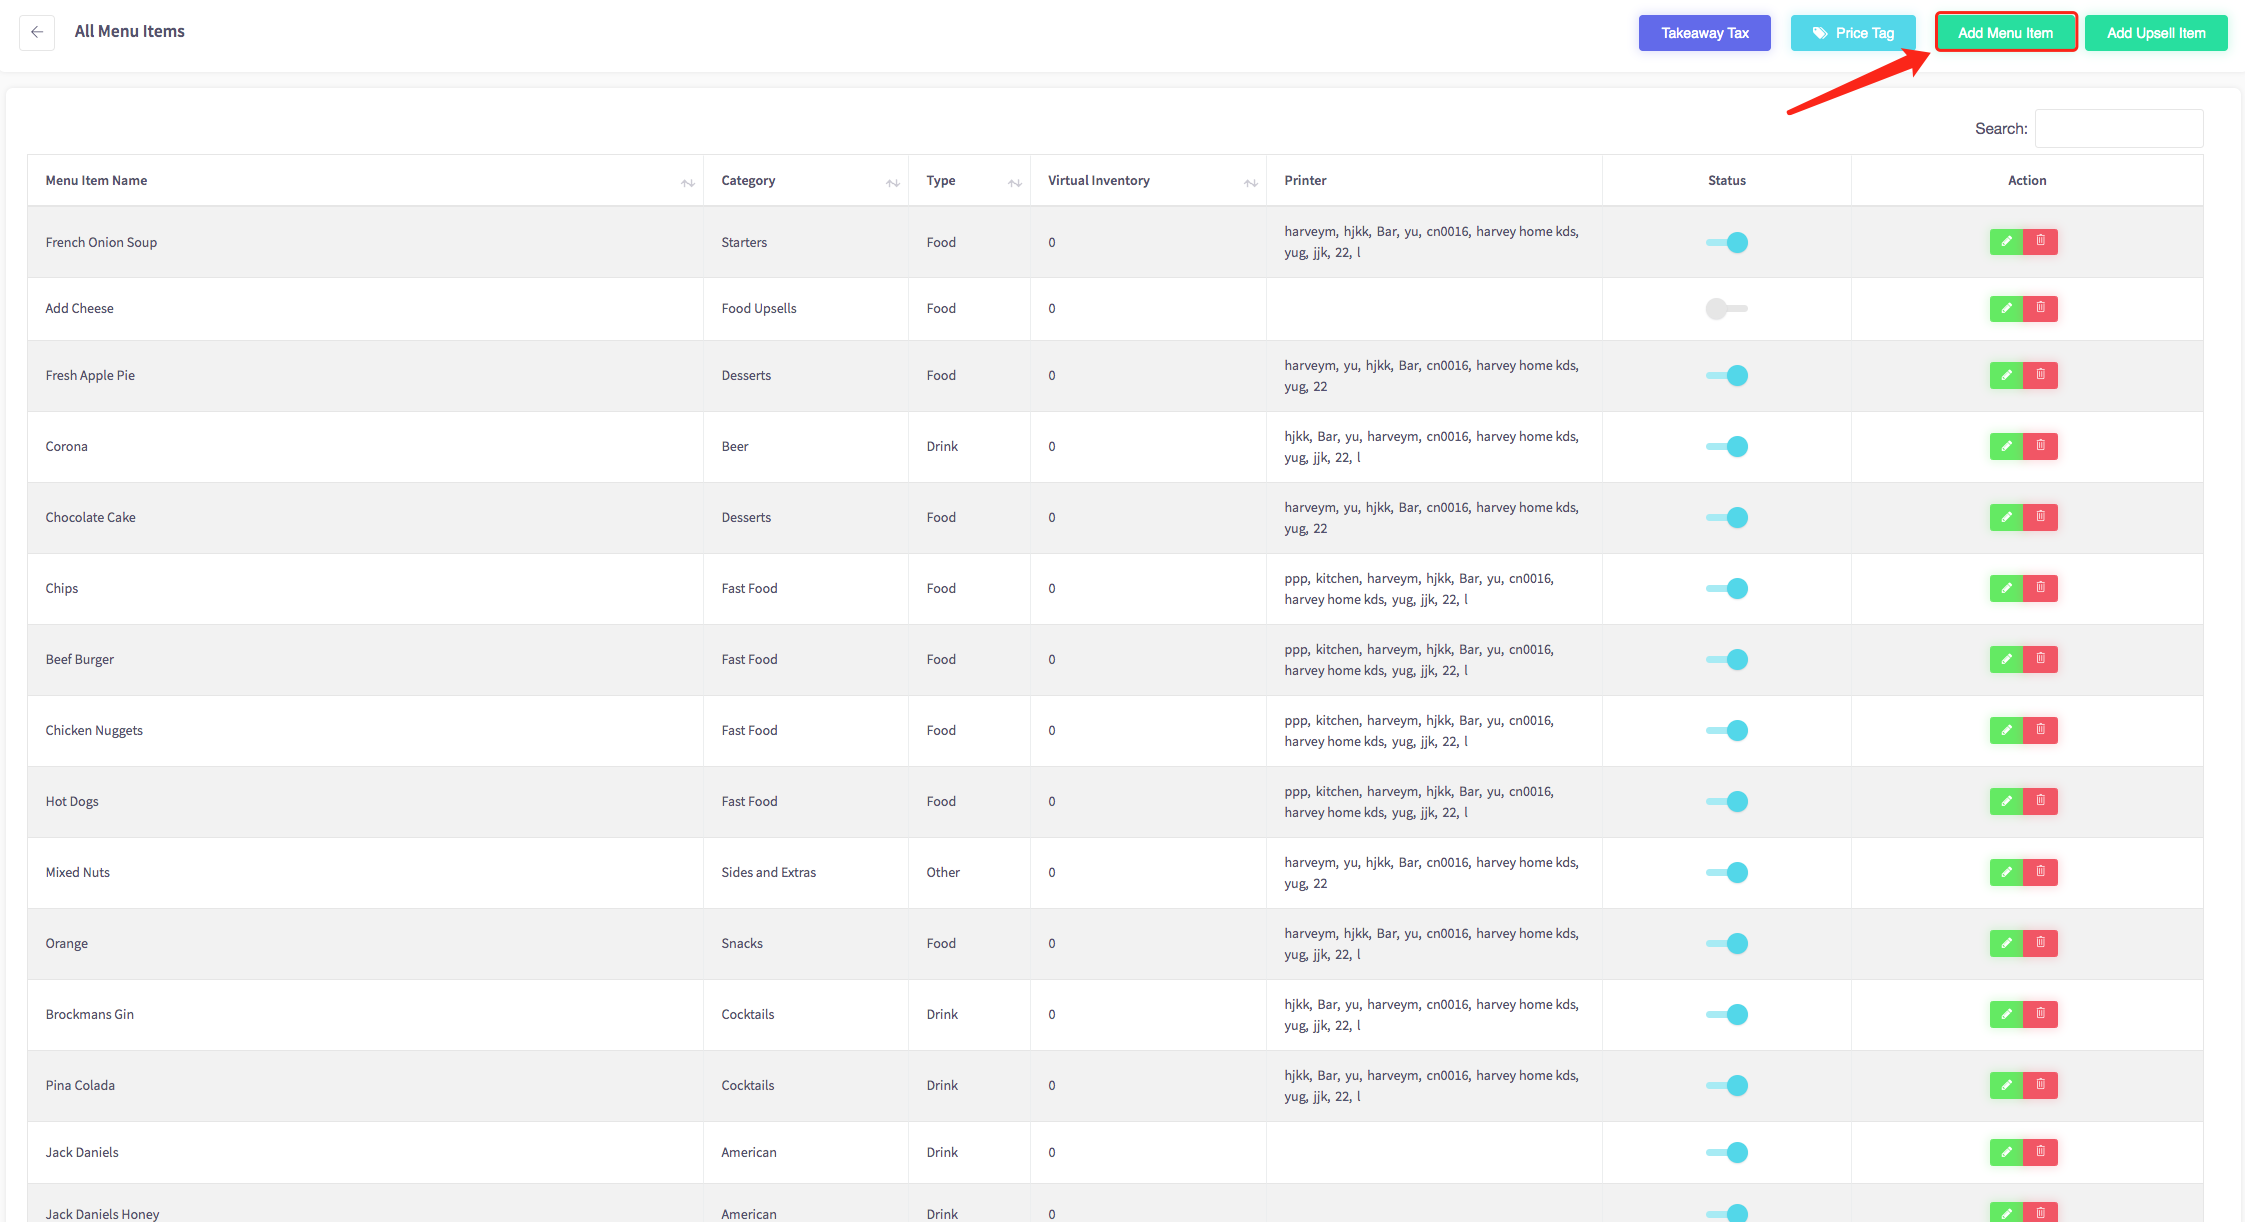
Firstly, click on the 'Menu Management' option, then select 'All Menu Items'.
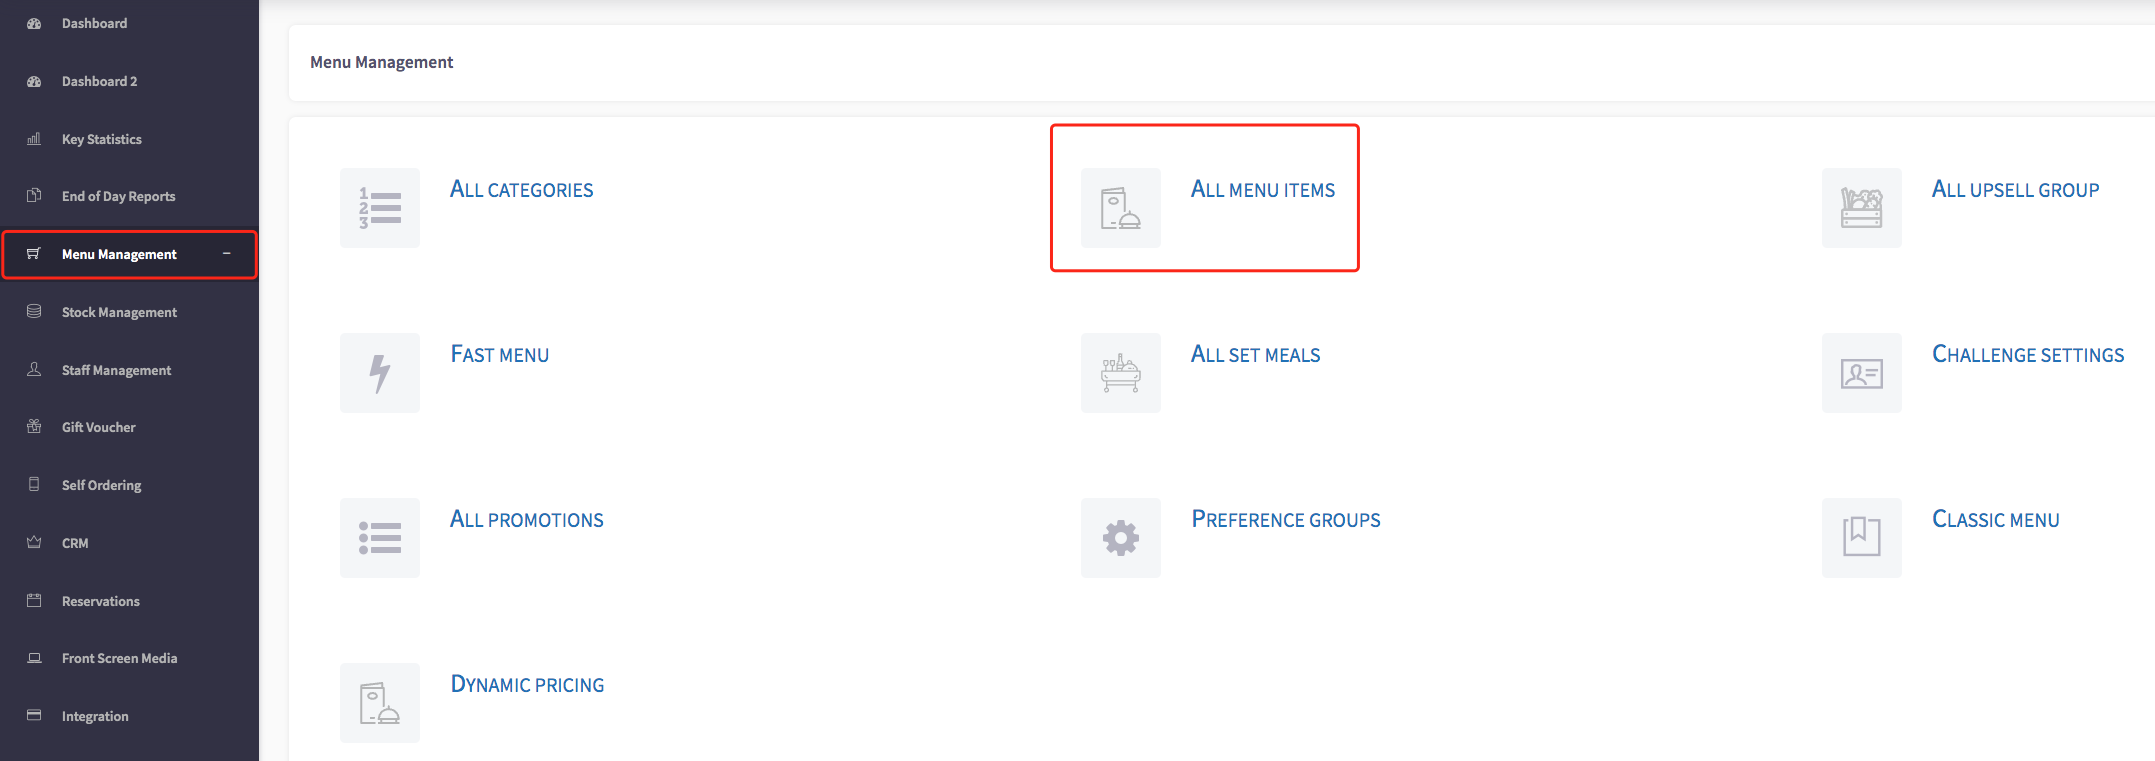
This will then show you the all menu items page, shown here.
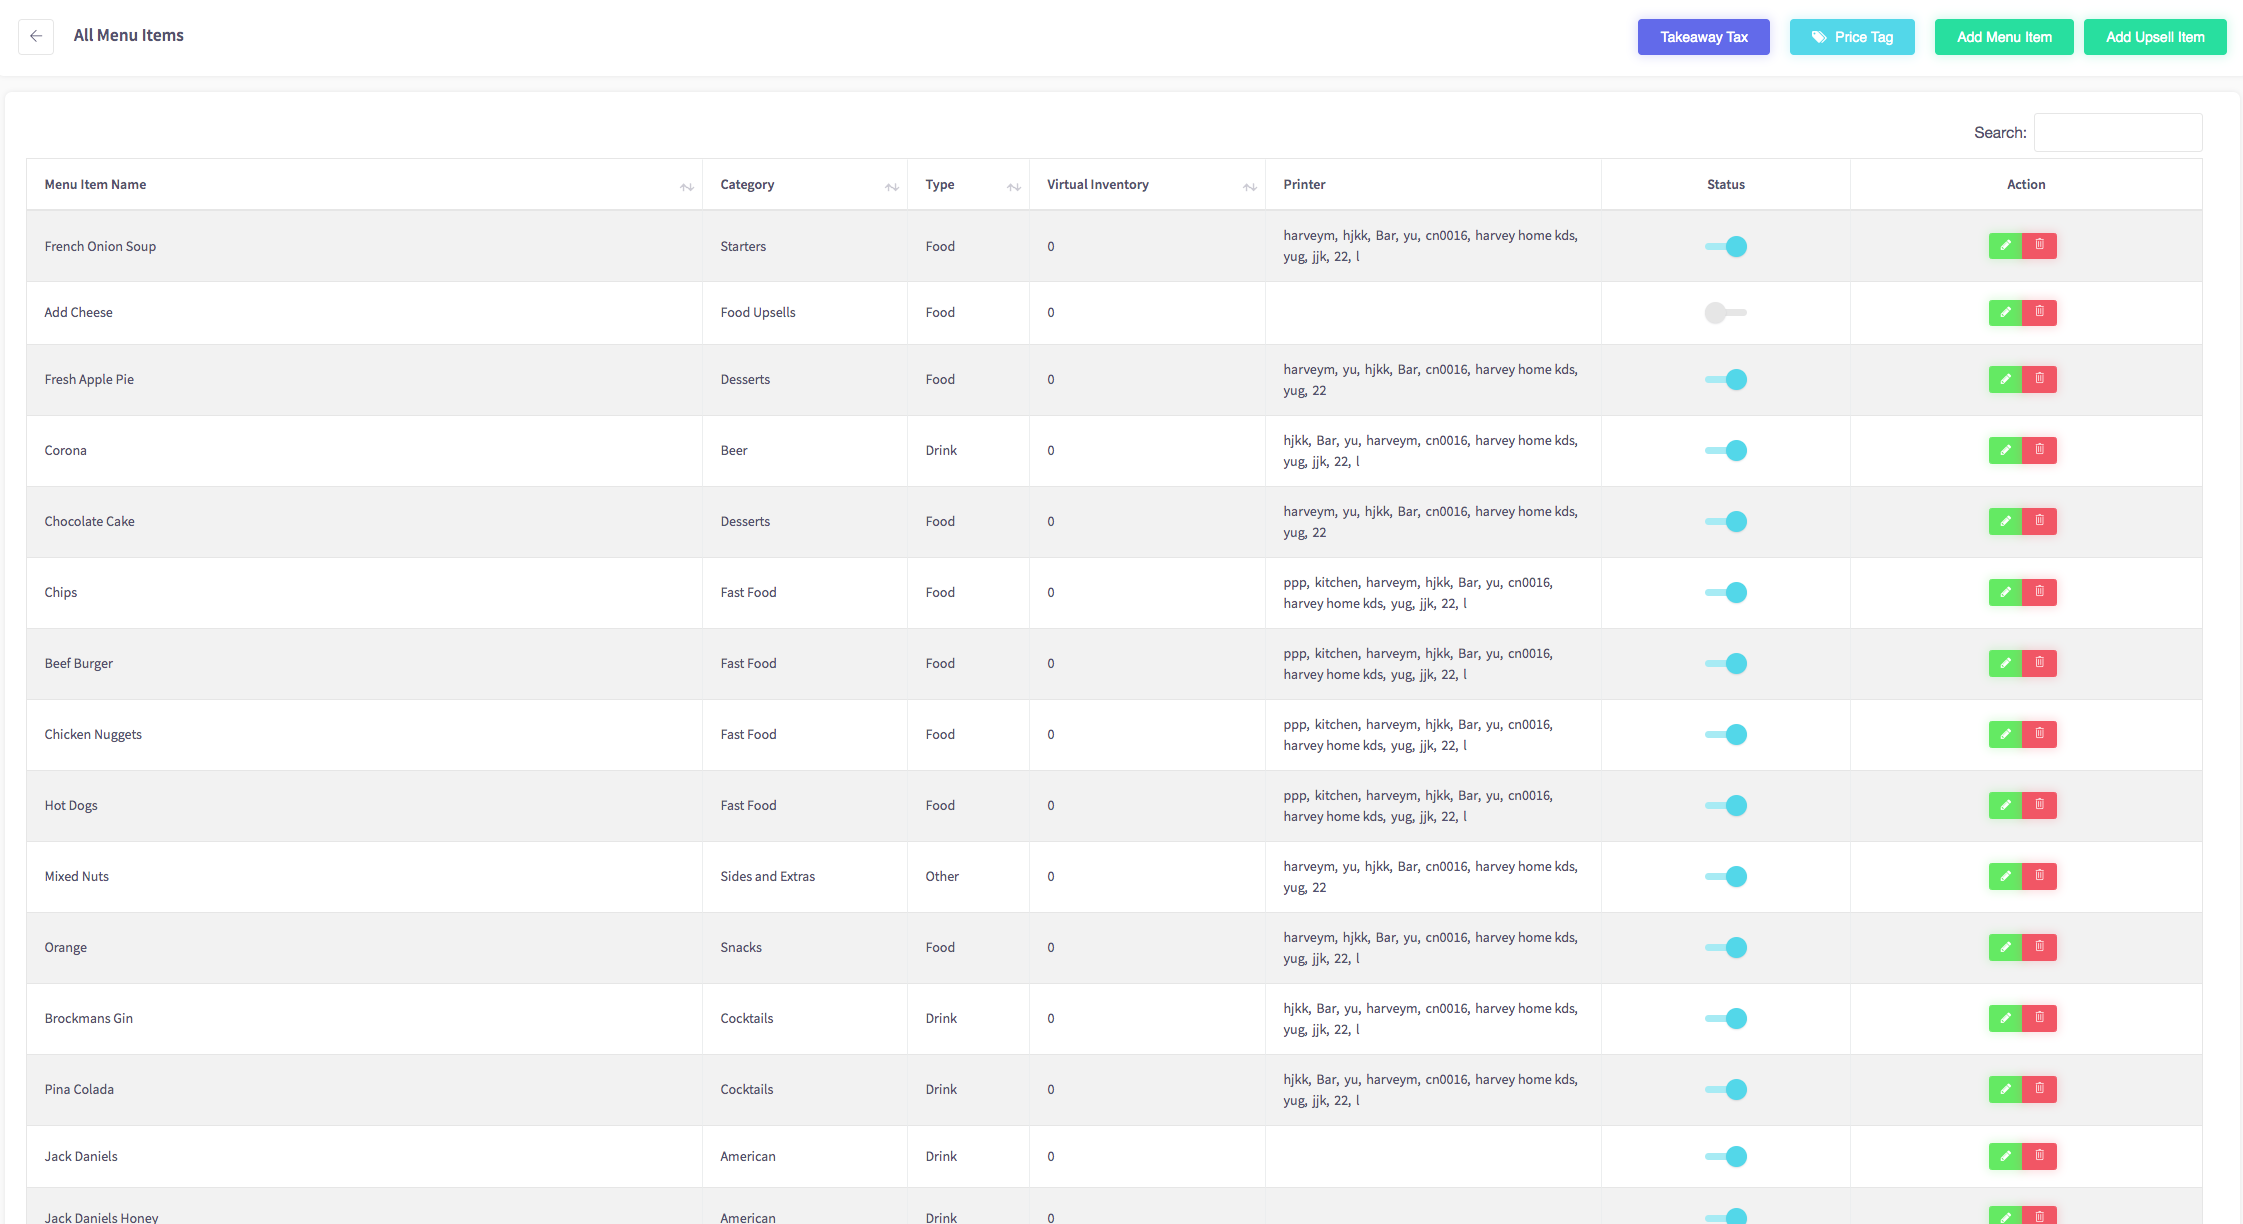
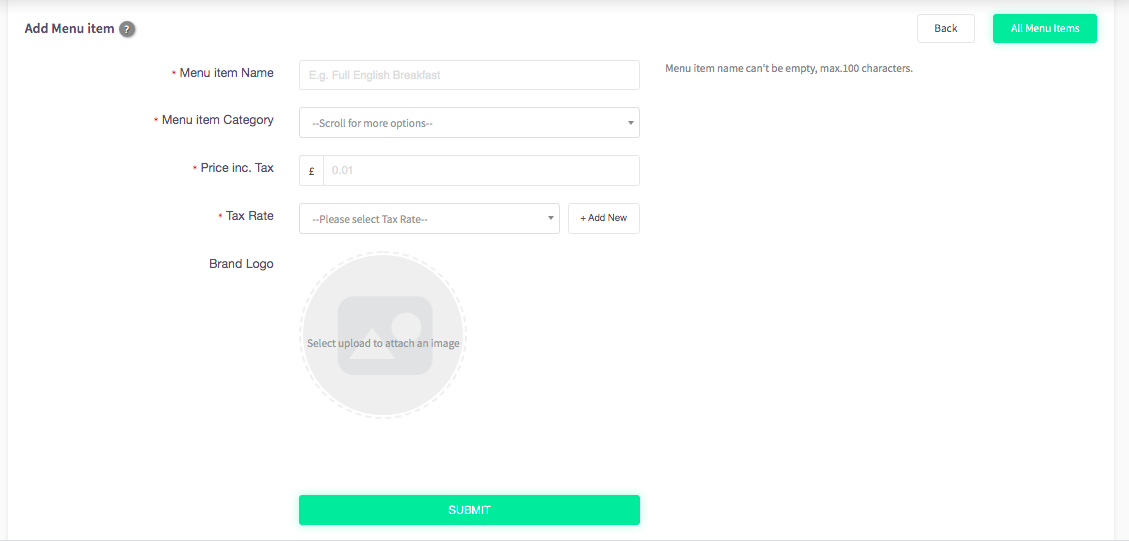
To add a menu item, select the 'Add Menu Item' button.
Here you can add a menu item by including their name, category, price including tax, tax rate and brand logo.
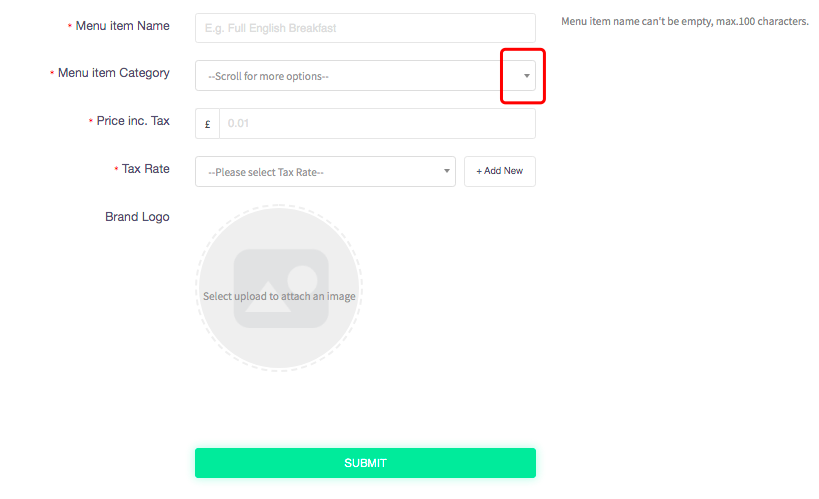
To add a menu category, you can click on the dropdown arrow button, shown here.
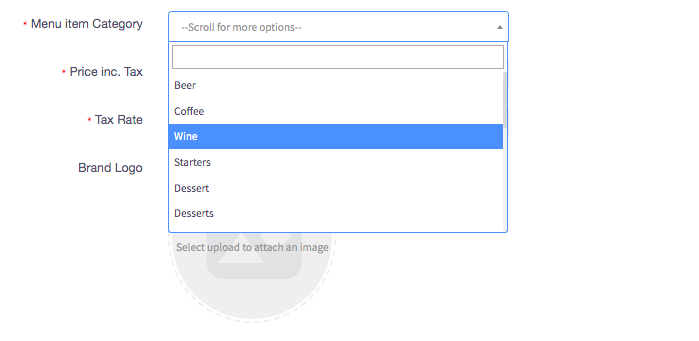
This will give you a list of categories that you can choose from. To select a category, for example if you wanted to select 'Wine', you can do so by clicking on the option, shown here.
You can do the same for the tax rate option. Simply click on the dropdown arrow button, and you will be given percentage options.
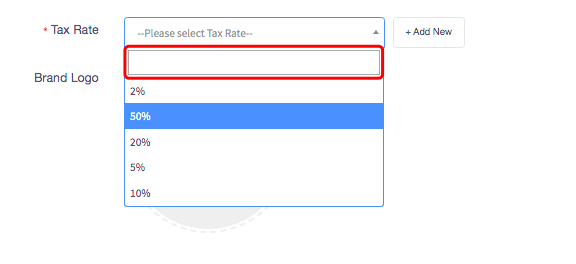
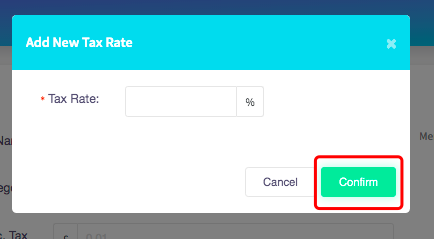
If you would like to add a new percentage, you can click on the 'Add New' button.

This will give you a box where you can add your new percentage. Once you have typed this in, you can click on the 'Confirm' button.
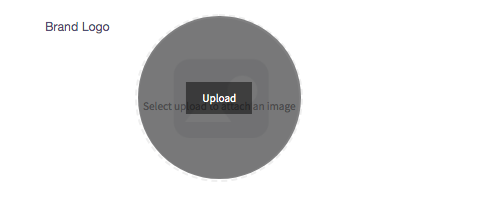
To add a brand logo, you can hover over the circle, and then click the 'Upload' button. This will take you to your documents where you can select an image.
Once you have made all of the changes, you can click 'Submit'.
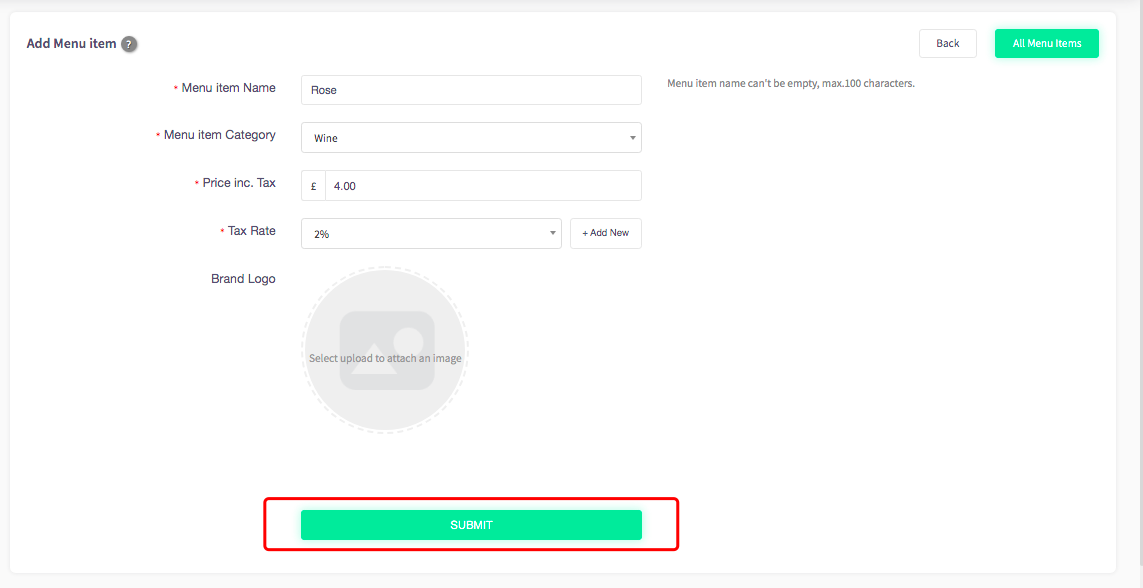
This will then add your menu item.
How to change the display order of your categories
This guide will show you how to change the display order of your categories.
Firstly, click on the 'Menu Management' option, then select 'All categories'.
This will then show you the menu category list, shown here.
If you would like to change the display order of the categories shown, all you need to do is select the category you would like to move, an drag it up, or down the list.
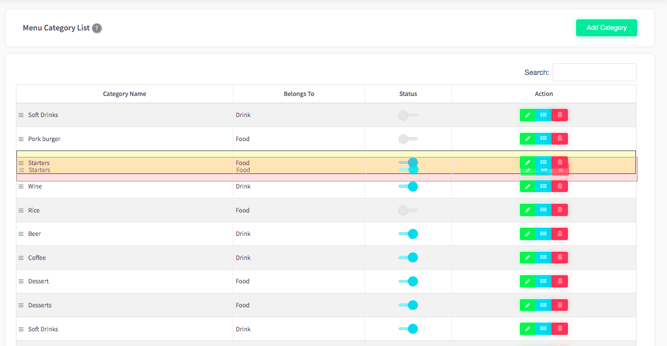
For example, if you wanted to move 'Starters' to where 'Wine' is, you can click on 'Starters' and then hold the click in to drag it up towards 'Wine'.
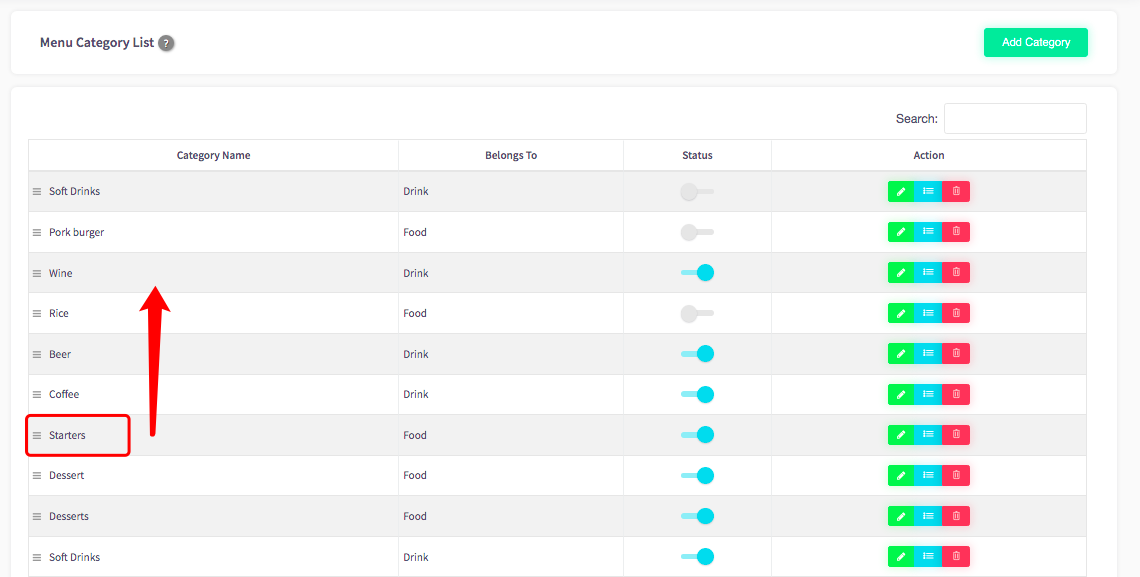
As you can see here, I am currently moving the 'Starters' category up to the 'Wine' category.
Once it is where you would like it to be, you can let go of the mouse.